Stuffed Squash Blossoms
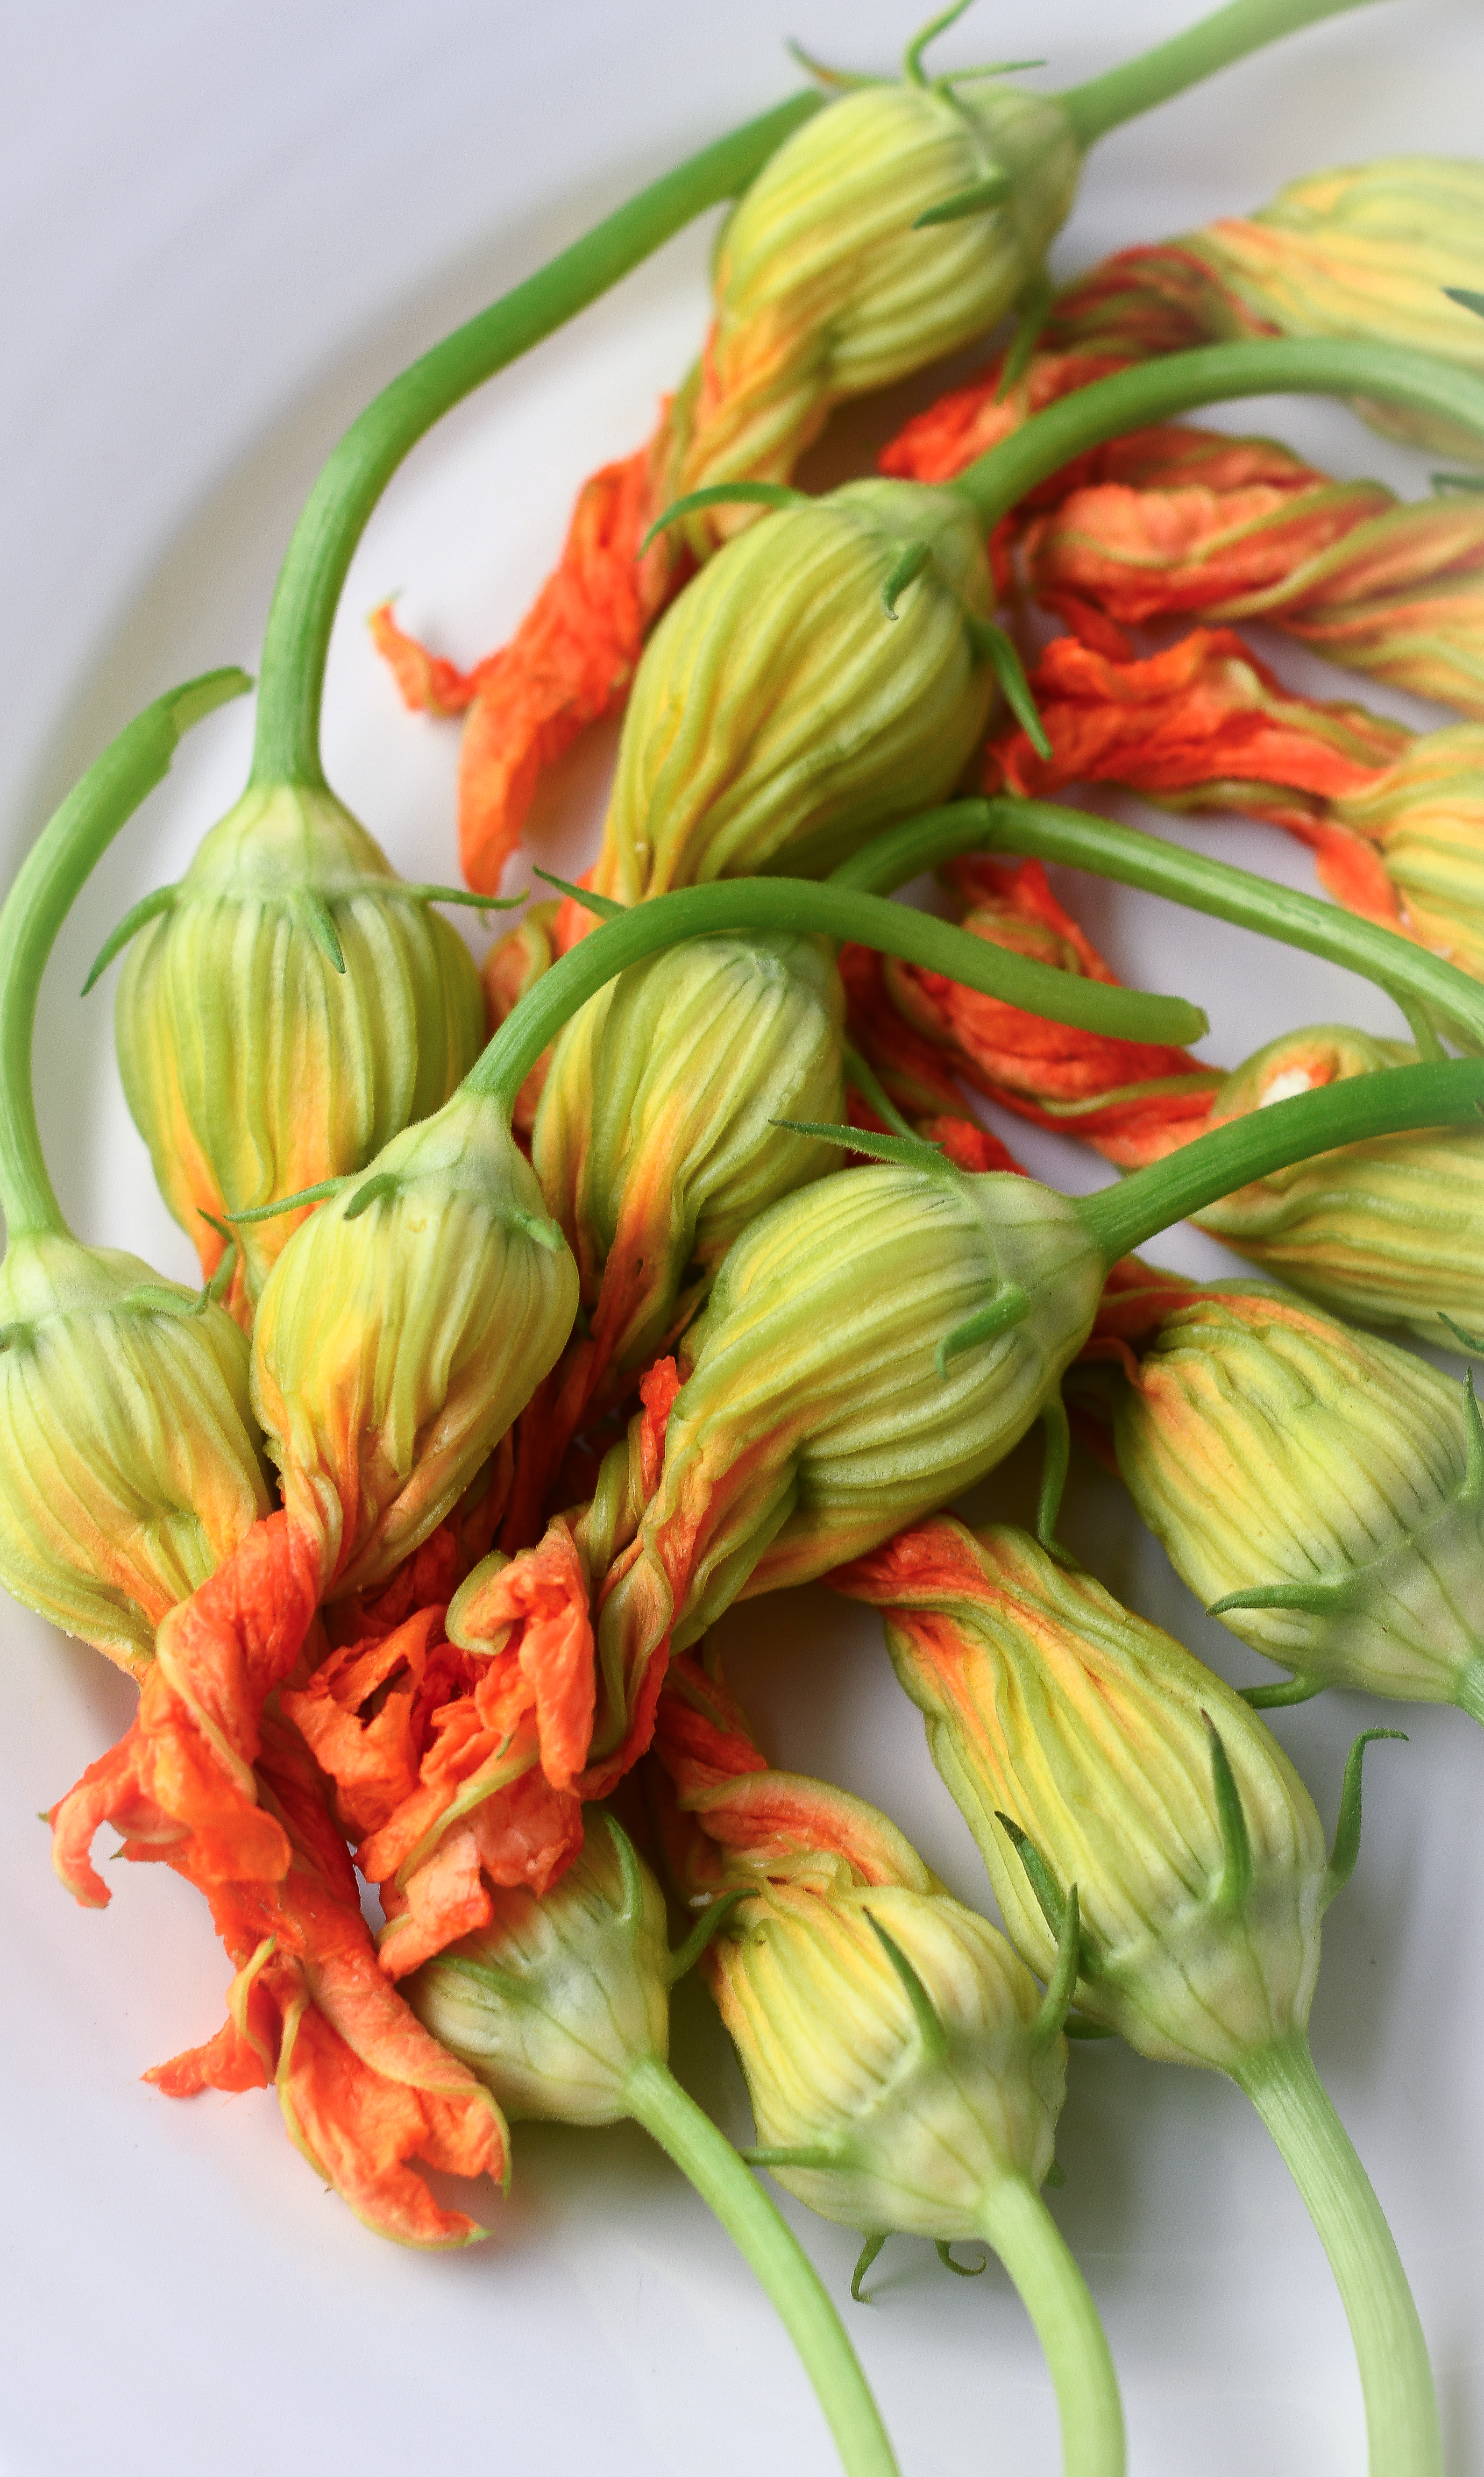
Time can get away from you when you’re not paying attention. There it is. Eighteen months since my last post. Sooo tempting to think of all the excuses “but, I broke my camera” (ah yes, the casualty during a trip to Israel with my mom last April) … “my job is too busy right now” … “I’m distracted with this relationship” … “oh, I’m changing jobs, I’ll just… maybe when I settle in…” And, suddenly, summer was nearing its end and I realized I hadn’t even been to the farmer’s market this year. So, I did one of those Saturday morning-yoga pants-messy bun (no, that sounds cute… this was a post-workout, sweat dripping, hair frizzed out)-kind-of-farmer’s-market-morning. It struck me that morning how much I had missed it. There’s just this feeling at the farmer’s market that I love of connecting to community, to local farmers, to fresh food. There is also something really special about the transition of the market between the seasons. Squash blossoms are one of those treats during the summer to fall transition. Looks like I picked the right time to dive back in.
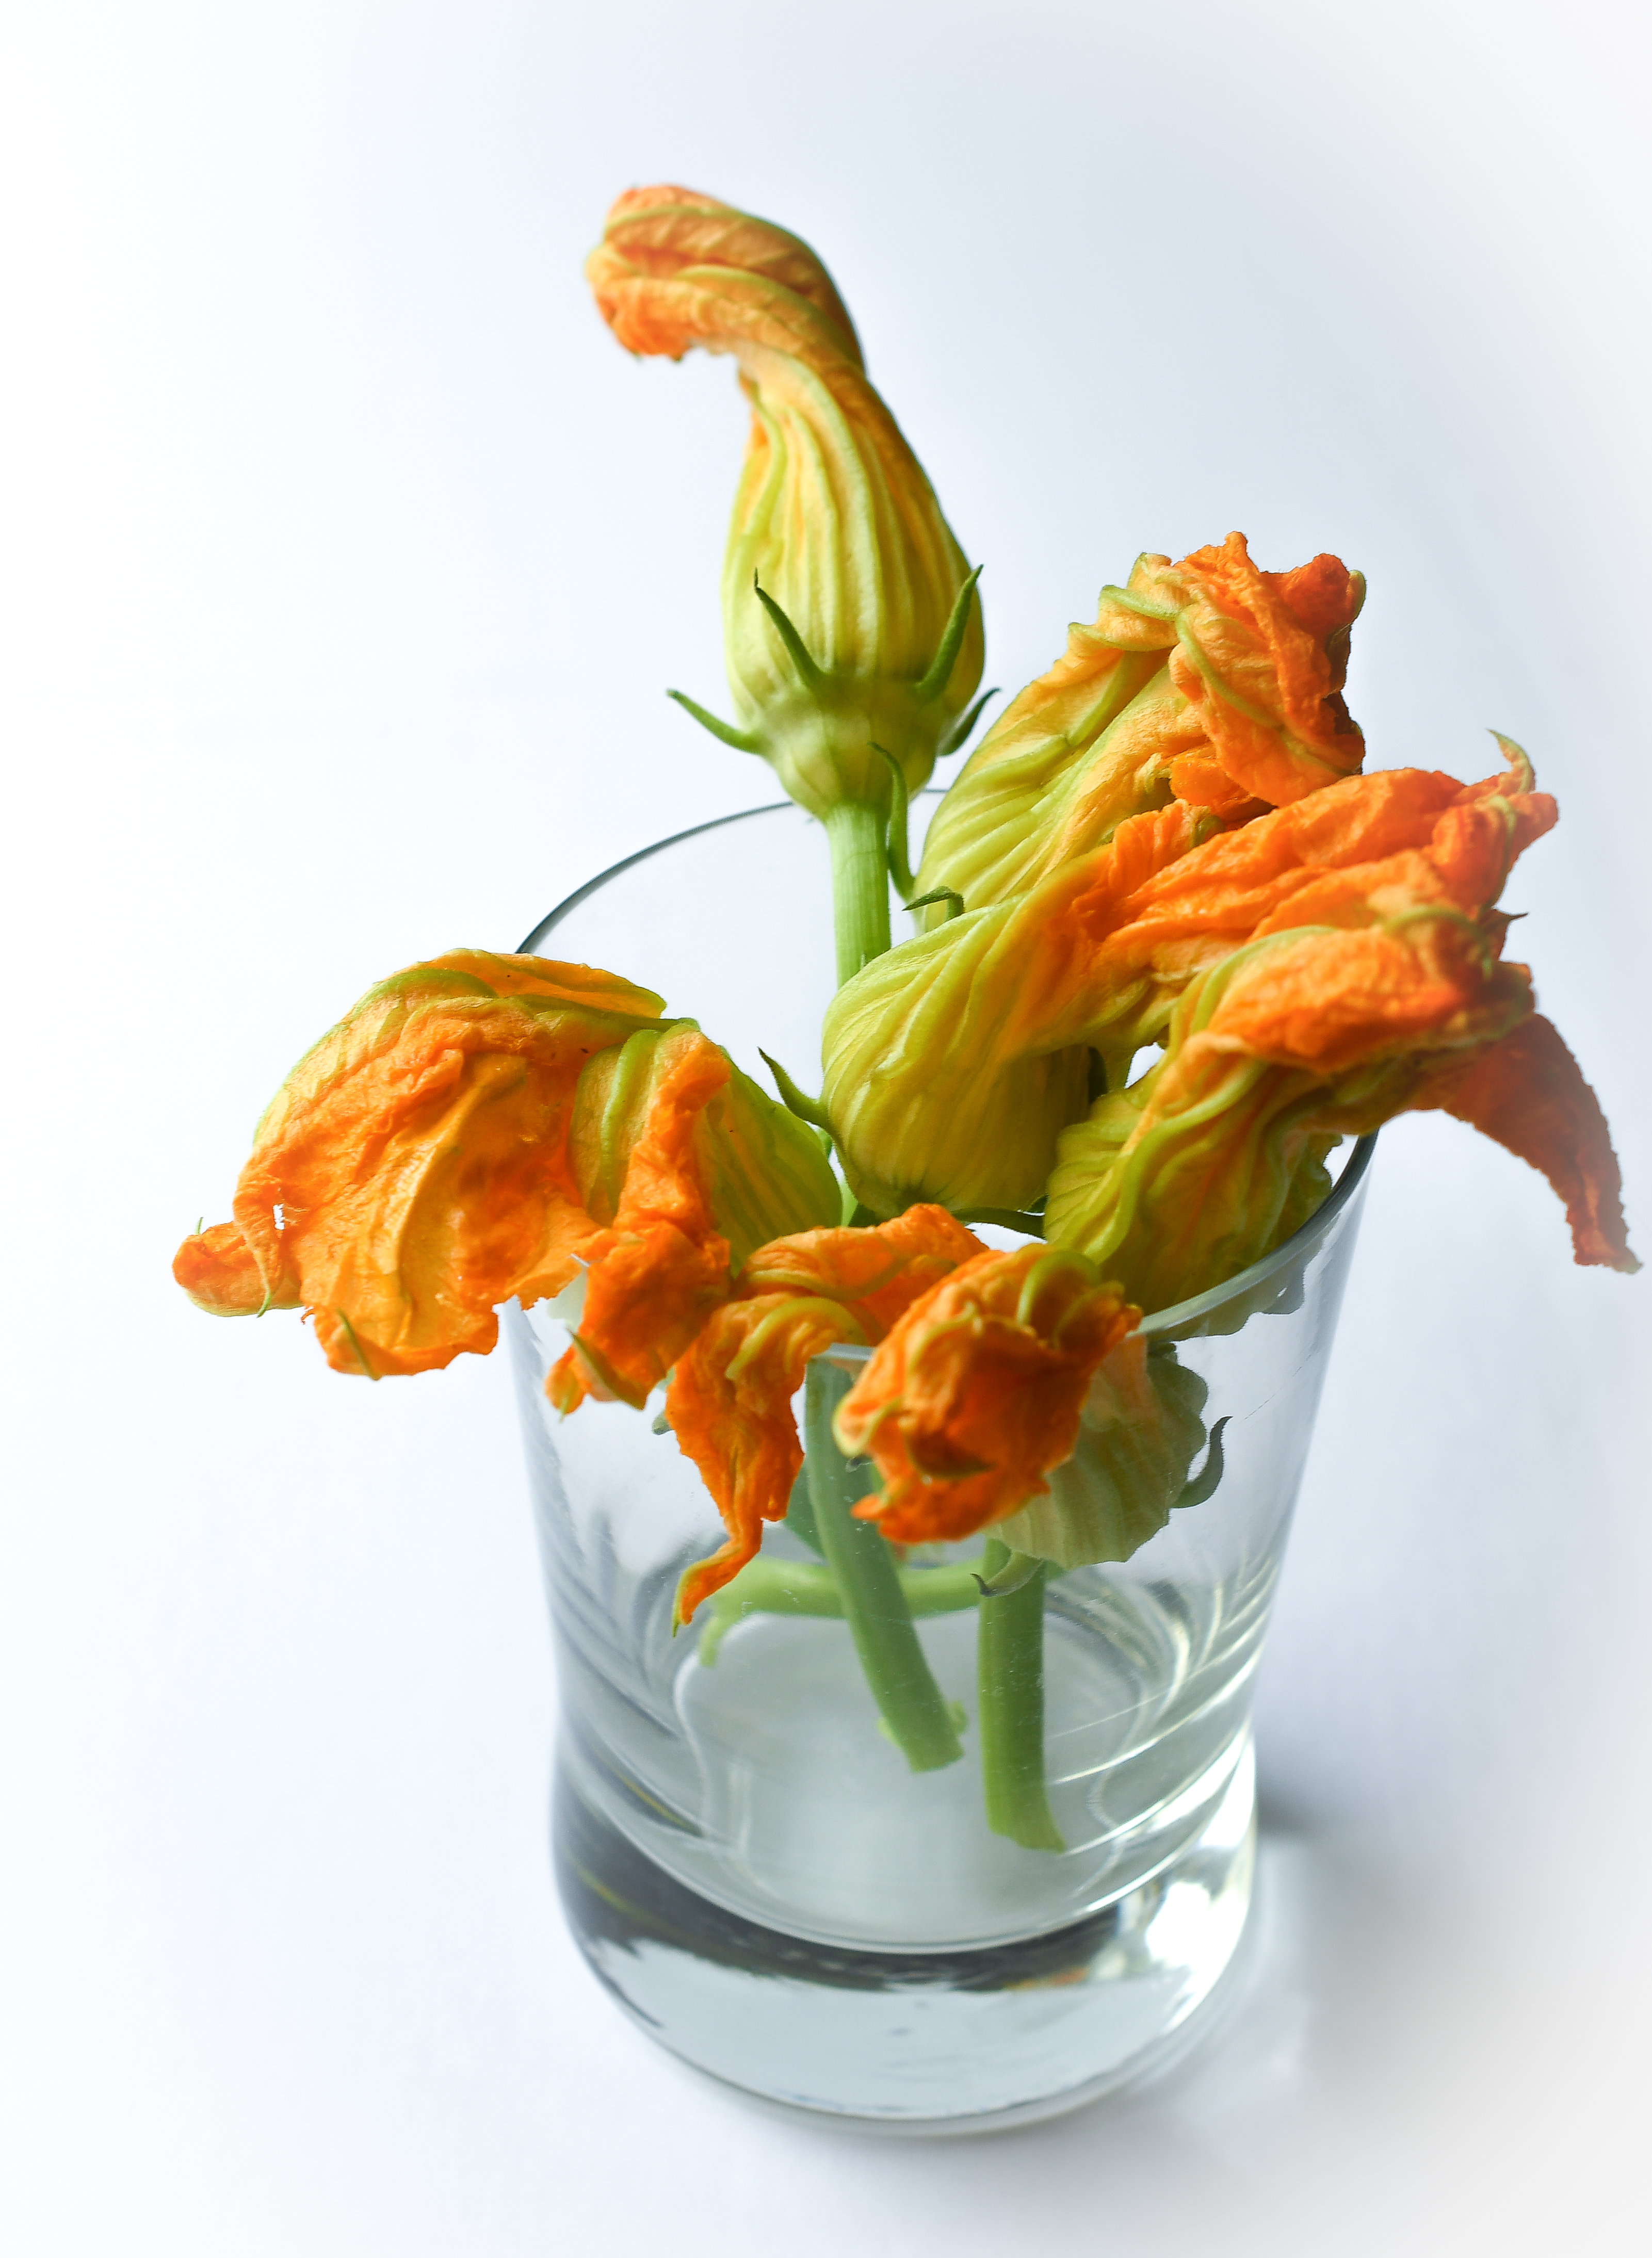
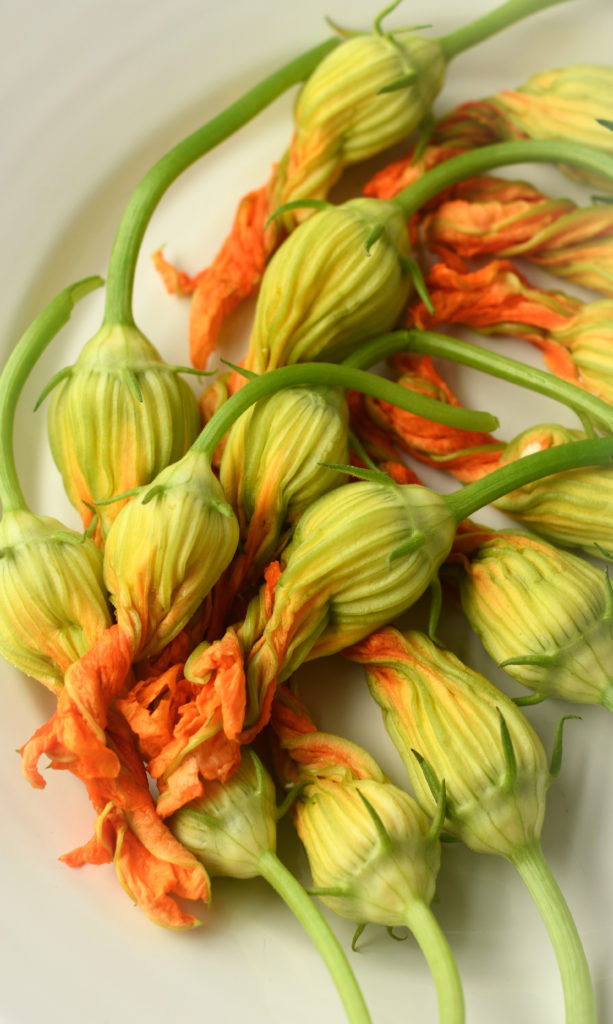
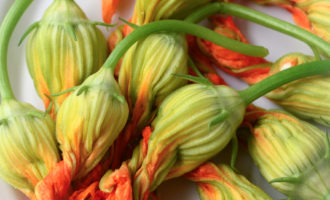
Squash blossoms. So beautiful. So delicate. So ready to be stuffed with ricotta. Yes, holding that fragile flower and wondering how in the world you’ll stuff and fry it without decimating it is a completely valid thought! Don’t be intimidated though; it’s really quite easy. There are a few little tricks. But, I’m telling you–you got this! Stuffed squash blossoms make a beautiful appetizer, they lay perfectly on top of a salad, and talk about an impressive side dish…! My problem was keeping them long enough to “properly” serve these gorgeous buds. My “I’ll try just one” turned into an “oooh, hot hot hot…” breathing out of a mouth full of fried flower cheesy goodness. I ate all of them…right off the paper towel…didn’t even make it to a plate. I’d love to show you the final product, but there are a few things that get rusty after not blogging for over a year (my appetite was not one of them…).
“And suddenly you know: It’s time to start something new and trust the magic of beginnings.”
~ Eckhart Tolle
Ingredients
- Squash blossoms:
- 1 cup whole-milk ricotta
- 1 large egg yolk
- 1/4 cup finely cut basil
- 2/3 cup grated parmesan cheese, divided
- 12 to 16 zucchini squash blossoms
- 1/2 cup plus 1 tablespoon all-purpose flour
- 3/4 cup chilled seltzer or club soda
- Approximately 3 cups vegetable oil for frying
- Tomato sauce:
- 1 garlic clove, minced
- 1/4 teaspoon hot red pepper flakes
- 2 tablespoons olive oil
- 28 oz can of San Marzano tomatoes, chopped
- 1/2 cup water
- 1/2 teaspoon sugar
Instructions
Make tomato sauce first:
Cook garlic and red pepper flakes in oil in a 2 quart heavy saucepan over medium heat until garlic is golden (30-45 seconds). Add chopped tomatoes, water, sugar and 1/2 teaspoon salt and simmer (uncovered) for 30 minutes (stirring occasionally) until thickened.
Prepare the ricotta filling:
While the tomato sauce is simmering, stir together the ricotta, egg yolk, thinly sliced basil, 1/3 cup parmesan, and 1/8 teaspoon each of salt and pepper. Place the ricotta filling in a pastry bag or in a plastic ziplock bag with a small tip cut off one of the corners of the plastic bag.
Prepare squash blossoms:
Carefully open each blossom. This can be a little tricky as they are delicate. Gently open the petals (lightly untwist the petals, there are four...don't pull too hard as you don't want to rip the petals down to the base). When you open the flower petals, you will find the stamen or pistil. You can use your fingers or small scissors to carefully remove it. At this point, you can remove the blossom from the baby squash or stem (I keep the stem on mine to use as a handle when turning in the pan, but the texture is a little tough so you may not want to eat it later). Lightly rinse under cool water and drain on paper towels.
Fill the blossoms:
When the blossoms have dried off a bit, open the petals again and fill the blossom with approximately 2 teaspoons of ricotta filling by gently squeezing it from the bag into the open blossom. Then, gently twist the end of the blossom to close the filling inside. Note: You will probably have some filling left over. I squeezed my leftover ricotta filling into my scrambled eggs the next morning 😉
Whisk together the flour, remaining 1/3 cup parmesan, 1/4 teaspoon salt, and seltzer water in a small bowl.
Fry the stuffed blossoms:
Heat 1/2 inch oil to 375°F in a 10-inch heavy skillet. While the oil is heating, dip half of the blossoms in batter to thinly coat. Fry the coated blossoms, turning once, until golden (1 to 2 minutes total).
With tongs, transfer the fried blossoms to paper towels to drain. Coat and fry the remaining blossoms. Season with salt and serve immediately with the zesty tomato sauce.
https://www.travelynneats.com/2018/10/28/stuffed-squash-blossoms/
Chocolate & Kale Detox Smoothie
I am easing into 2017. You have to admit, 2016 was a bit of a doozy… If you’re like me (a child of the 70s & 80s), the loss of David Bowie, Prince, George Michael and Princess Leia were mighty blows! (& these were just a few of the many revered popular and significant figures that left us…) So, not to get dark on you, but… OUCH. I won’t even get into the political drama that ensued this year. 2016–COME ON! The online/TV end-of-year recap was unlike any I remember with a middle digit montage on Last Week Tonight with John Oliver, and the final hoorah: Mariah Carey’s Times Square New Year’s Eve performance. Girl, we feel ya– 2016 was rough…
☆2017 just seems like something that needs to be gently approached☆
Each year, I’ll tell you I don’t make resolutions as I’m drafting my list. Despite my hesitance, I’m pretty good at sticking to them though. This year, as I started contemplating my list, I took note of a new trend: setting intentions. Ok, ummm yeah… I like it. It’s very 2017. Like “hey, things have been rough…we made it though….let’s just slide into this next thing a bit…” In the spirit of smooth transitions, I have set my intentions for 2017. High on the list is a much stronger focus on CLEANER EATING. I say CLEANER instead of CLEAN because there is a good chance on my business trip to California next week, I’m going to end up with an In-N-Out burger (animal style, duh…) in my face.
I’m starting somewhere, though. Intentions, right? Set myself up for success, you know… Because this isn’t about a diet, this is about diet. This is about me knowing there is a direct connection between what we eat and how we move through life. While I eat fairly healthy, my off button and filters don’t always work so well. So, last night, an hour after I ate my dinner (a big ‘ole fluffy kale salad), I tossed back a frozen pizza with reckless abandon. My weakness is frozen pizza (I know… seriously… what…). There are three in the freezer right at this very moment…
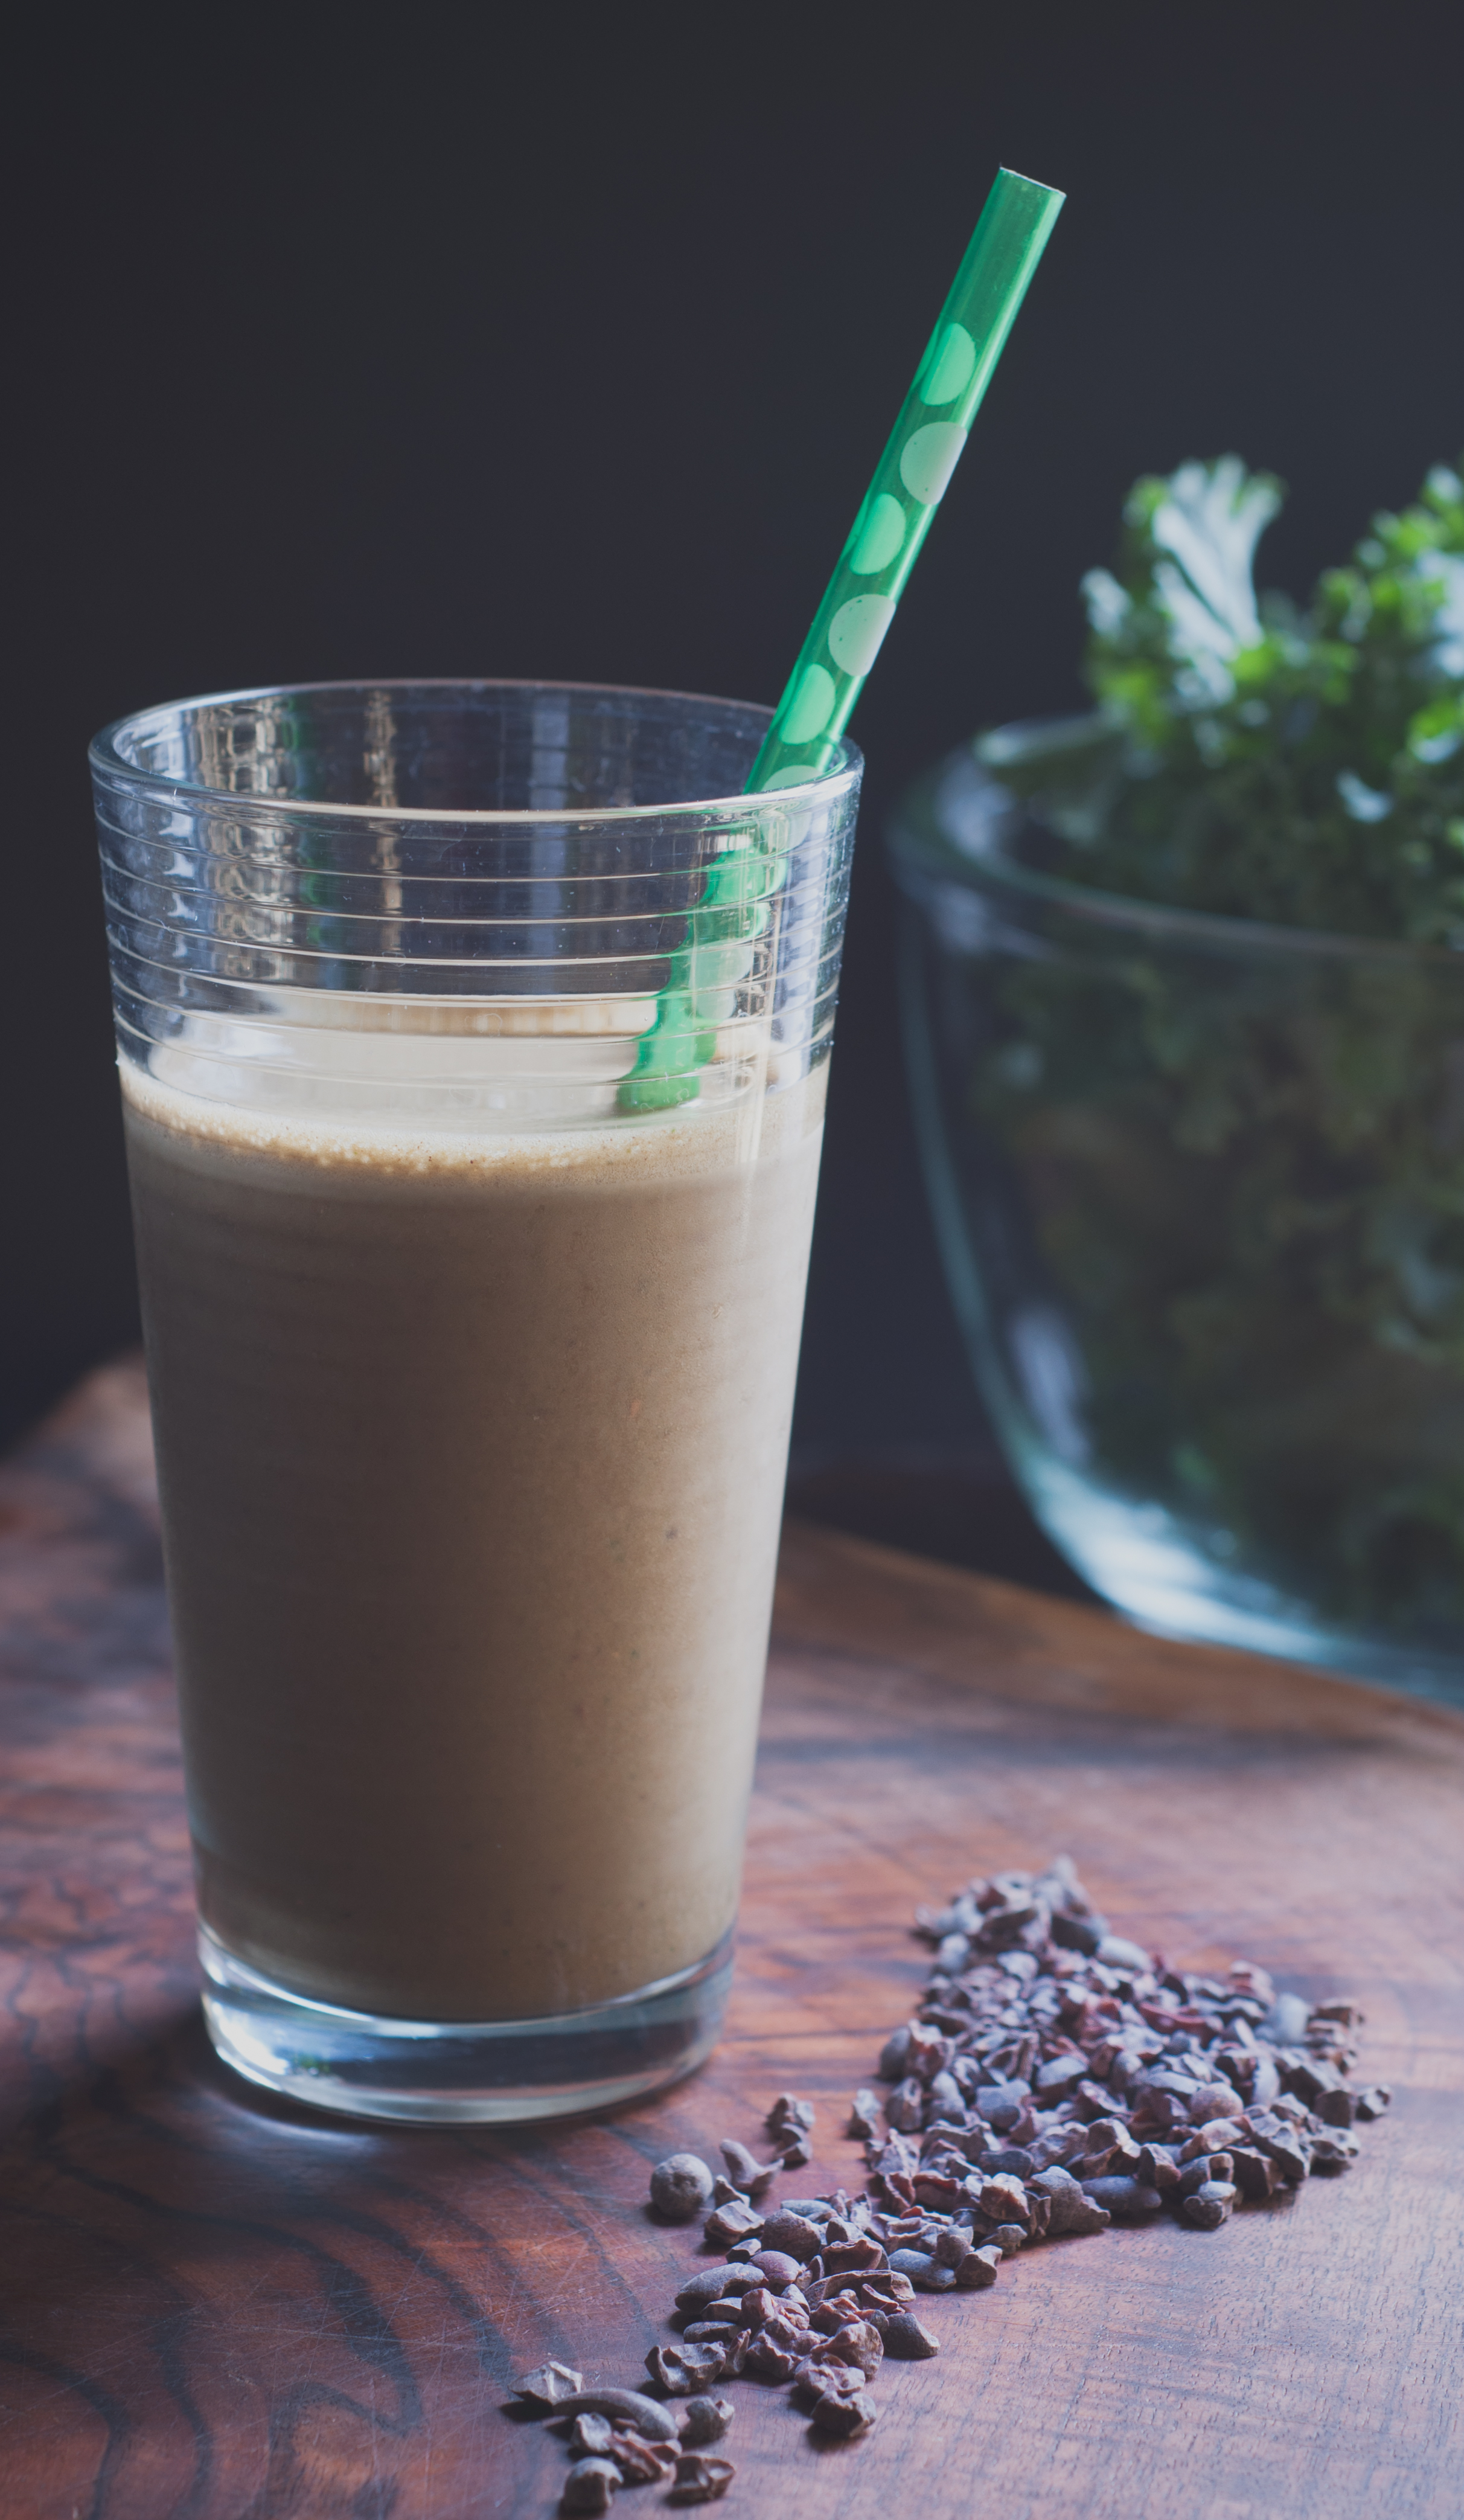
So, I’m going to kick things into gear with a 21-day detox program right after my business trip. More to follow on that. But, I feel like something NEEDS to BE done NOW!!! I really feel like I need to do a control-alt-delete on myself, but hey… easy does it. So, in the spirit of easing out of the craziness of 2016 and into the reset that I know needs to happen in 2017: I’m starting with this Chocolate & Kale Detox Smoothie.
Oh wait, wait, wait! Don’t close out of the page after reading the words chocolate and kale in the same sentence. You don’t taste the kale at all. Meantime, it’s working it’s leafy super green magic on your guts. The chocolate~~ well, that’s a sneaky little bit as well. The chocolate in this smoothie comes from two superfood ingredients: cacao powder and cacao nibs. And who doesn’t love the words “superfood” and “chocolate” used together… Toss in some frozen bananas, almond milk, and a couple drops of liquid Stevia (and it doesn’t even really need this tiny boost of sweetness, but hey… we said ‘easing in’ right), and you have a creamy, chocolatey, decadent smoothie–that you, my dear, do not need to feel the least bit guilty about.
I want to talk about a few of the ingredients real quick before we get into the blender action, because then things move real quick!
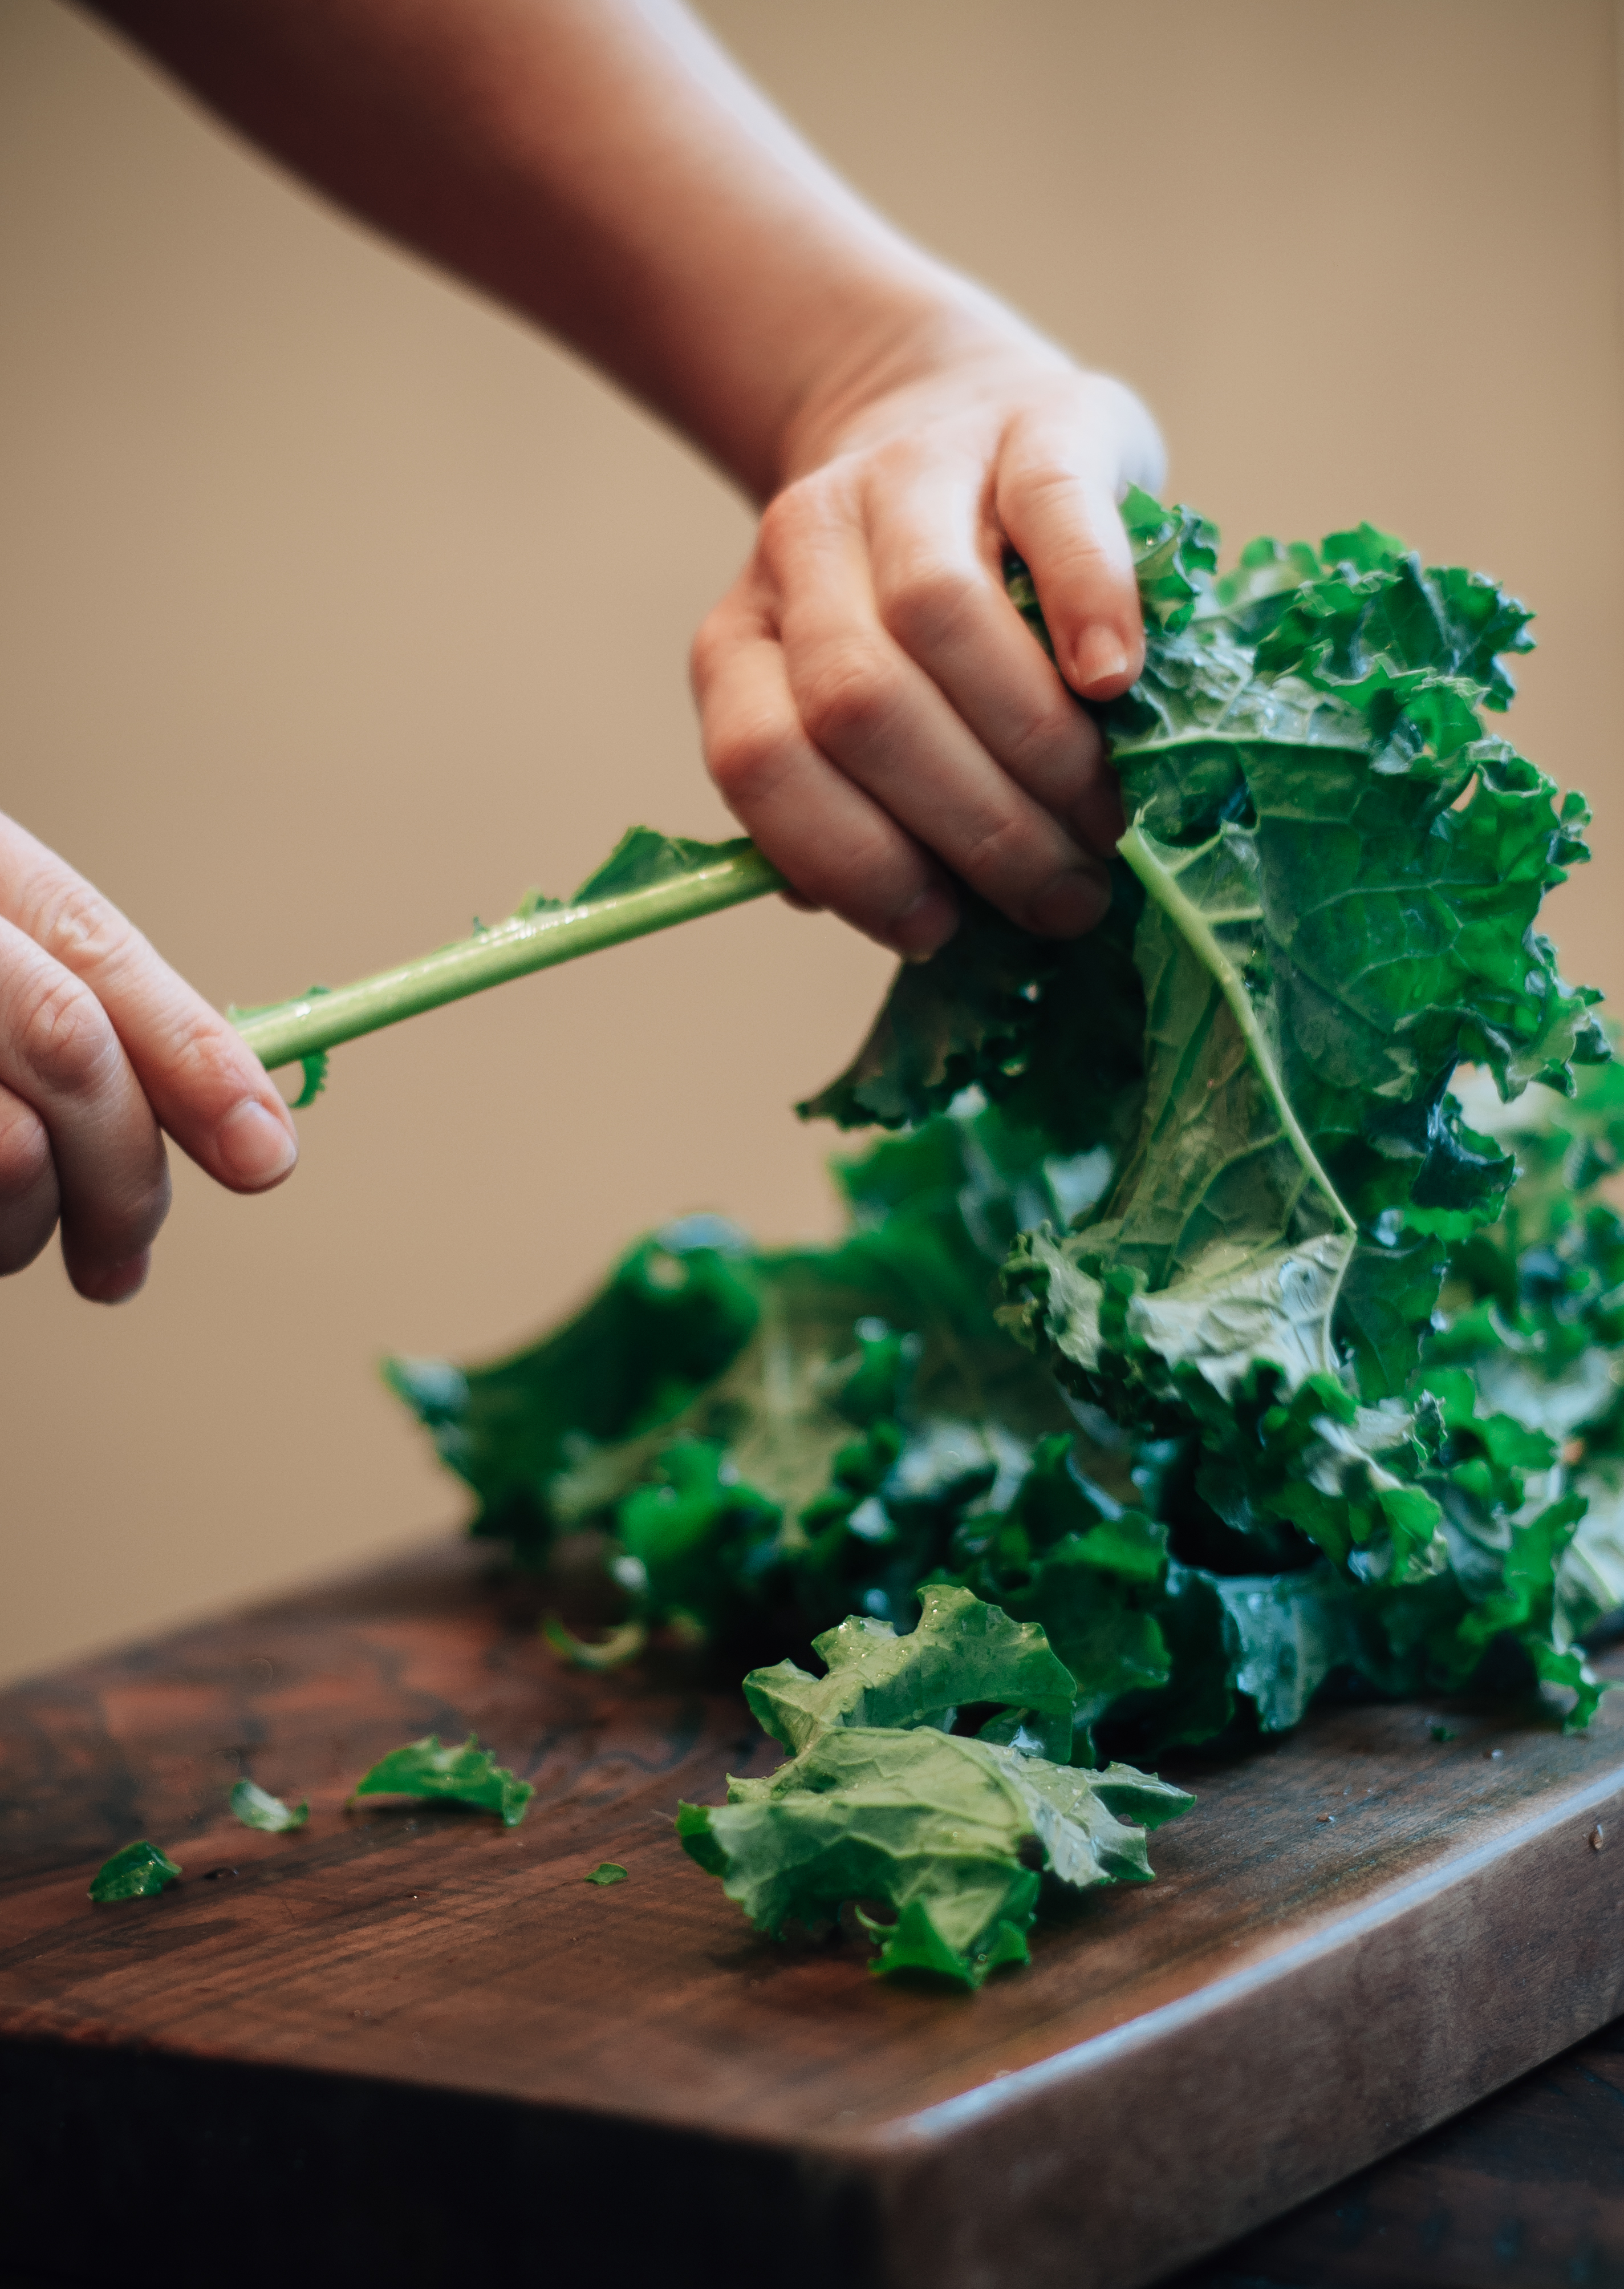
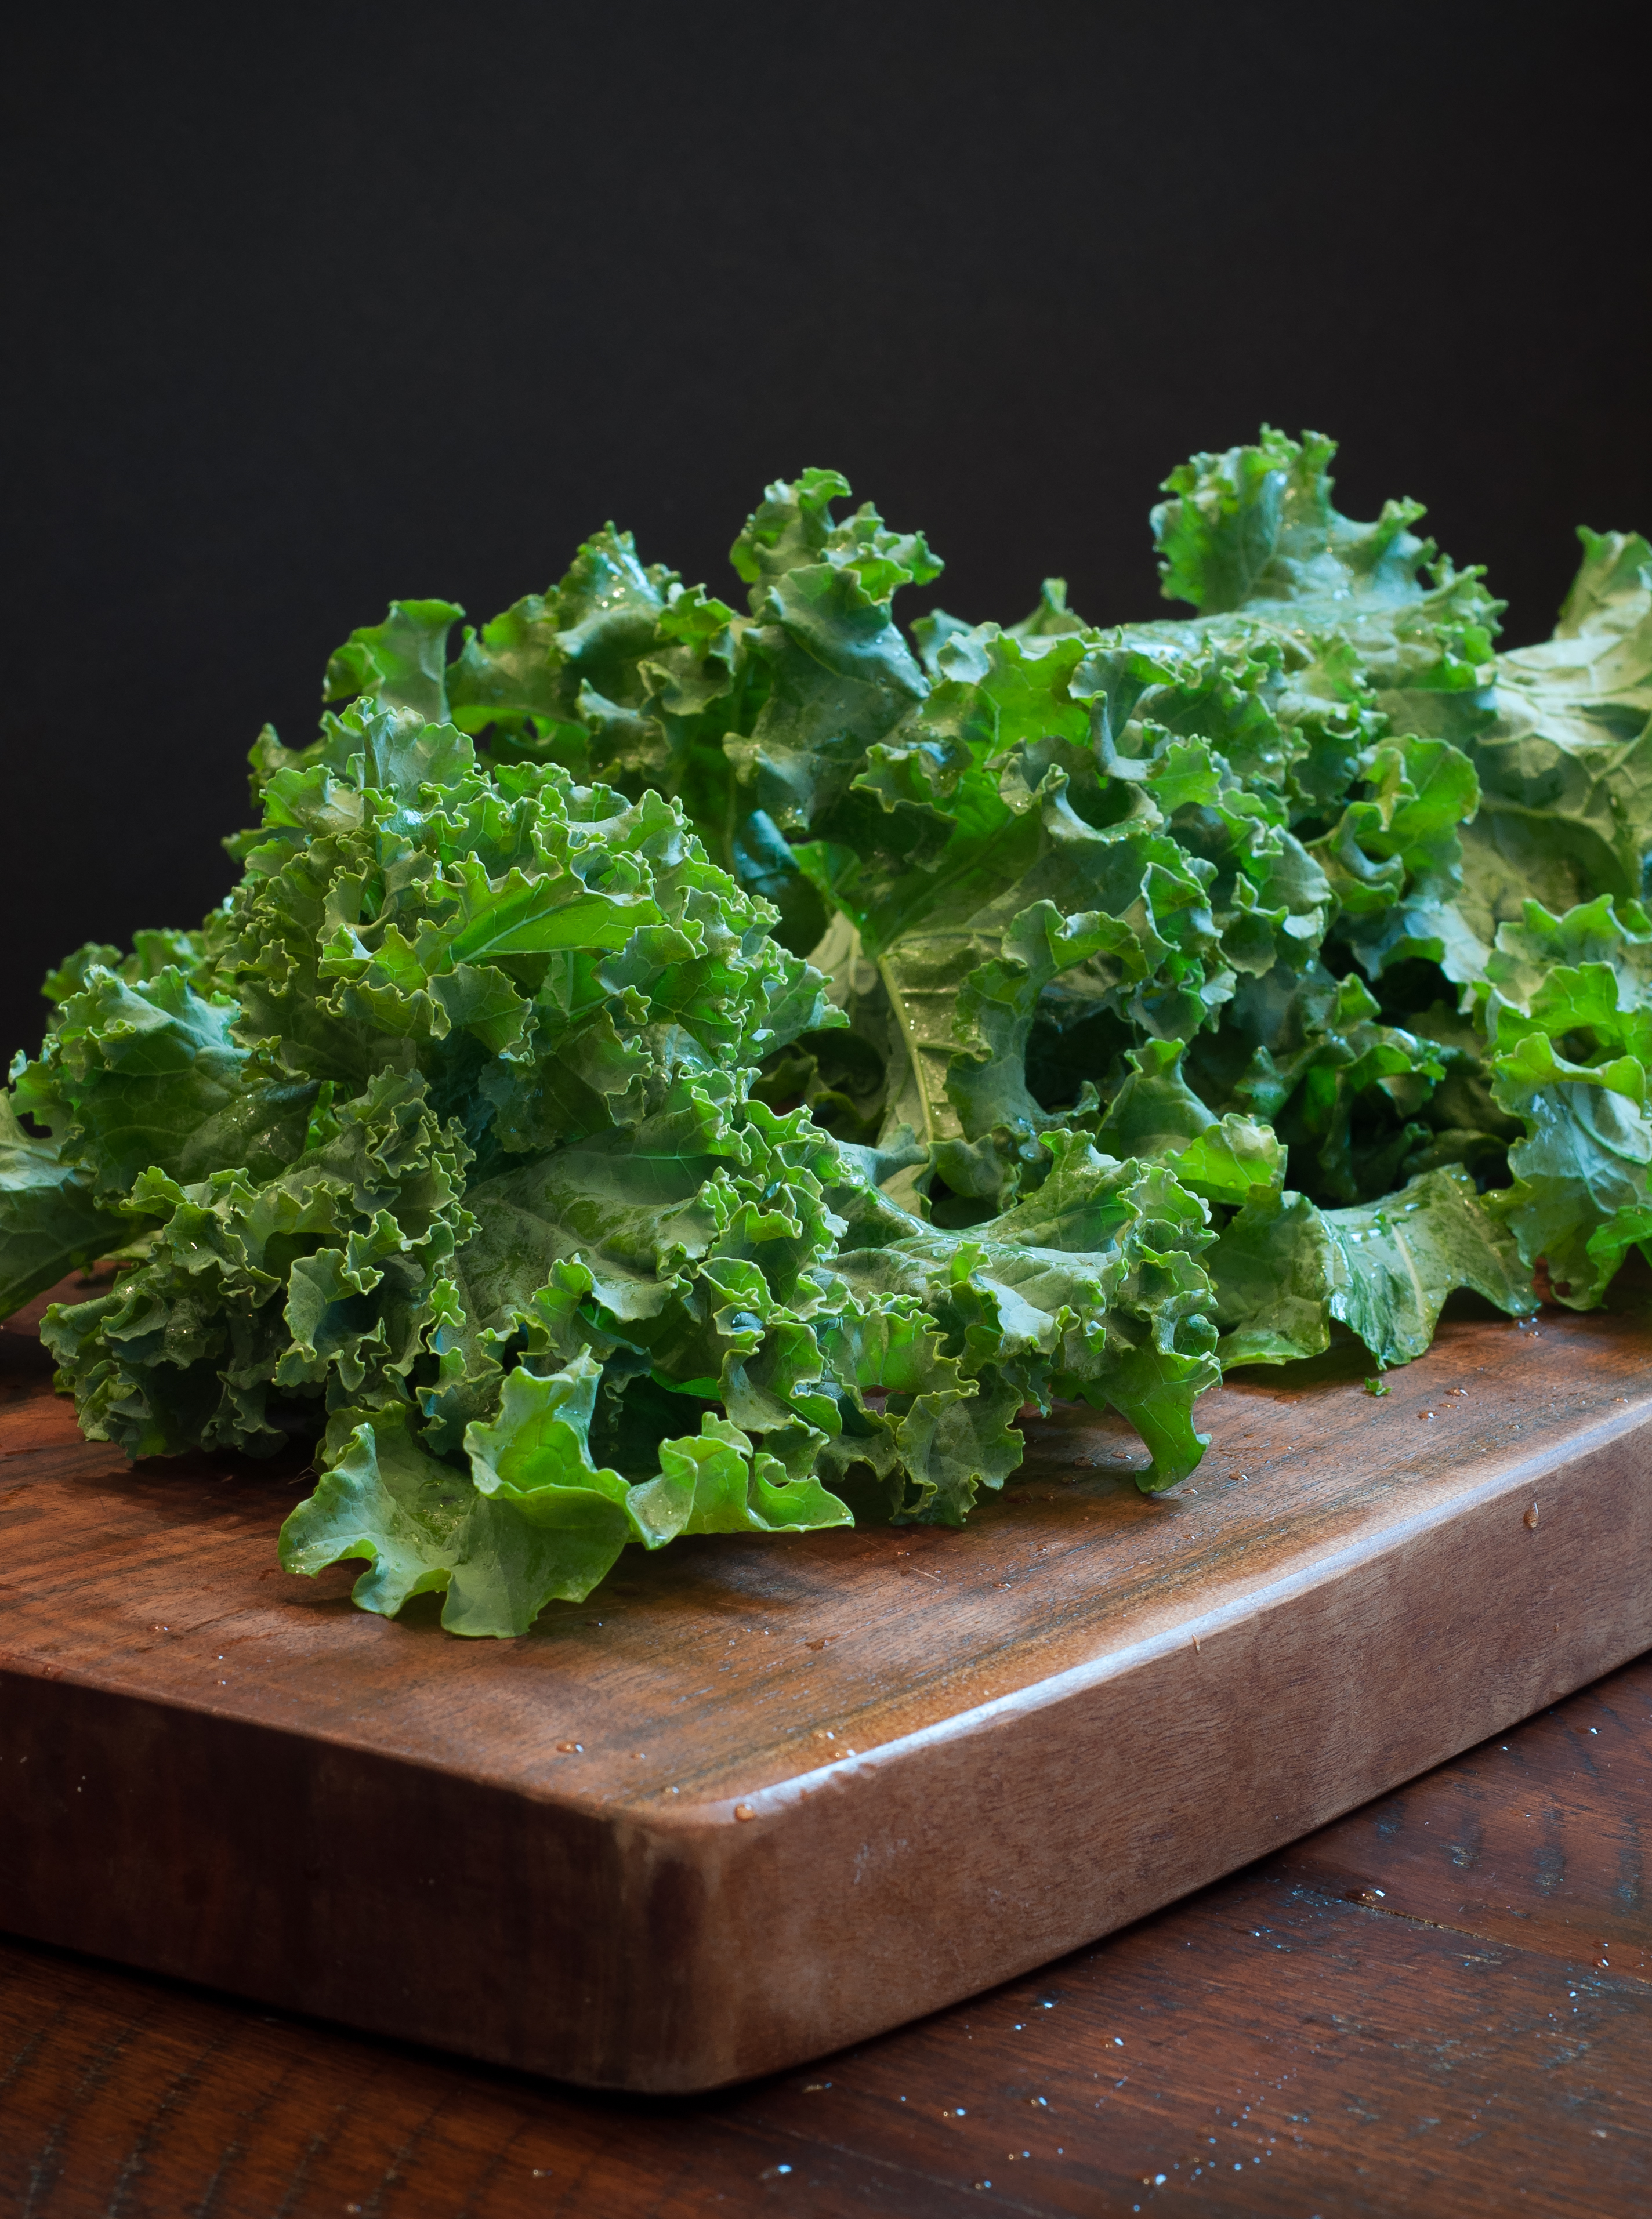
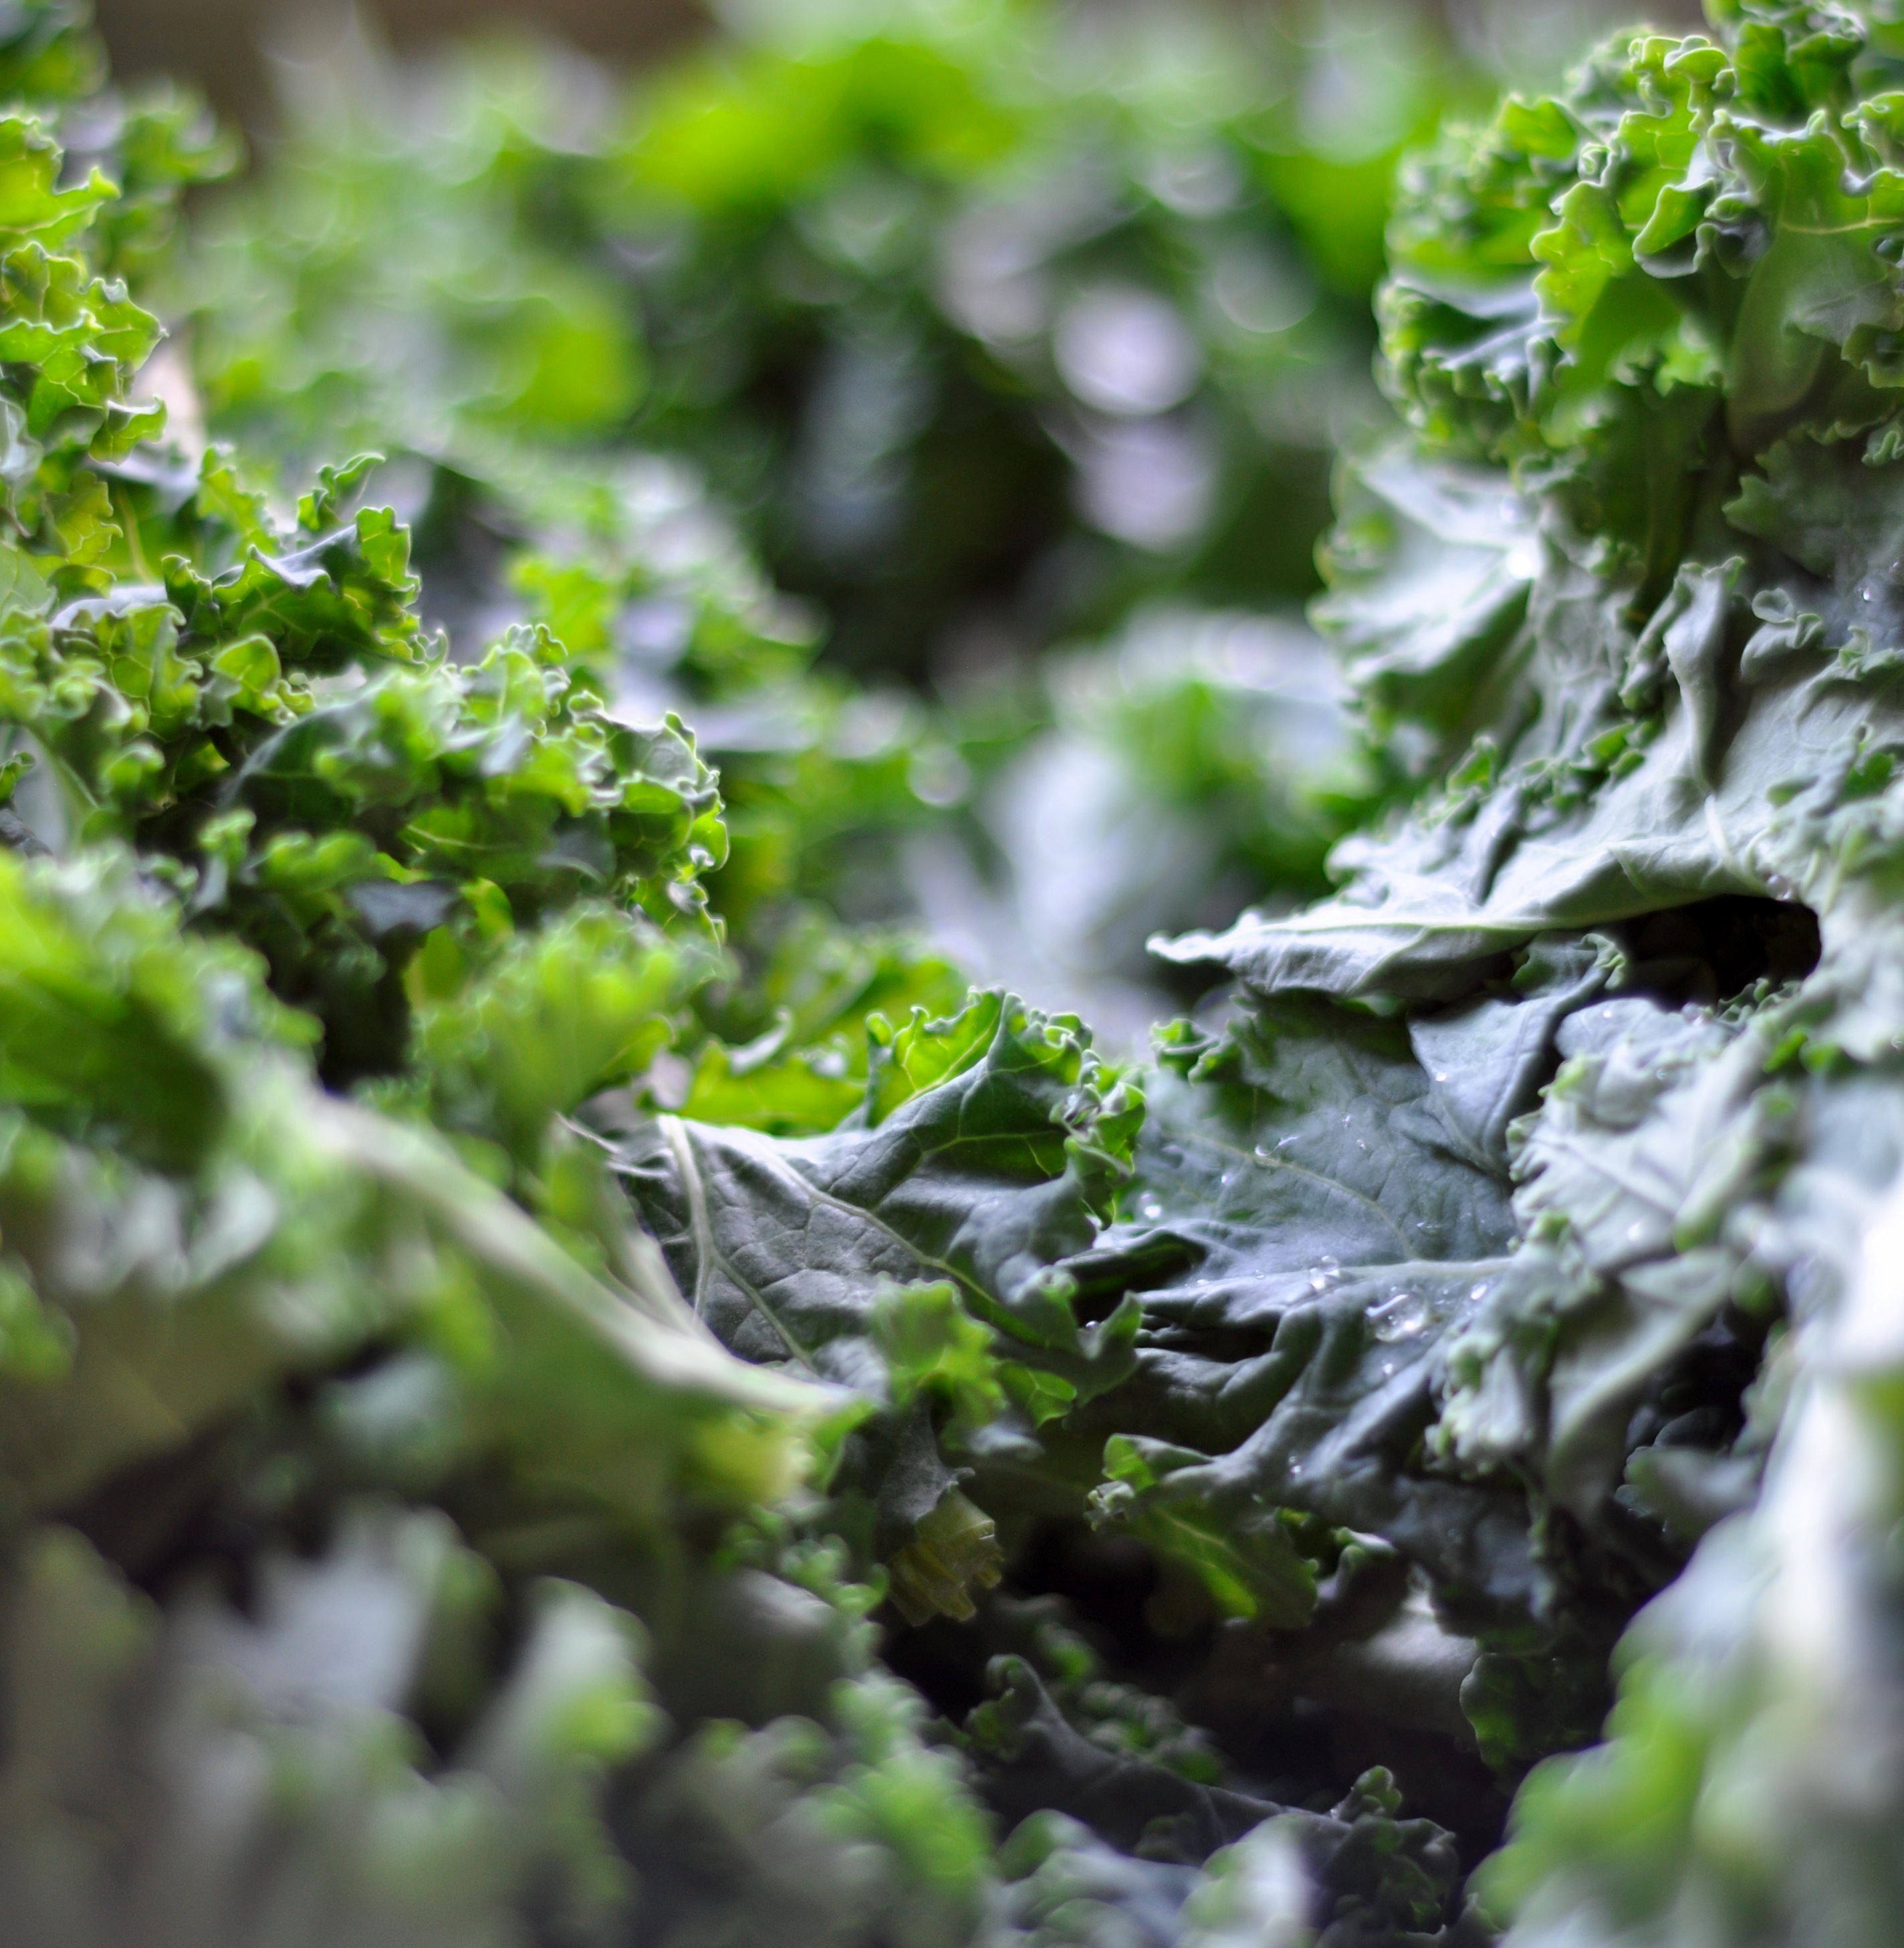
KALE. I love it. I didn’t always love it. But, I’m about two clicks away from being one of those “Oh Kale Yeah” t-shirt-wearing-gals. It adds texture to salad, it bakes into dishes really well, it sautés beautifully in olive oil with a splash of apple cider vinegar, maple syrup and fresh grated ginger. And just take a moment to admire the stunning pop of green that shows up in your sauté pan… And, if we’re not on the same (kale) page yet, this is the recipe for you… because, like I said, you aren’t going to taste it. So, let me offer up one more bit on kale. If you’ve been grabbing the bag of pre-cut kale (with the big chunks of stem cut up in there too), I want to ask you to try something new. I want you to grab the big, loose leaf (or bundled) organic kale. I want you to gently slide the leaf off the main stem, grab the leaves up in a bunch, and thinly slice the leaves into little kale ribbons. Then, while on the cutting board or in a bowl. I want you to give that kale a nice little massage, maybe just a minute or two. Tell it you love it, and then say hello to your new favorite Brassica oleracea. Massaged kale softens up a bit, which makes it easier to digest– and just watch how the color brightens!
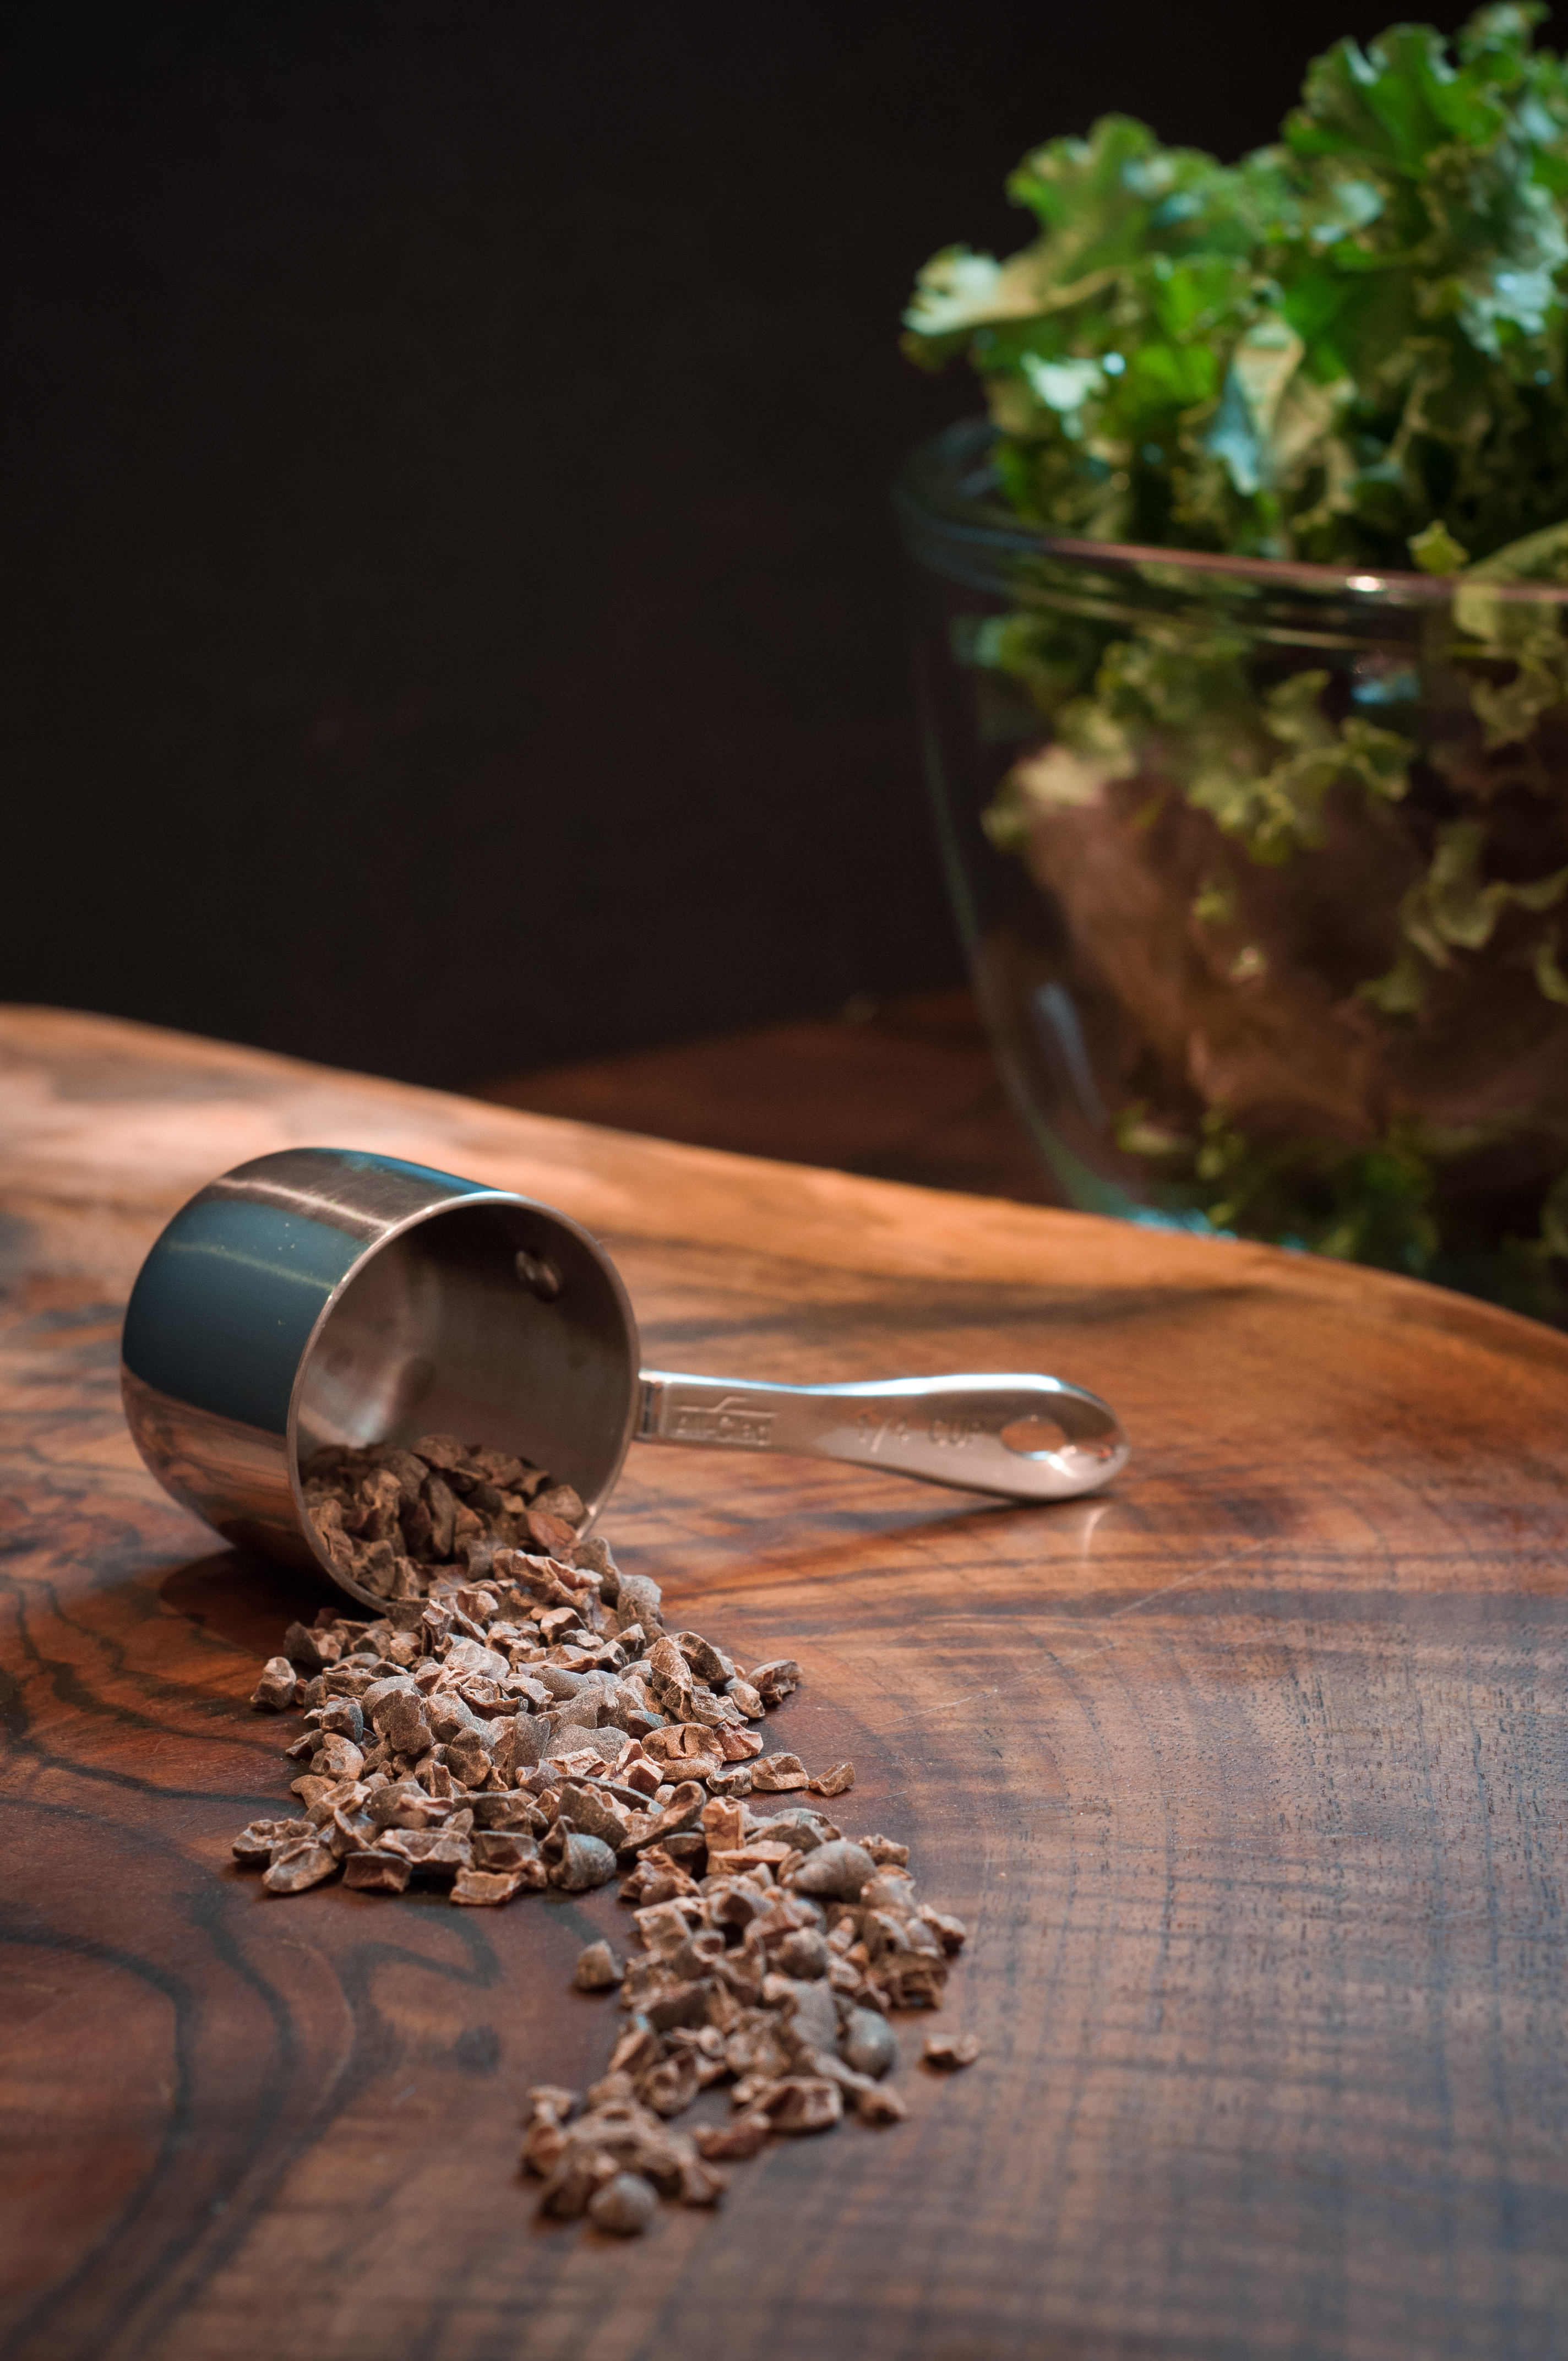
CACAO NIBS. I grabbed all my grocery list items and thought, “what the heck, lemme see if <mainstream grocery store> carries cacao nibs.” … Me: “Sir {to grocery store manager walking by}, do you y’all carry cacao nibs?” … Store manager guy: “Oh yes, let me grab that for you.” … Me (never-ending conversation with self inside head): “Score!” … Store manager guy: “Here you go.” Handing me a bag of chocolate chips. Me {in my most polite and slightly ridiculous tone}: “No, nibs not chips.” … Store manager guy: “What’s a nib?” Touché, Sir. Touché…
Cacao nibs are cacao beans that have been roasted, separated from their husks, and crushed into smaller pieces. It’s basically chocolate in its raw, pure form. And who doesn’t love things in their raw, pure forms?… So, think “less sweet, slightly nutty” flavor. Kinda like me with the grocery store manager. Look, the short version is: cacao nibs are chocolate before all the bullshit additives come into the picture. Yes, I know, I like them too… but when you’re trying to detox a bit you gotta find the opportunities. Plus, you get antioxidants, fiber, iron and magnesium– and what’s not to love about that…?
FROZEN BANANAS. This will be short. Go buy a bunch of bananas. Then, when you’re like, “Oh hey, these bananas look perfectly ripe…oh crap, if I don’t eat all 8 bananas in two days I will have a brown pile of goo on the counter!” That’s when I want you to peel them, cut them in half, put them in a ziploc bag and toss them in the freezer. Because always having frozen bananas on hand for smoothies is one of life’s simple pleasures…
Ok, now take a quick glance at the ingredients. You’re going to toss them in the blender, give them a big, looooong whirl. Done. Kick back, take a sip. Feels kinda indulgent, huh?… You did it, you made it through some rough bits this year; treat yourself and know that this one is totally GOOD for you!
☆Cheers to all that is ahead of us, 2017!☆
“My friends, love is better than anger. Hope is better than fear. Optimism is better than despair.
So let us be loving, hopeful and optimistic. And we’ll change the world.”
~Jack Layton
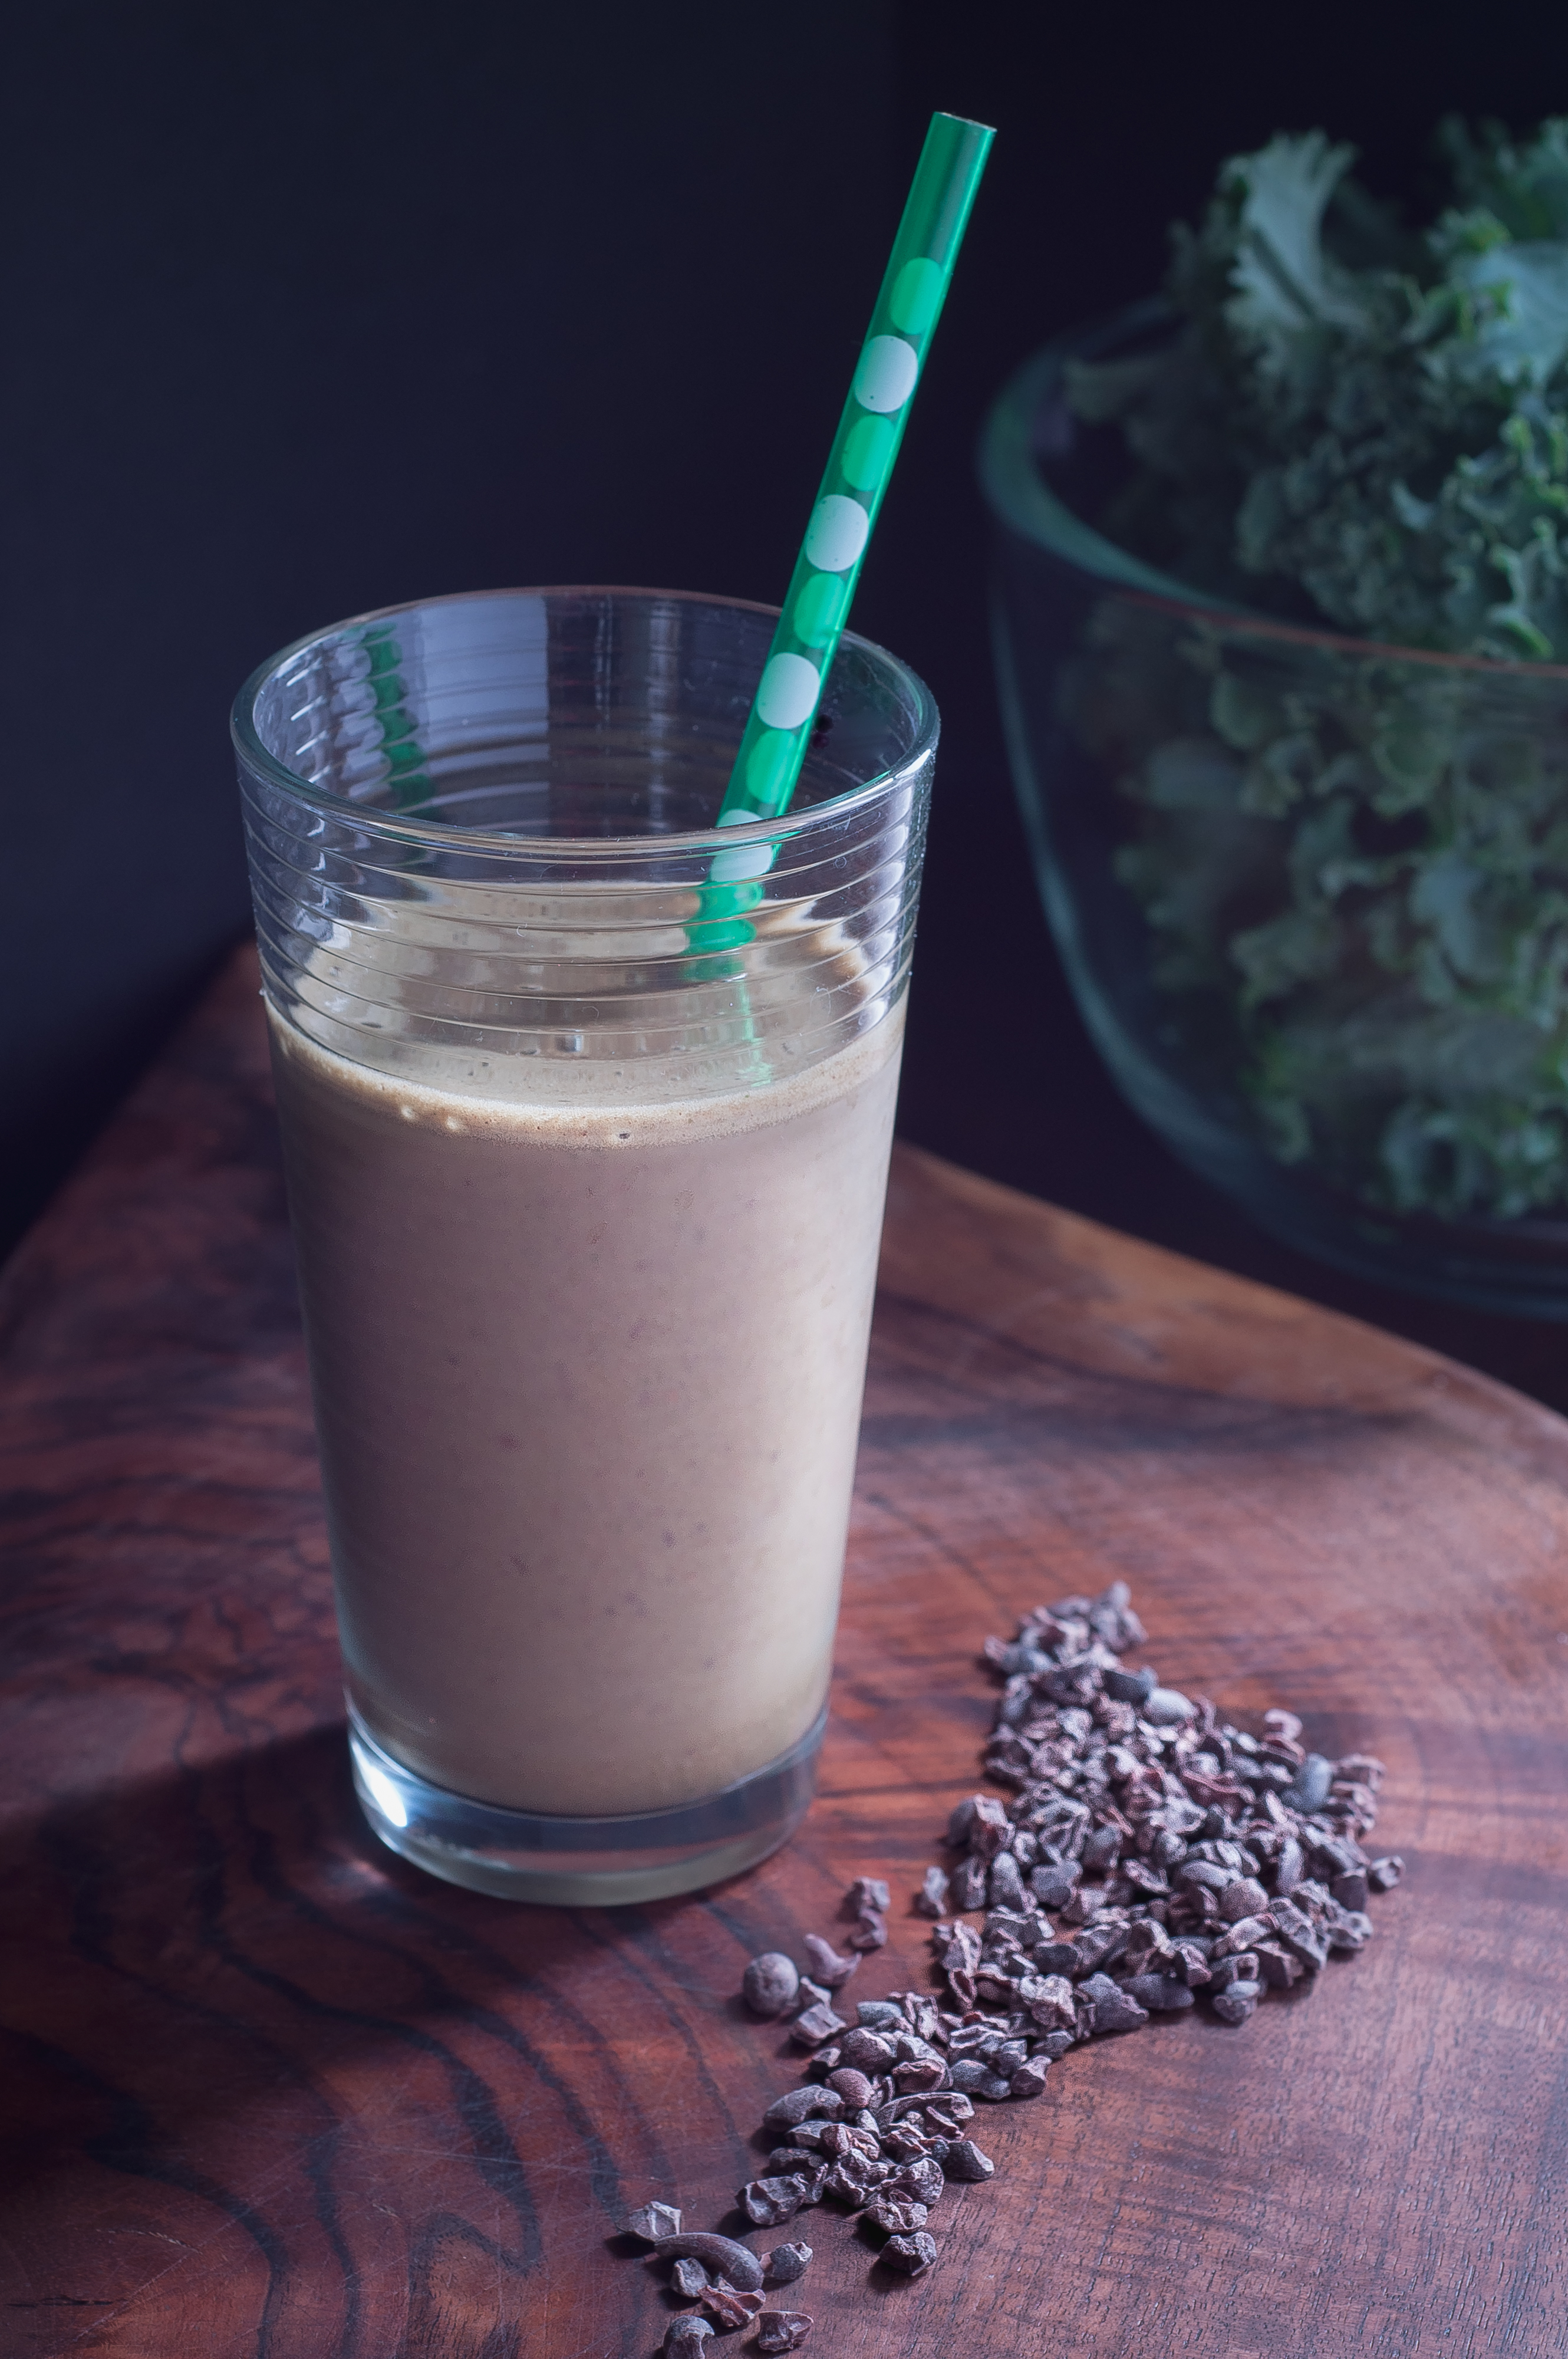

- 1 1/2 cups chopped, packed organic kale
- 3 tablespoons cacao nibs
- 2 tablespoons cacao powder
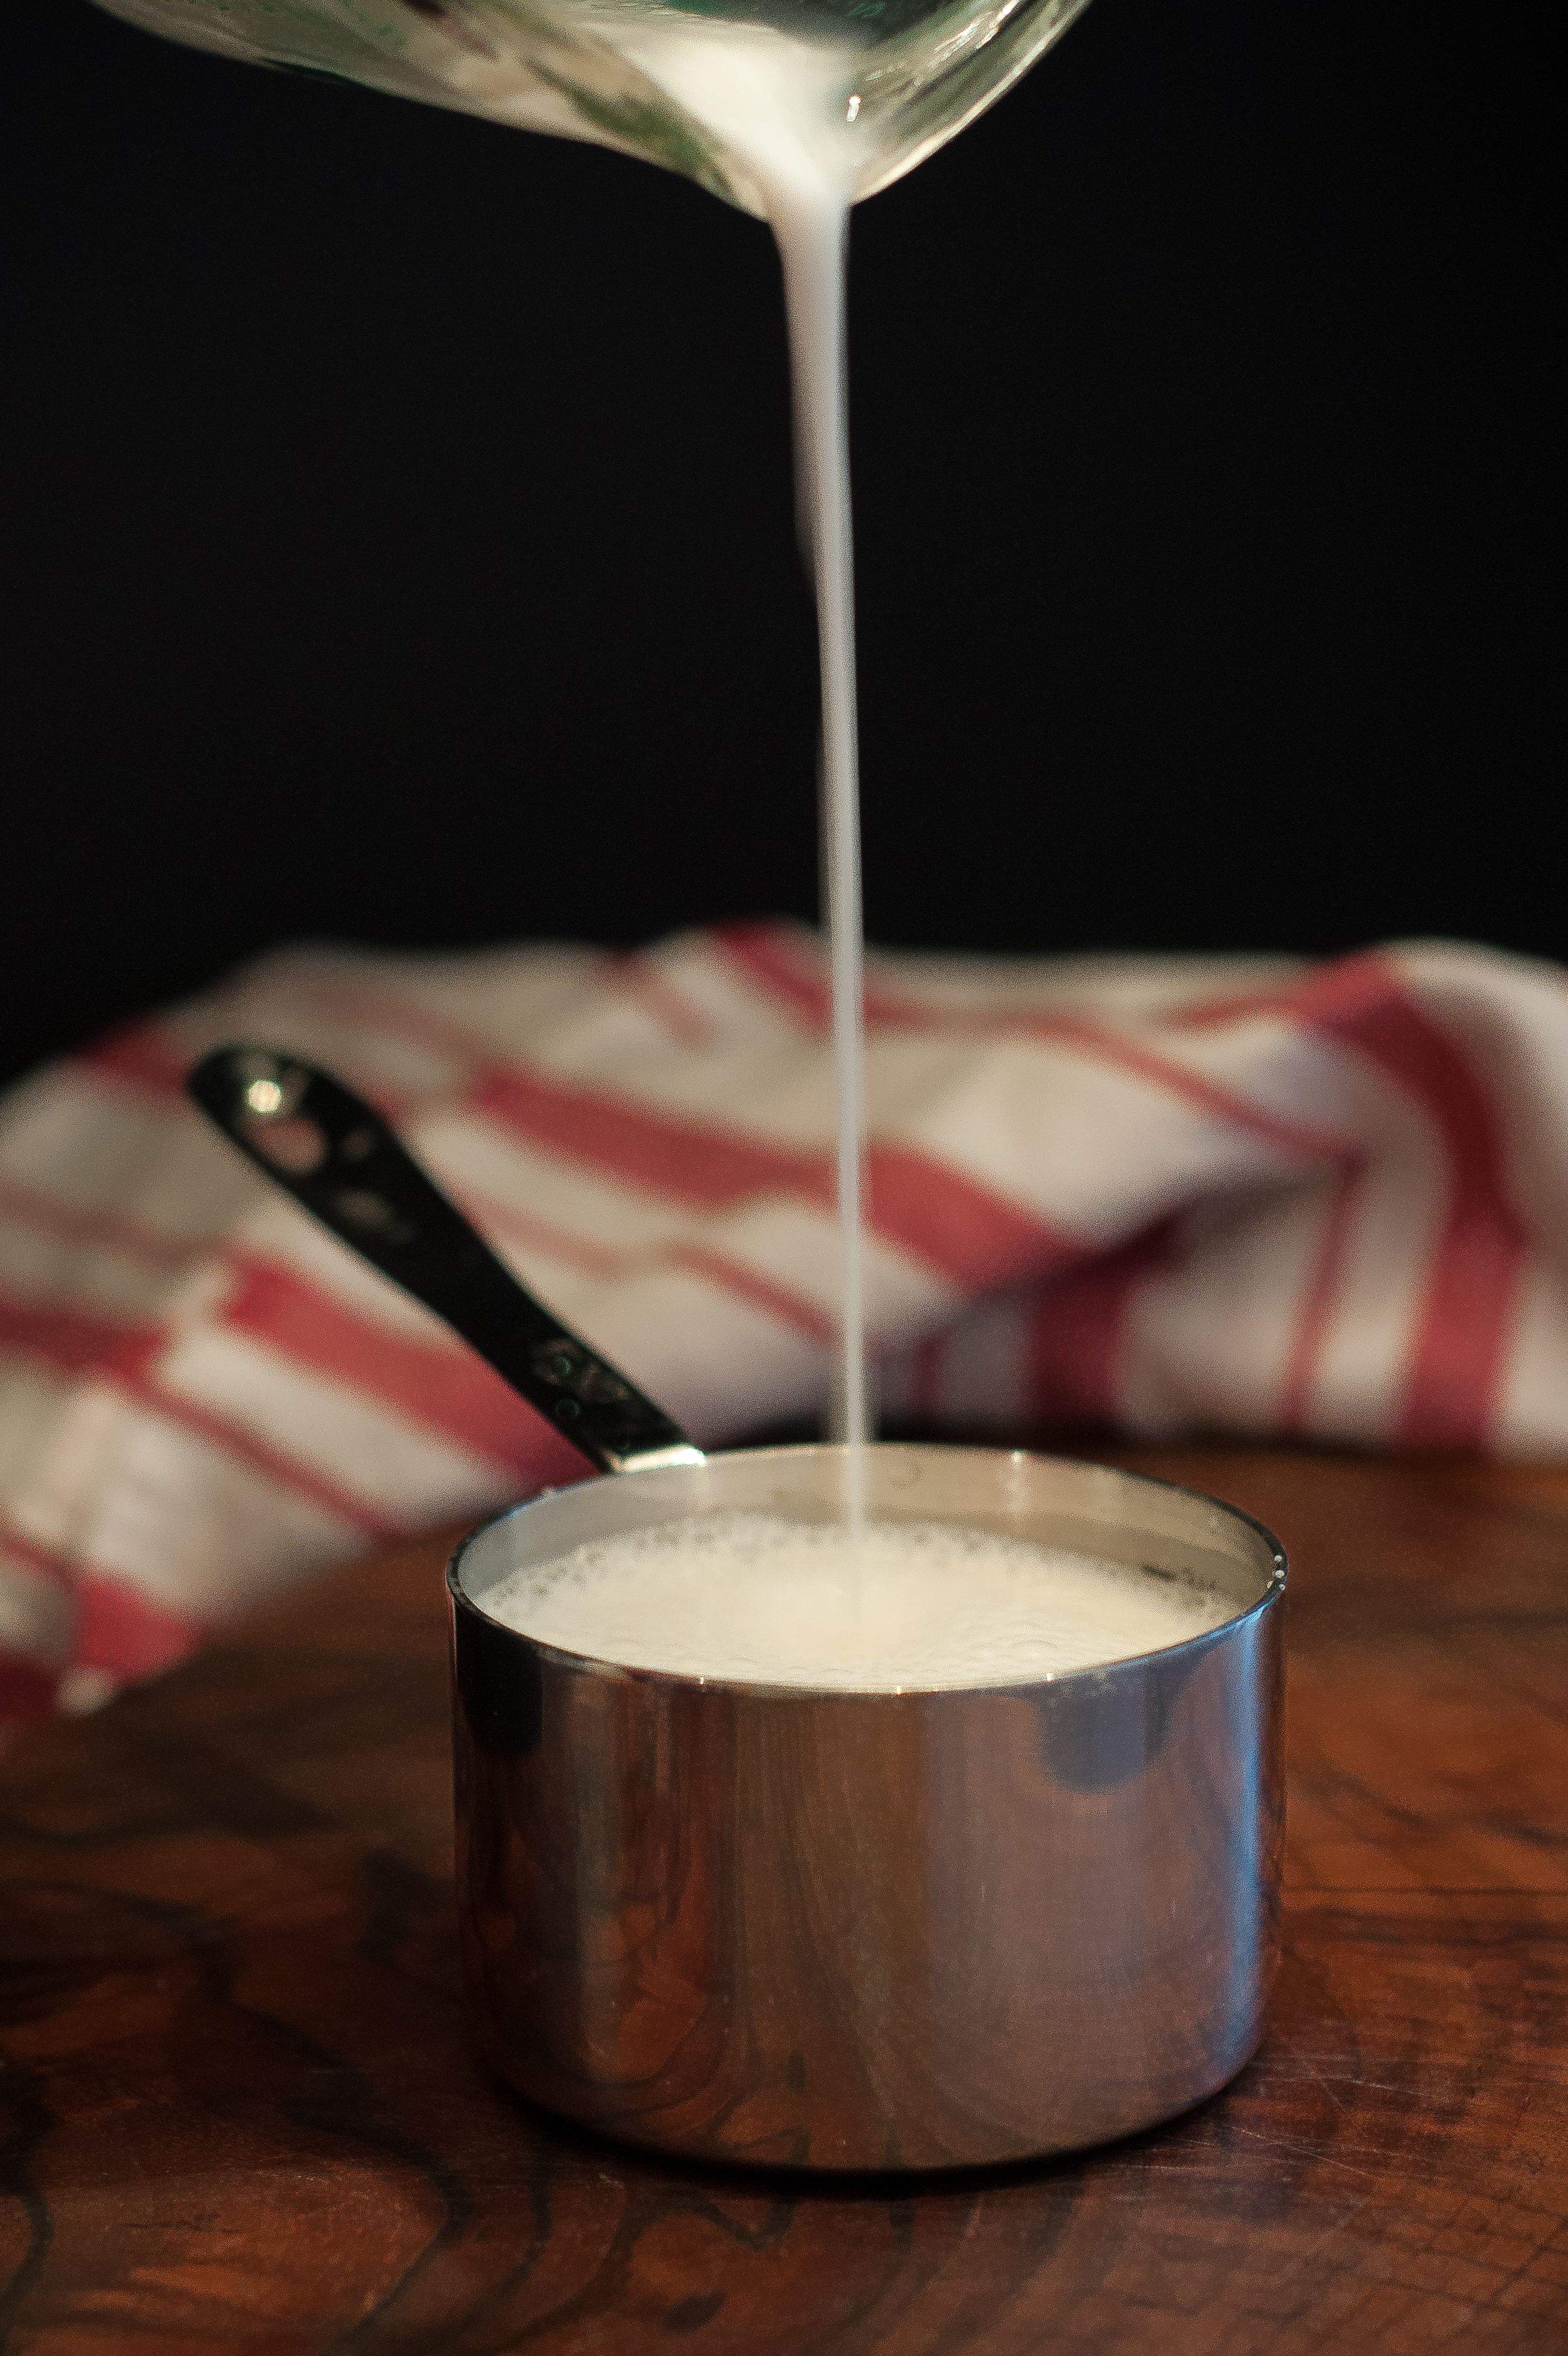
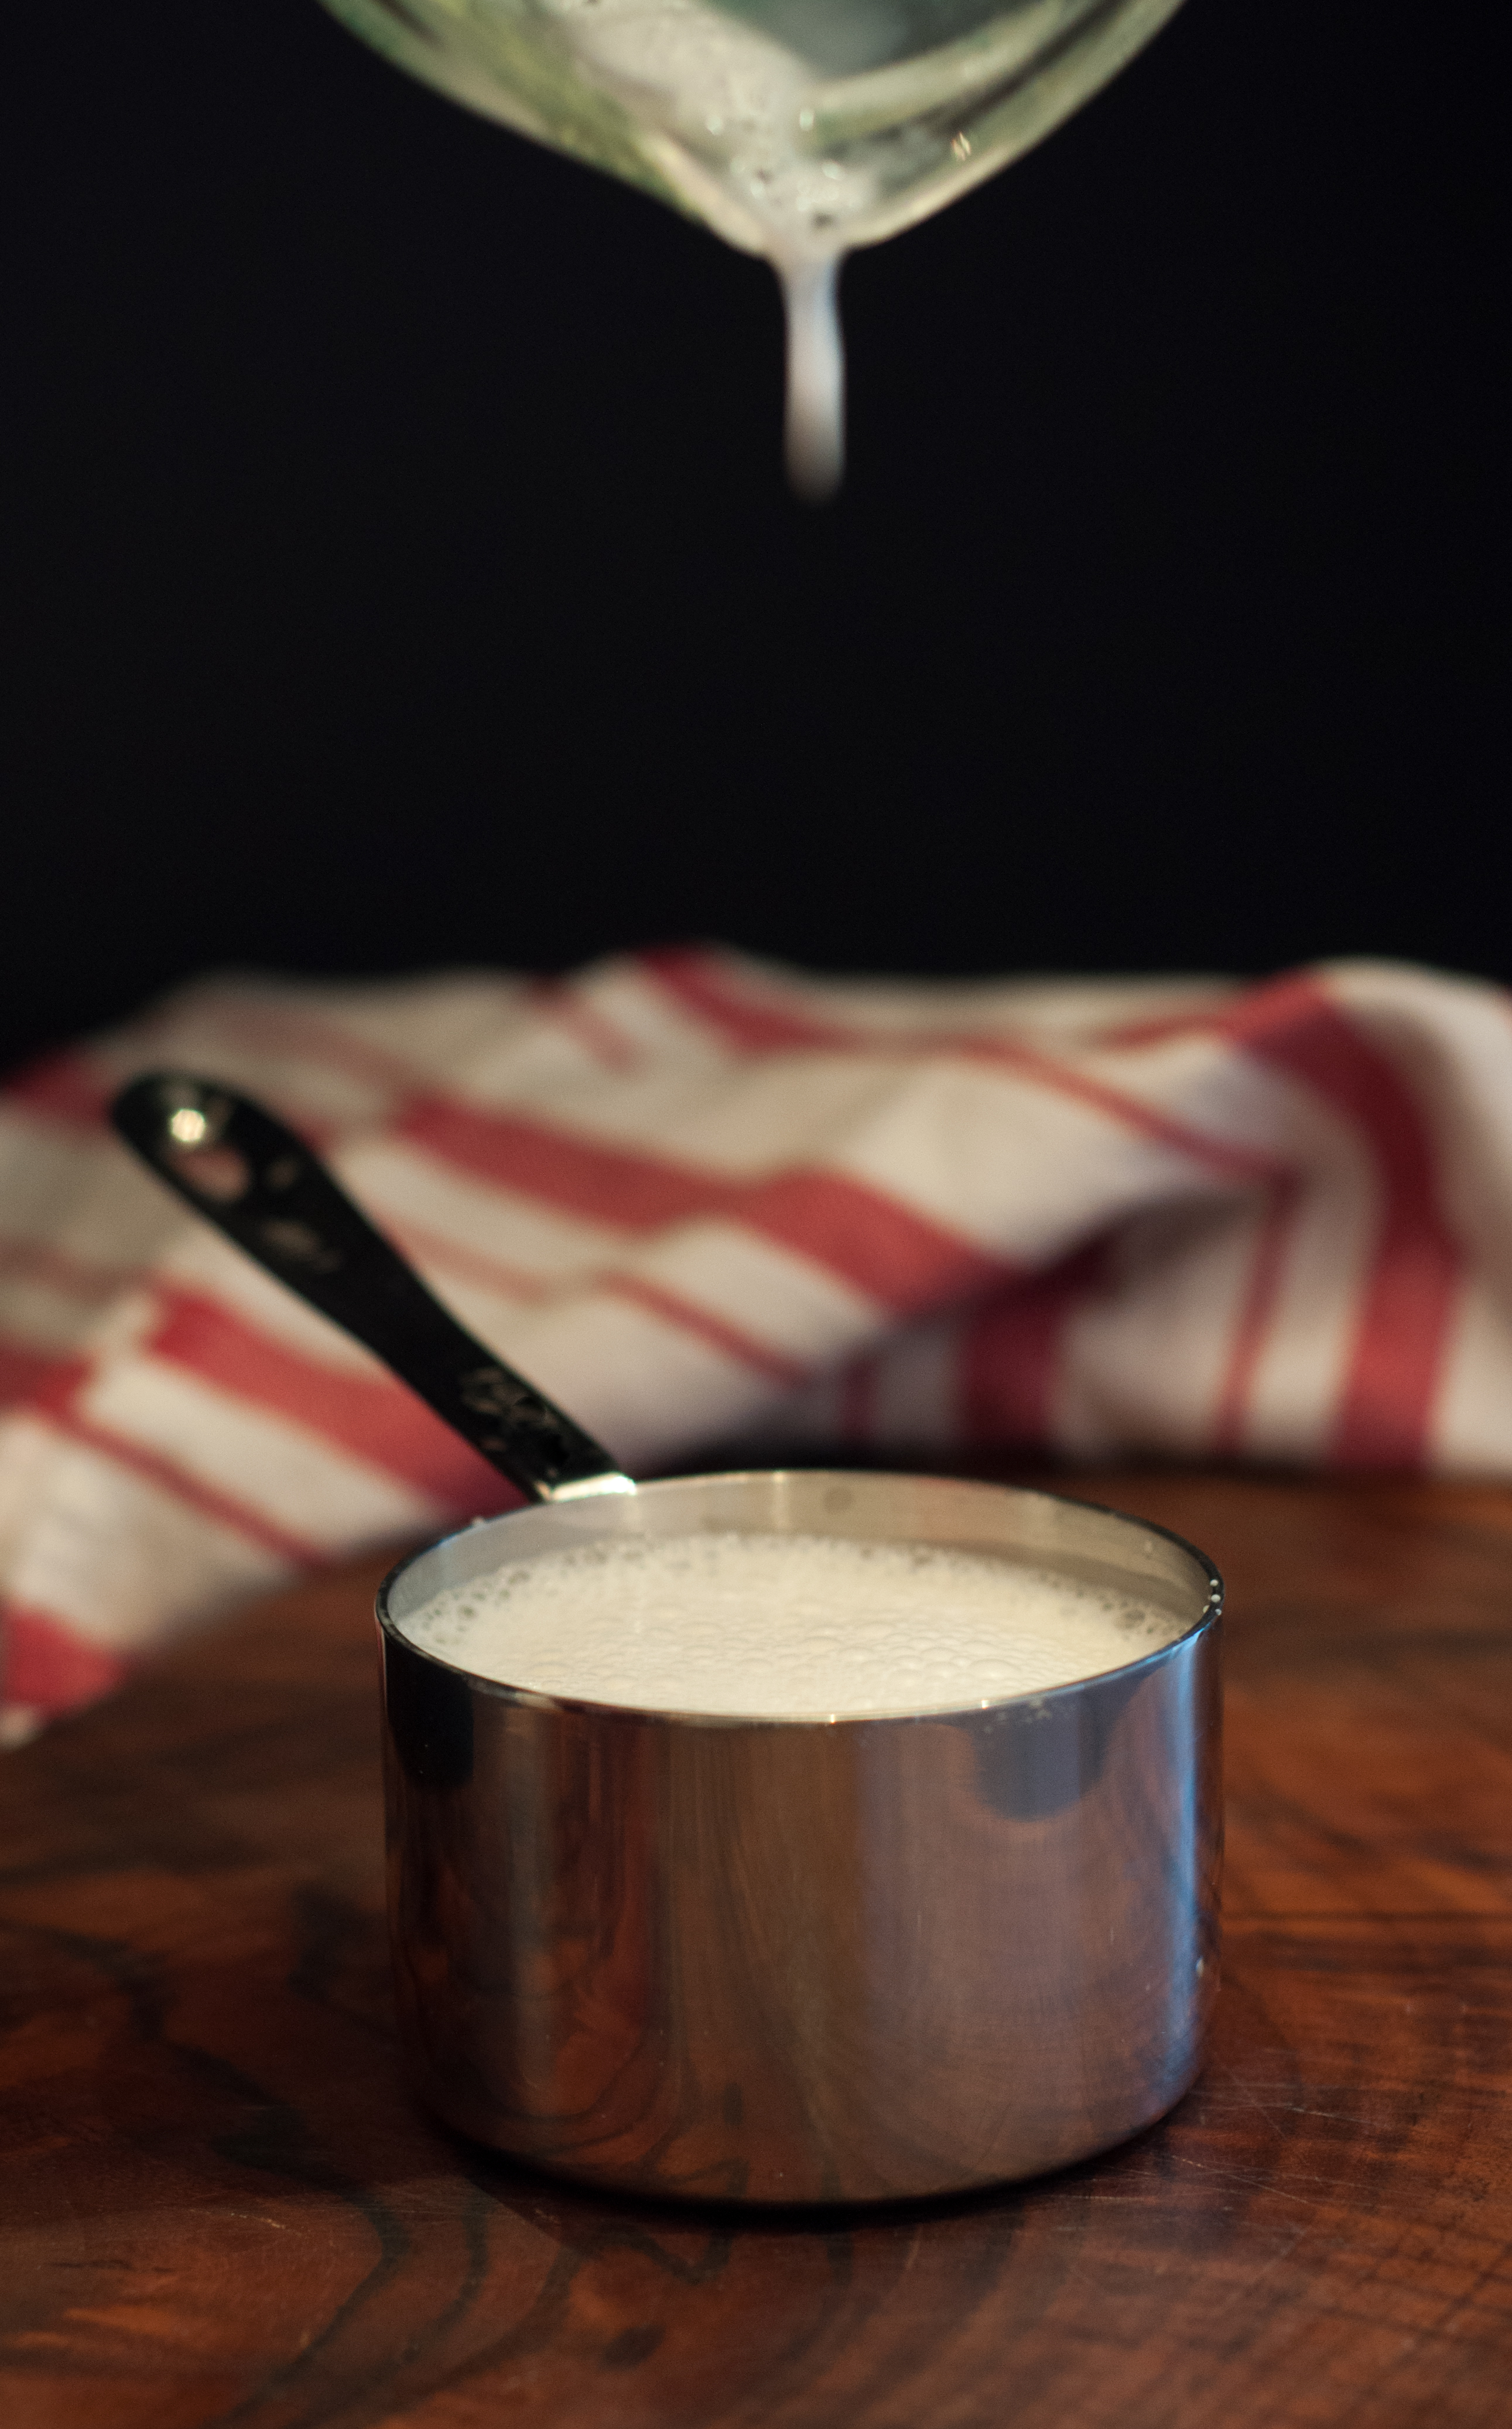
- 1 1/2 cups original, unsweetened almond milk
- 2 drops Stevia liquid sweetener
- 2 frozen bananas
- 1 cup ice
- Add all ingredients to smoothie blender and process until smooth.
- Enjoy immediately!
Baked Eggs with Roasted Acorn Squash & Kale
If you know me, like really know me… you know I’m an introvert (that was possibly an understatement). So, even though my California soul longs to be out, flip flops on, frolicking around on the beach with my homies,… this winter thing kinda suits my need to turn inside, go into my gal cave, stay in my jammies all day, sip my coffee slowly, get mesmerized by the twinkling lights on the Christmas tree, savor the sweetness of solitude, and just RECHARGE. So, while I resist winter with every fiber of my being, December is actually a soothing time of year for me. Beyond the obvious that is the holiday season, there is a subtle settling into a transition that transcends the autumnal shift.
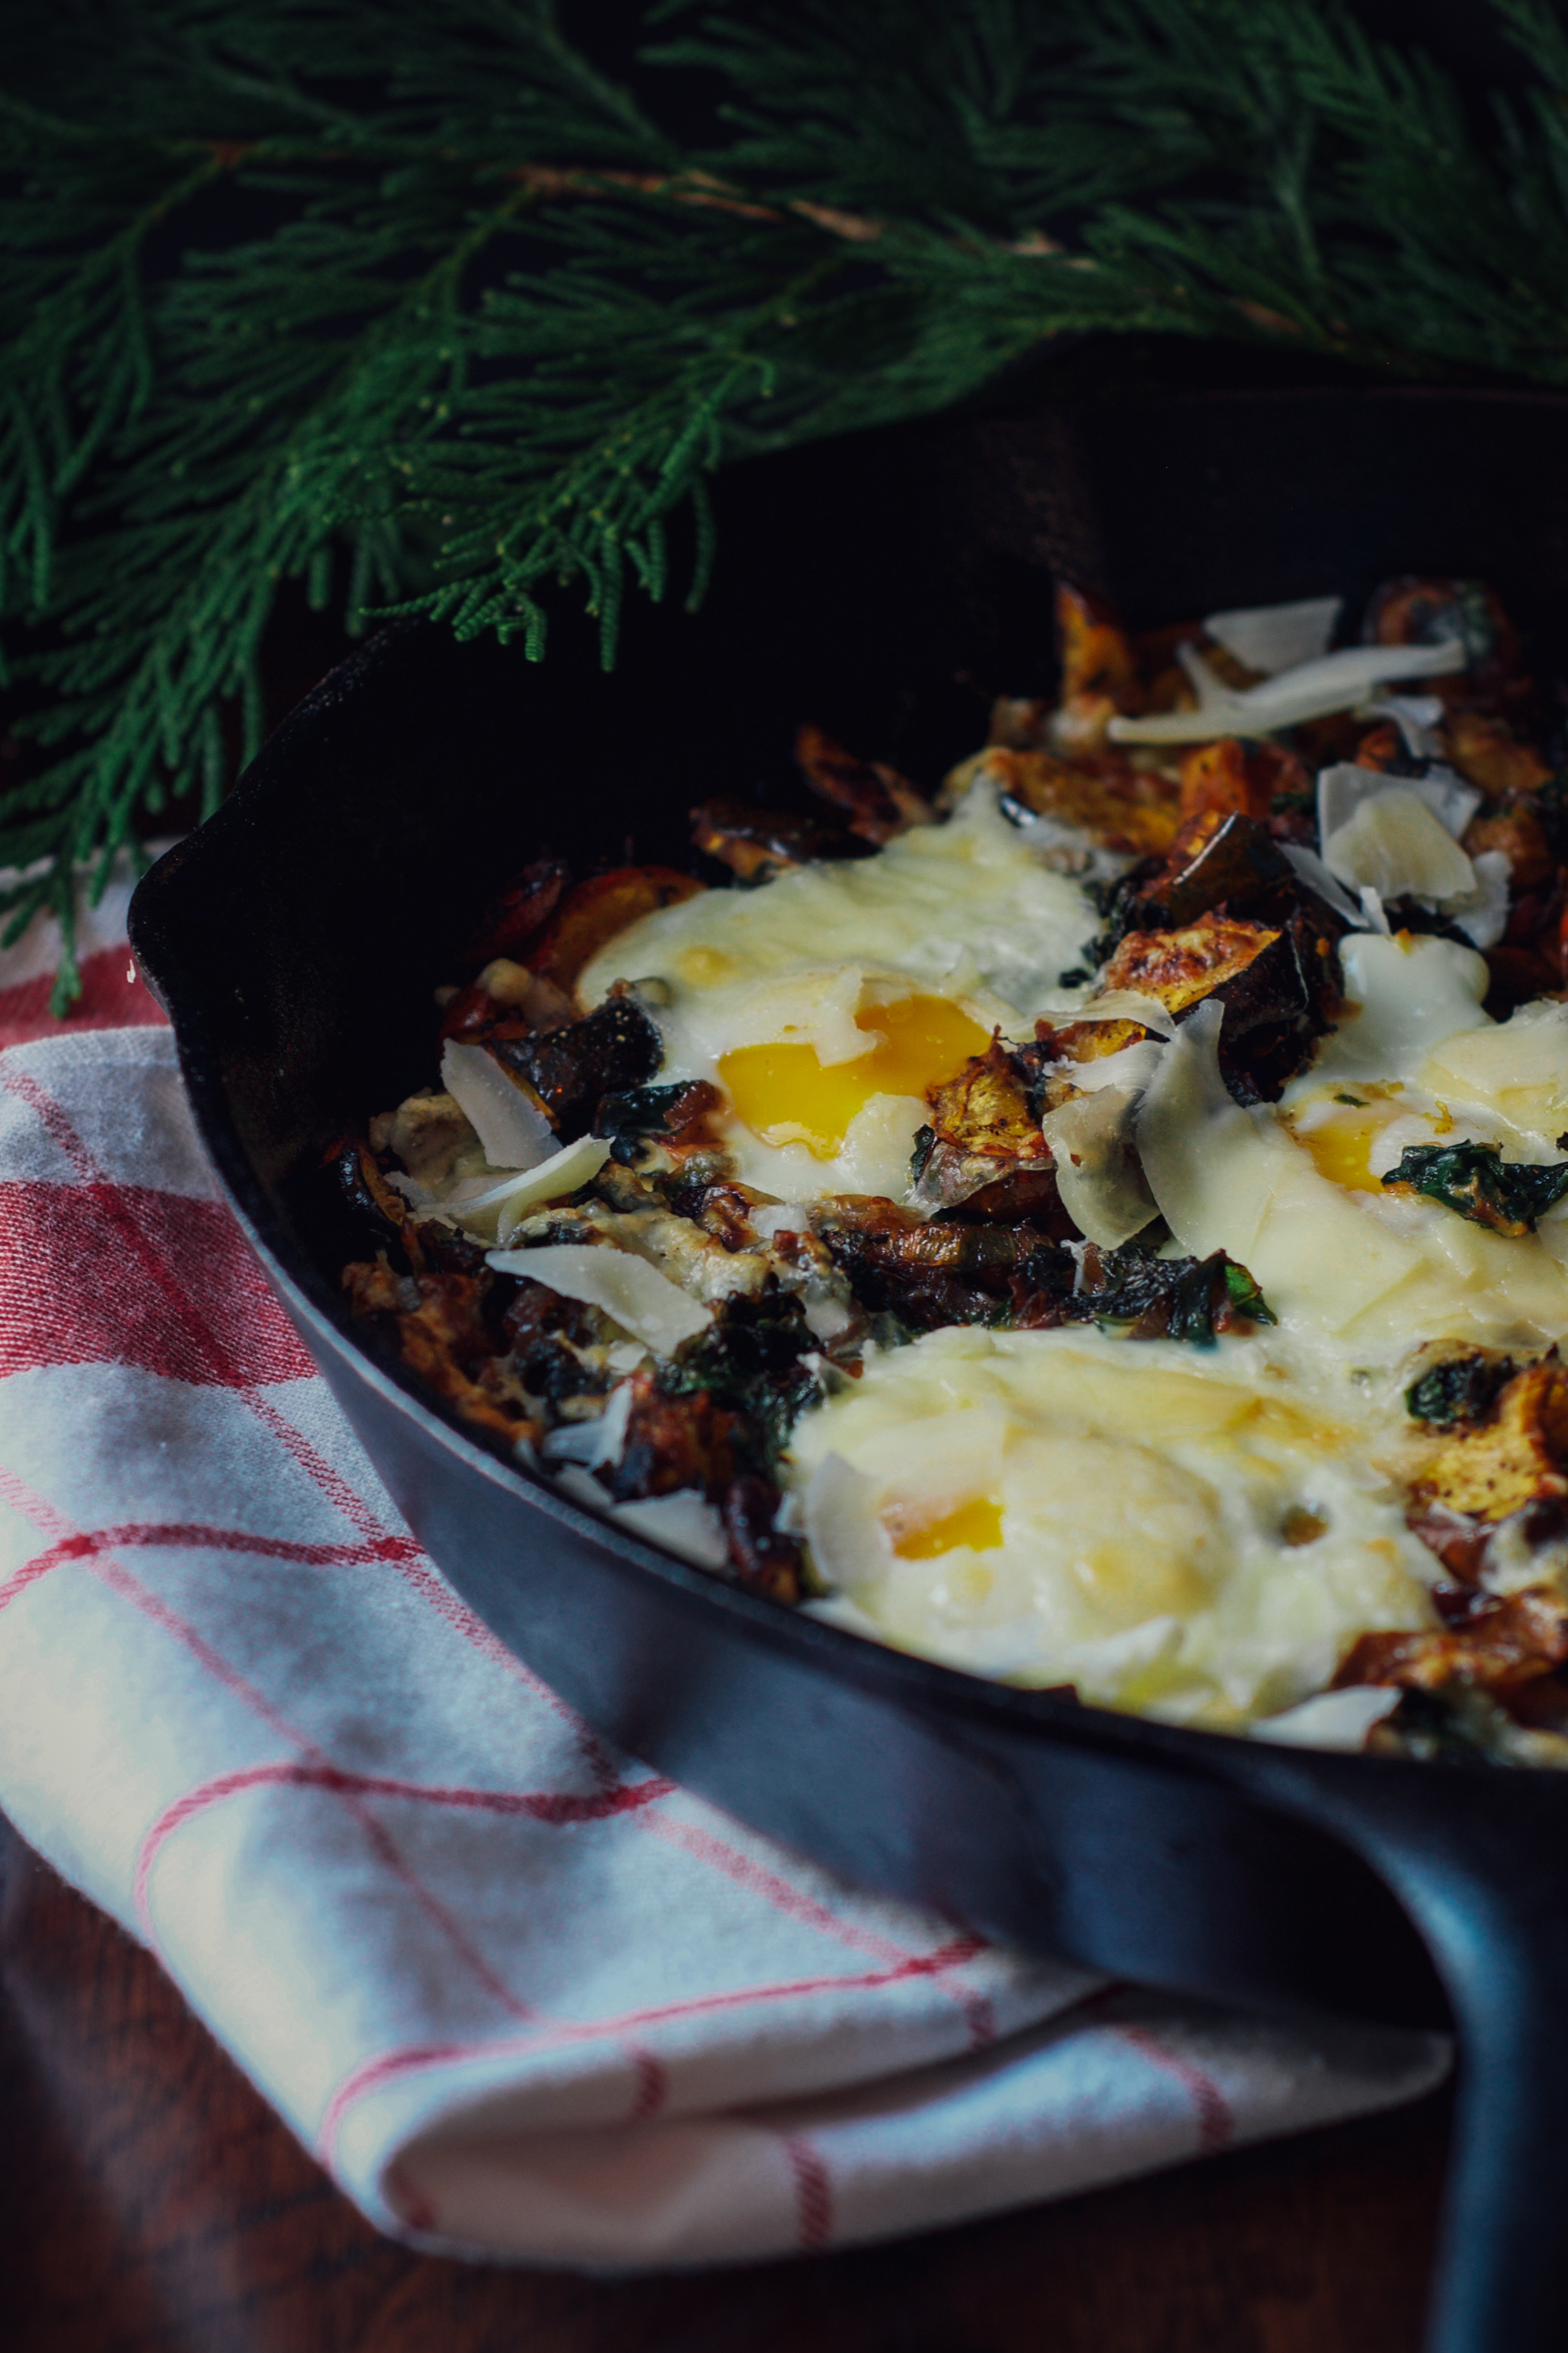
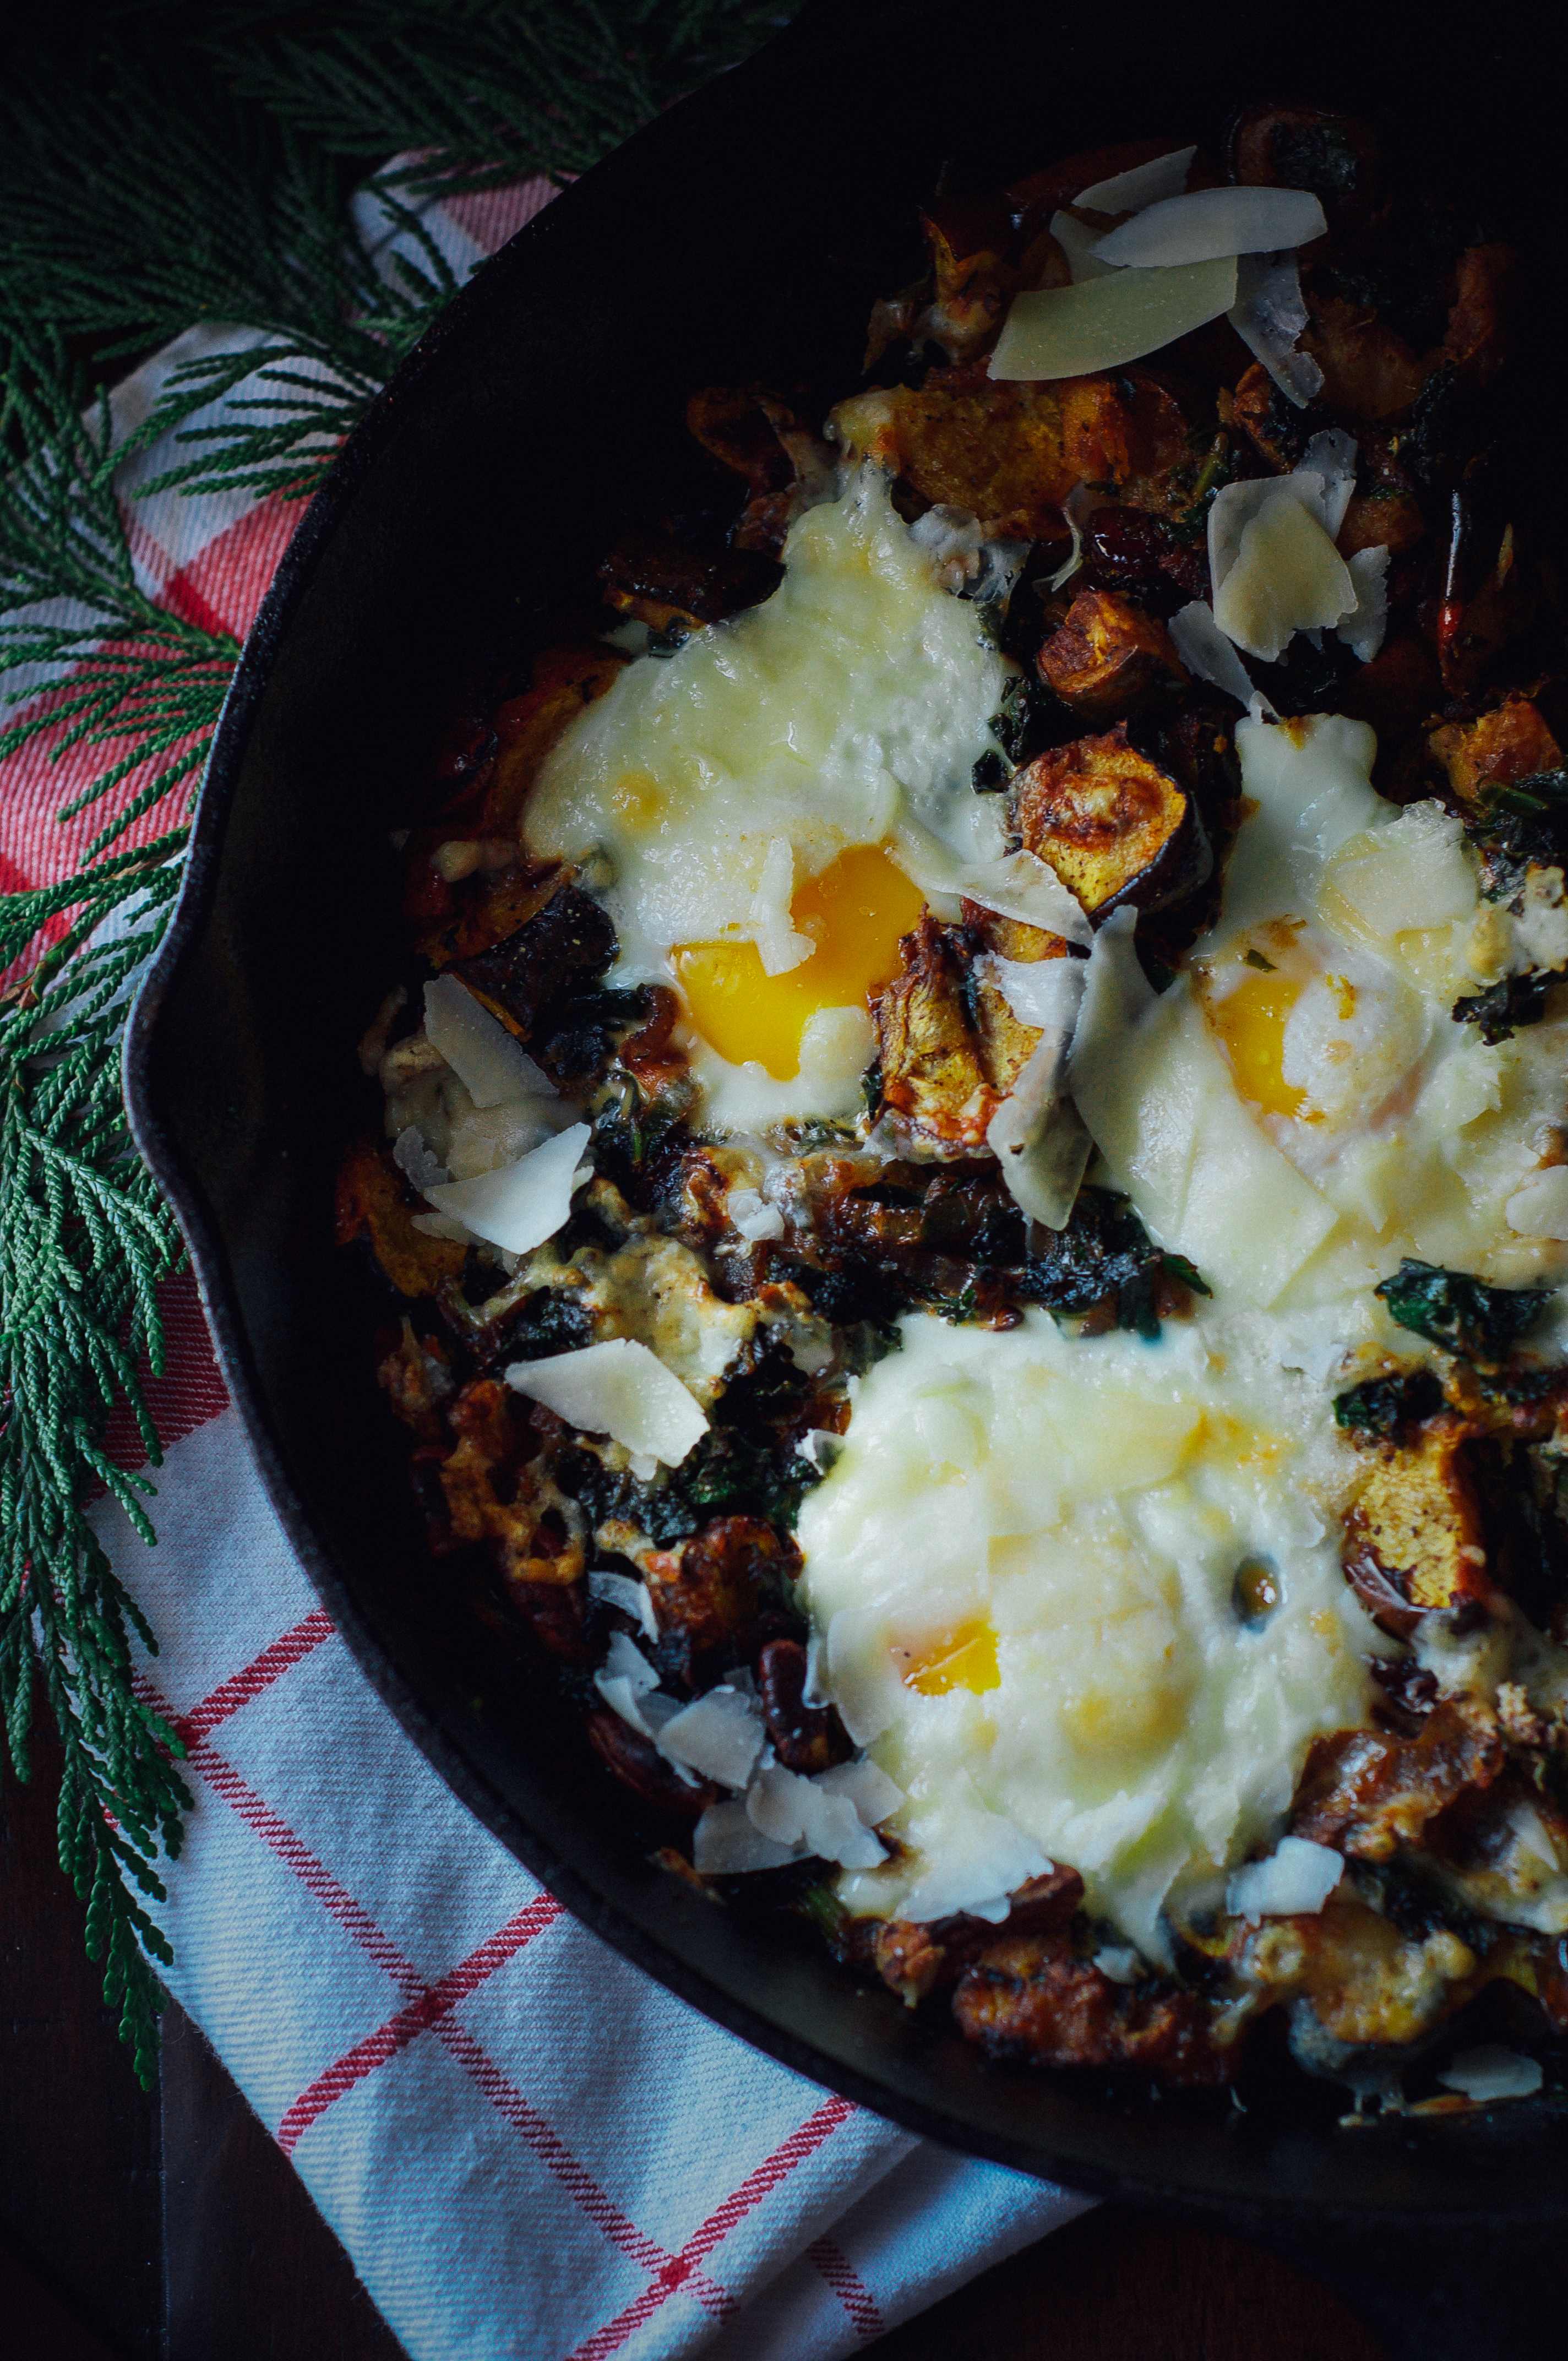
Today, I woke up, rolled around in bed for two hours longer than intended, and calmly recognized it was going to be (and needed to be) one of those jammies-all-day kind of days. I threw on my big ‘ole fluffy robe, shuffled downstairs, peeked into the kitchen and knew that baked eggs in a cast iron skillet had to happen on this lingering, lazy morning.
When I discovered I had an acorn squash, one onion, kale, a carton of eggs, dried cranberries, pecans, and vegetable broth already on hand… Well, I had a moment. That sweet feeling when you delightfully discover something you weren’t expecting. Seriously, it was special. Let me mention some other ingredients: the spices. I, like you, have a cupboard stuffed full of every imaginable spice (and, oddly, I never seem to have the spices needed for a new recipe… another life mystery). But, there are two spices I keep right near the stove: Herbes de Provence and a bottle of ground Spiced Chipotle Smoked Red Jalapeños. I found it at Whole Foods. I adore it. It adds a smoky, spicy, unique flavor.
Breakfast, brunch.. this dish is a ‘good morning to you’ all day long…

- 1 large acorn squash (about 4 cups of squash), cut in 1/2 inch slices
- 1 teaspoon each of Kosher salt & ground black pepper, and 2 tablespoons olive oil (for the squash)
- 2 tablespoons of olive oil (for sautéing the onions)
- 1 medium onion, thinly sliced (about 1/4 inch slices)
- 4 cloves of fresh garlic, chopped
- 1 teaspoon Herbes de Provence
- 1/4 teaspoon ground chipotle powder
- 1 bunch curly kale cut into thin ribbons (about 5 packed cups); try to remove the big stems...
- 1/2 cup low-sodium vegetable broth
- 1/4 cup dried cranberries
- 1/4 cup pecan pieces
- 4 to 6 eggs
- 1/2 cup freshly shaved Pecorino Romano and/or Asiago cheese
- Heat the oven to 410 degrees.
- While the oven is pre-heating, thoroughly wash the acorn squash and cut into 1/2 inch slices. I typically start cutting from the end and then when I reach the center with the seeds, I scoop them out. I'll often slice a side off the acorn squash so I can lay it flat and then cut the slices a little easier. You can leave the rind on or cut it away from the "flesh." I opt to leave it on because the roasting makes it tender and it gives a great texture to the dish.
- Lay the acorn squash slices flat on a large sheet pan, drizzle with about 2 tablespoons of olive oil and sprinkle with about 1 teaspoon of Kosher salt and 1 teaspoon of ground pepper. Roast the squash slices for 20-25 minutes in the 410 degree oven. Halfway through the roasting, flip the squash slices over on the pan with a spatula.
- Meanwhile, while the squash is roasting, heat 2 tablespoons of olive oil in a large skillet on medium-high heat (a cast iron skillet works beautifully, since you'll be broiling the eggs at the end--in the oven--in your gorgeous, big skillet). Sauté the onion slices for 20-25 minutes (about the same time the squash is roasting). Season the onions with salt & pepper to taste and 1 teaspoon of Herbes de Provence. Watch the onions so they don't burn; if they start to get too dark, turn the heat down to medium so they can caramelize a bit. After 15 minutes, add the roughly chopped garlic cloves.
- After the onions have caramelized, add the thinly sliced kale to the skillet (about 2 cups at a time). After you add the first 2 cups of kale, pour 1/4 cup of the vegetable broth and let the kale cook until it just softens. Stir a bit and then add 2 more cups of kale, 1/4 cup of broth, 1/4 teaspoon of the chipotle powder, and simmer until the kale softens. Add the cranberries and pecan pieces, simmer and stir for 2 minutes. Add the final cup of kale and stir the onions, kale, cranberries and pecans in the skillet and let it simmer for a few minutes on medium heat.
- Remove the roasted squash from the oven. Cancel the bake setting and turn on the broiler in the oven. Move the rack in the oven (with an oven mitt!) so it is about 6 inches under the broiler. Take the roasted squash slices and place them in the skillet. You can "cut" the slices into smaller chunks with your spatula in the skillet, but be careful not to stir the mixture too aggressively or the squash will break apart and get mushy.
- Take the back of a spoon and press 4 - 6 wells into the squash/kale/onion mixture. Crack an egg into each of the wells and lightly sprinkle with salt and pepper. Sprinkle half the shaved cheese on top of the eggs and squash mixture. Carefully, place the skillet in the oven and broil for 4-5 minutes until the egg whites have set, but the yolks are still runny. Keep an eye on the eggs, they will go from 'just set' to cooked yolks very quickly. When you remove the skillet from the oven, sprinkle the other half of the shaved cheese on top of the dish.
- Serve immediately with buttered toast or toasted pita bread.
Butternut Squash, Quinoa & Kale Bake
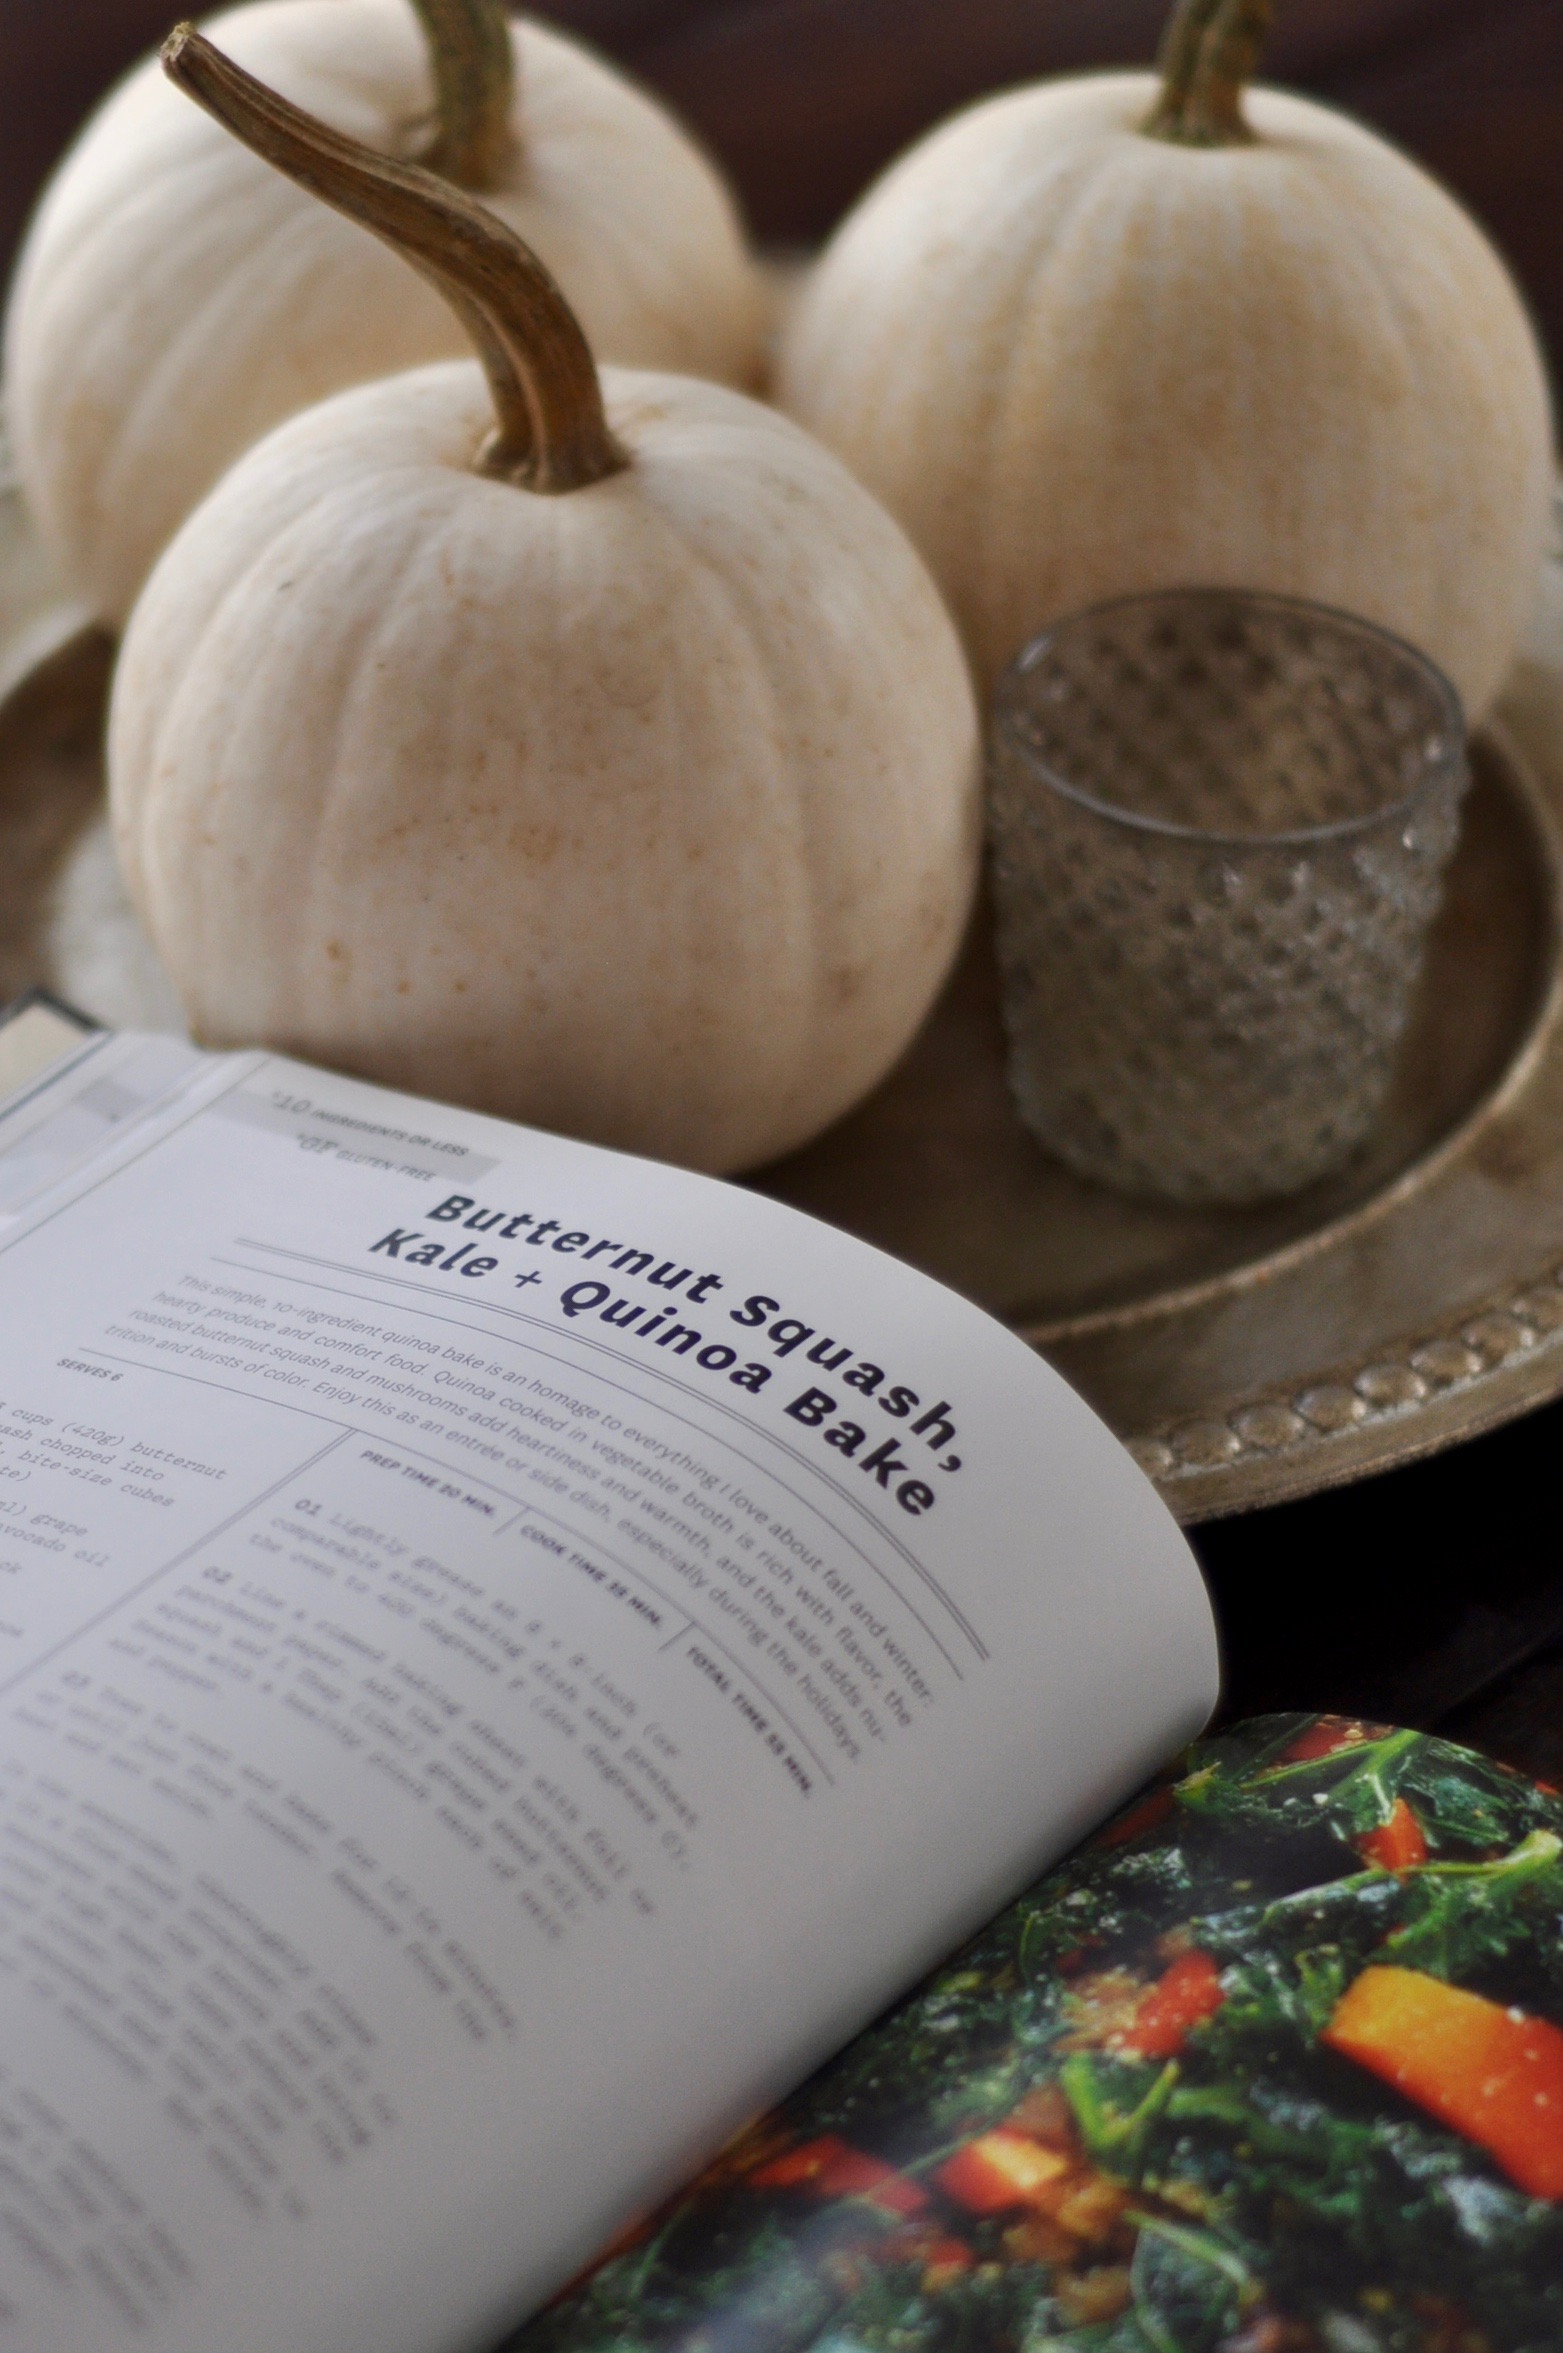
I have embraced it: summer is over. I love this time of year. Windows open, crisp mornings, leaves unraveling their colors, pumpkin patches, wrapped up in a blanket couch cuddling. But, I wasn’t ready for it this year. Life has been busy…good busy…but BUSY. The summer raced by and I found myself on the other end of it, greeting autumn with full on denial slight hesitation. I’ve tried a half dozen PSLs (I know, but admit it– you long for them each year too…). I tossed a scarf around my neck. Nothing. I just wasn’t feeling it. But, if there is one thing I look forward to this time of year… it is certainly an autumn menu. I knew transition would find me there. Soups, chilis, roasted roots, squashes and pumpkins, apple pies and homemade breads, a house full of fresh-baked scents, spices and cinnamon. This is the time of year when menus get cozy. This is when comfort food is less a guilty pleasure and more just something you sink into with complete abandon. Because.You.Can…
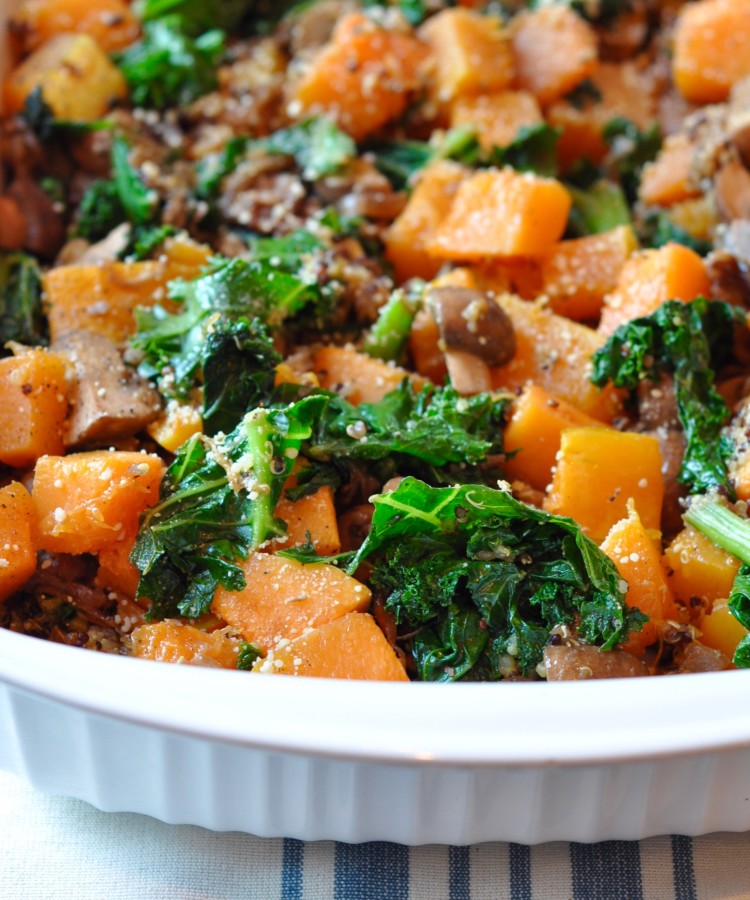
I am adoring Dana Shultz’, aka the Minimalist Baker’s, Everyday Cooking. What’s not to adore about simple, healthy, creative cooking?… She brings butternut squash, kale and quinoa together in a gorgeous combination. But, there’s an earthy richness with the onions, mushrooms and walnuts that really weave all the ingredients together. Bright pops of color and a texture you can sink your teeth into. This dish did it for me. It’s fall and I’m embracing it.
If you’re looking to serve up a side of autumn, this recipe is for you.
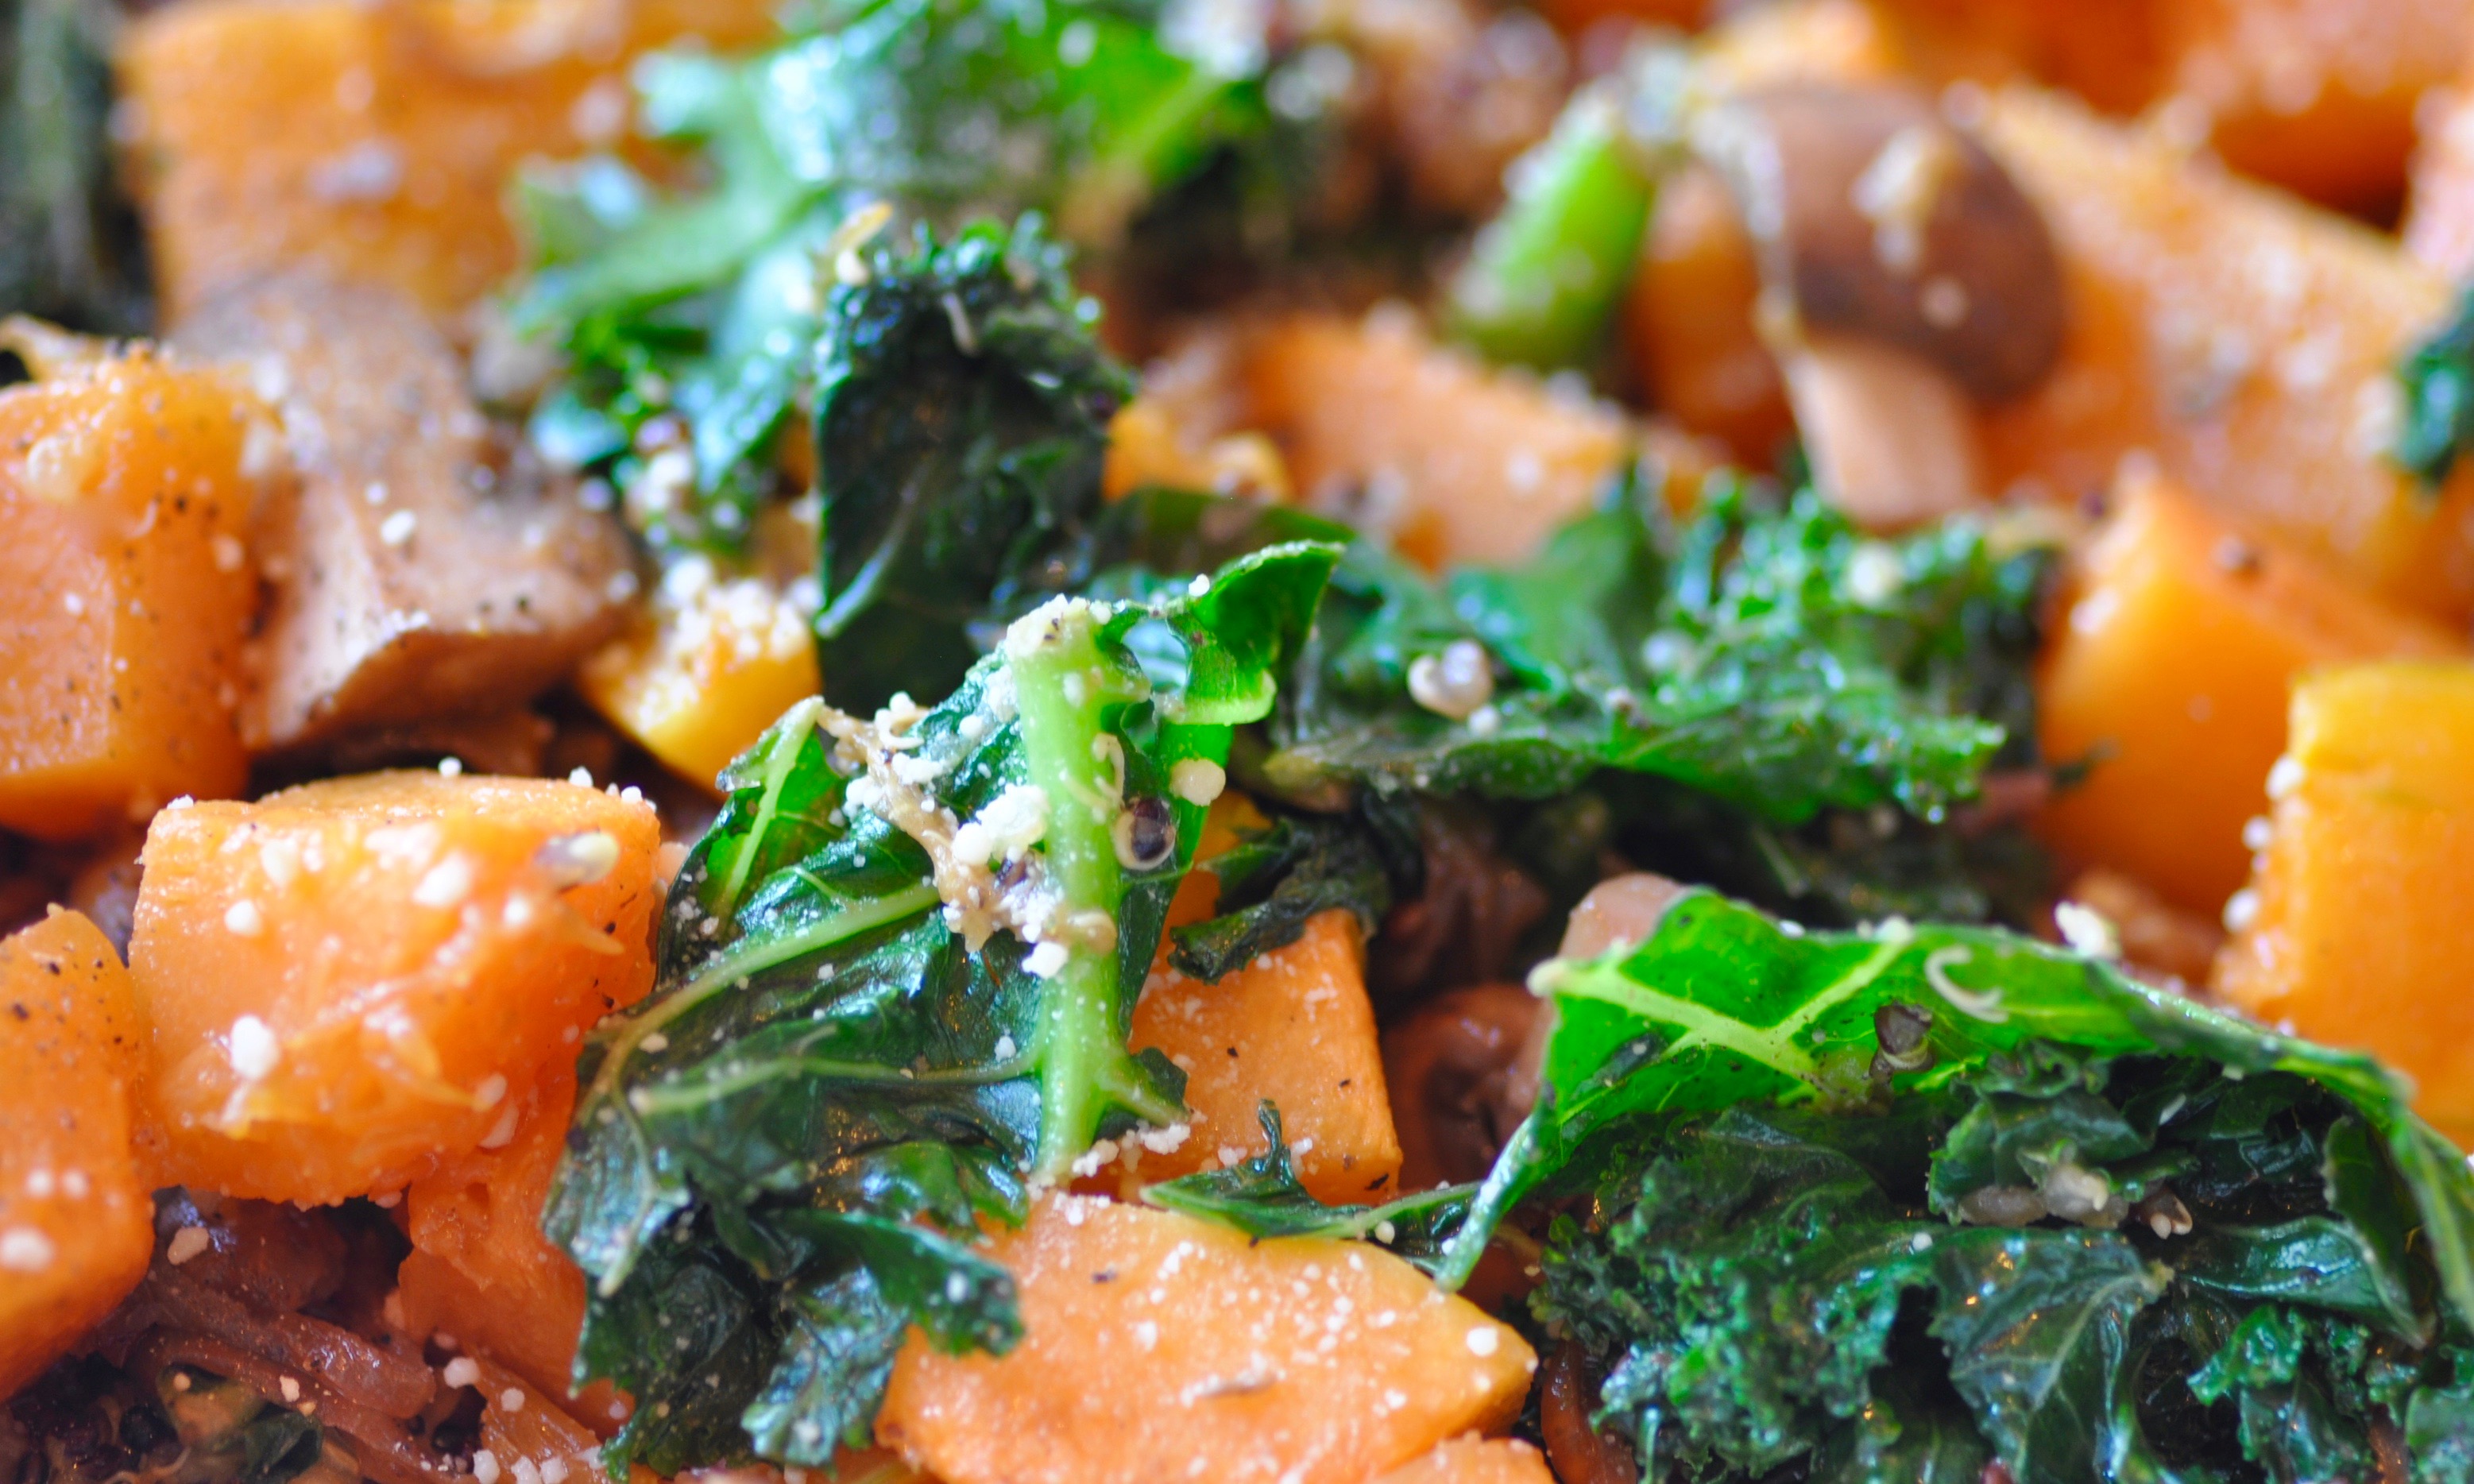

- 3 cups butternut squash, cut into bite-size pieces
- 2 tablespoons grape seed oil, divided
- 3/4 cup quinoa
- 1 1/2 cups vegetable broth
- 1/2 medium yellow onion, thinly sliced
- 2 cloves garlic, minced
- 8 ounces crimini, button or baby bella mushrooms, quartered
- 1/2 cup walnuts, roughly chopped
- 3 cups loosely packed kale, chopped
- 1/3 cup parmesan cheese (or vegan parm), divided
- Sea salt and black pepper, to taste
- Lightly grease an 8×8-inch (or comparable size) baking dish and preheat oven to 400°.
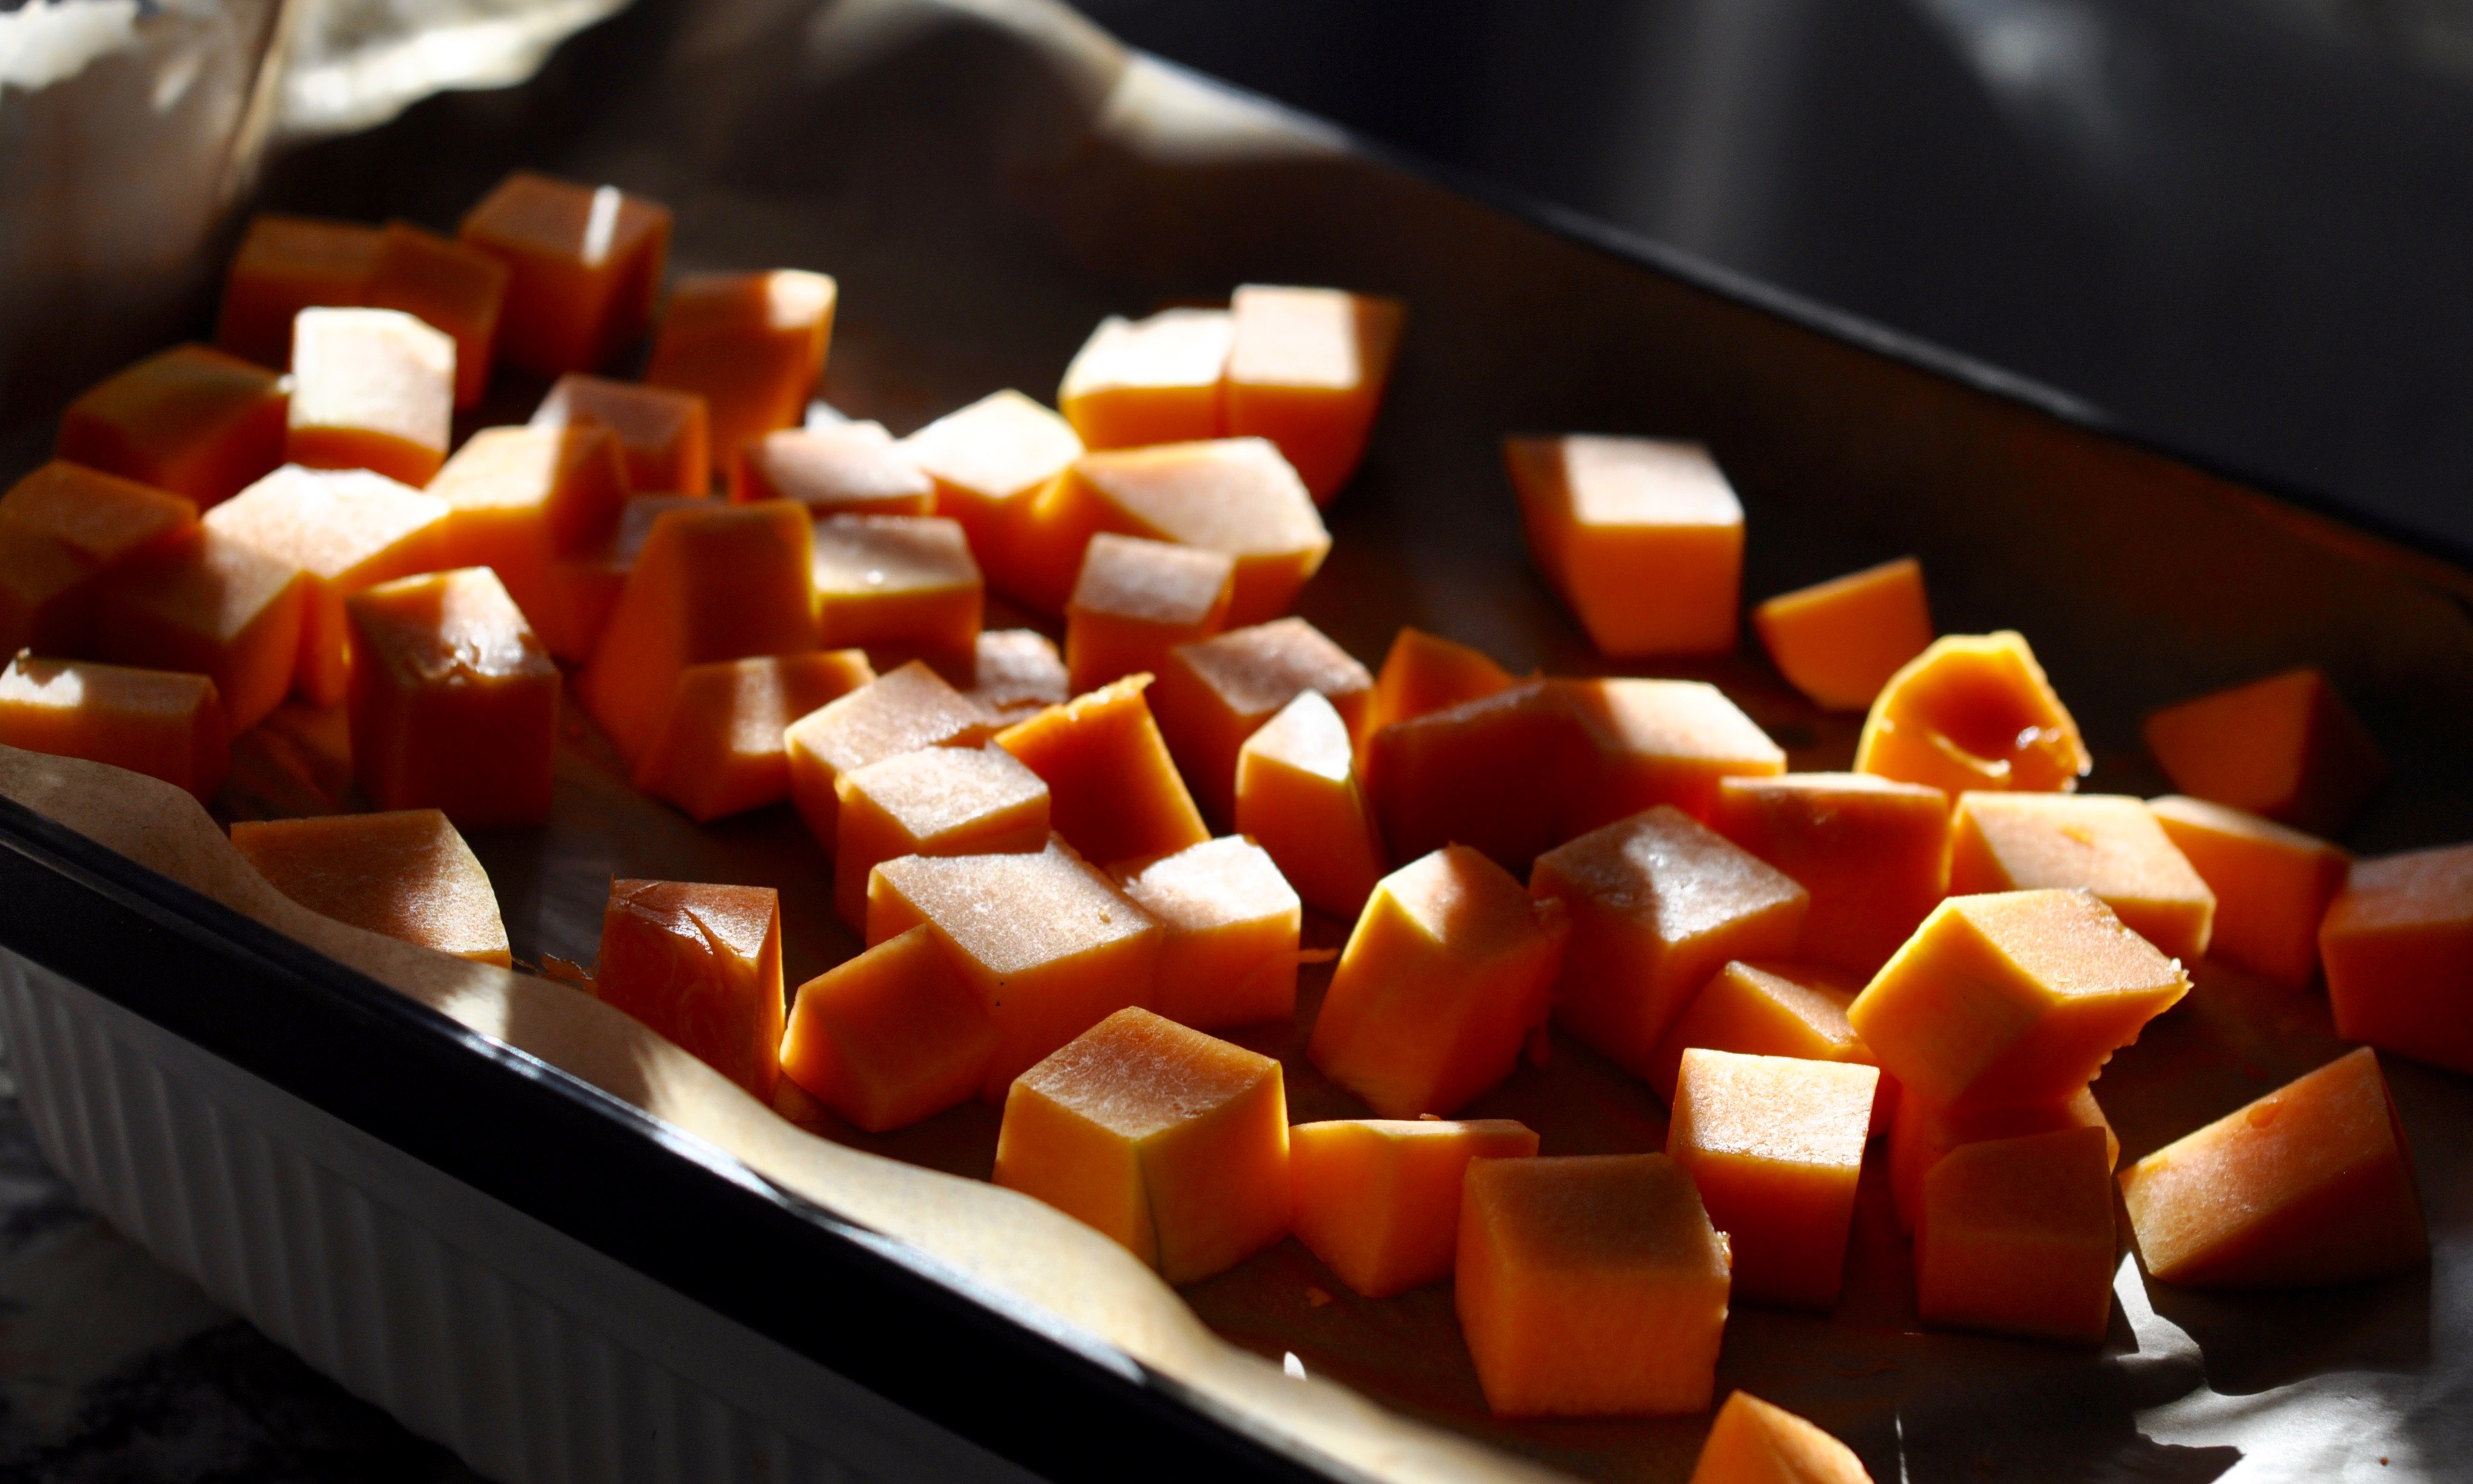
- Line a baking sheet with parchment paper. Add cubed butternut squash and toss with 1 tablespoon oil. Season with a healthy pinch of salt and pepper. Bake for 15-20 minutes until fork-tender. Remove from oven and set aside.
- While the squash is baking, rinse quinoa in a mesh strainer. Add to small saucepan with vegetable broth and bring to a boil over high heat. Reduce heat to low, cover and cook until liquid is fully absorbed and quinoa is fork-tender (15-20 minutes). Once quinoa is finished cooking, season with a healthy pinch of salt and pepper and half of the vegan Parmesan cheese. Stir, sample and adjust seasonings to taste. Remove from heat and leave covered.
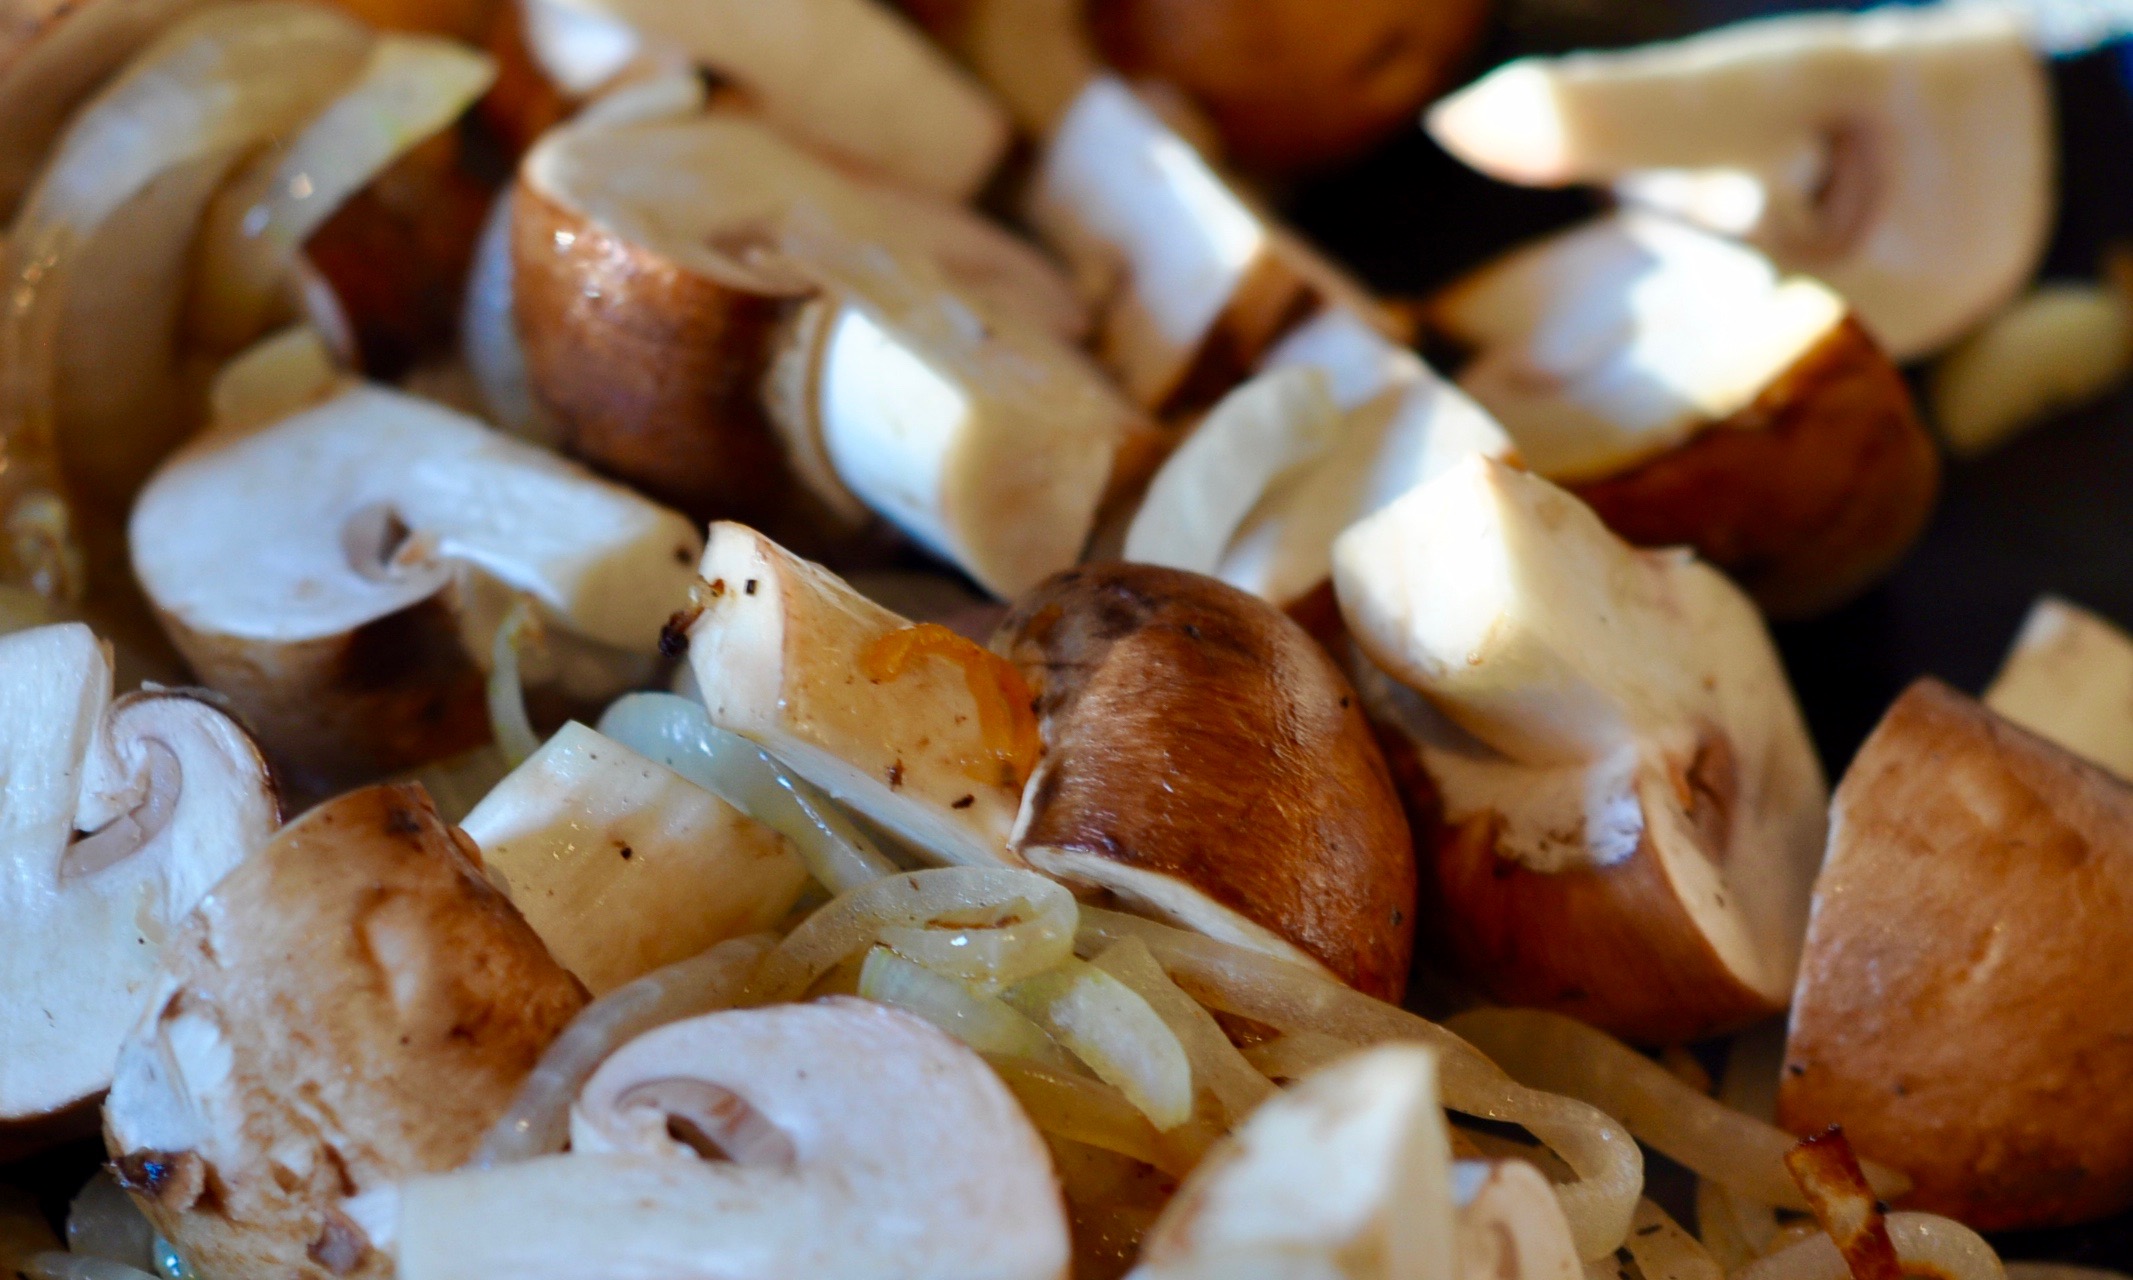
- Heat large skillet over medium heat. Add remaining 1 tablespoon oil, onion and garlic. Season with a pinch each of salt and pepper. Cook until onion is translucent (about 4 - 5 minutes) stirring frequently. Add mushrooms and walnuts and season once more with salt and pepper. Continue cooking for 5 minutes or until mushrooms are lightly browned.
- Make room in the pan and add kale. Season once more with a good pinch of salt and pepper, and stir to coat. Cook until kale is just tender (about 3 - 5 minutes). Remove from heat and set aside.
- Reduce oven temperature to 375 and add cooked quinoa to prepared baking dish. Top with vegetable-walnut mixture and roasted butternut squash. Lightly stir to combine. Top with remaining vegan Parmesan cheese and bake uncovered for 10 minutes to warm through. Serve immediately. Leftovers will keep covered for up to 3 days.
Tomato Galette with Goat Cheese, Honey & Thyme
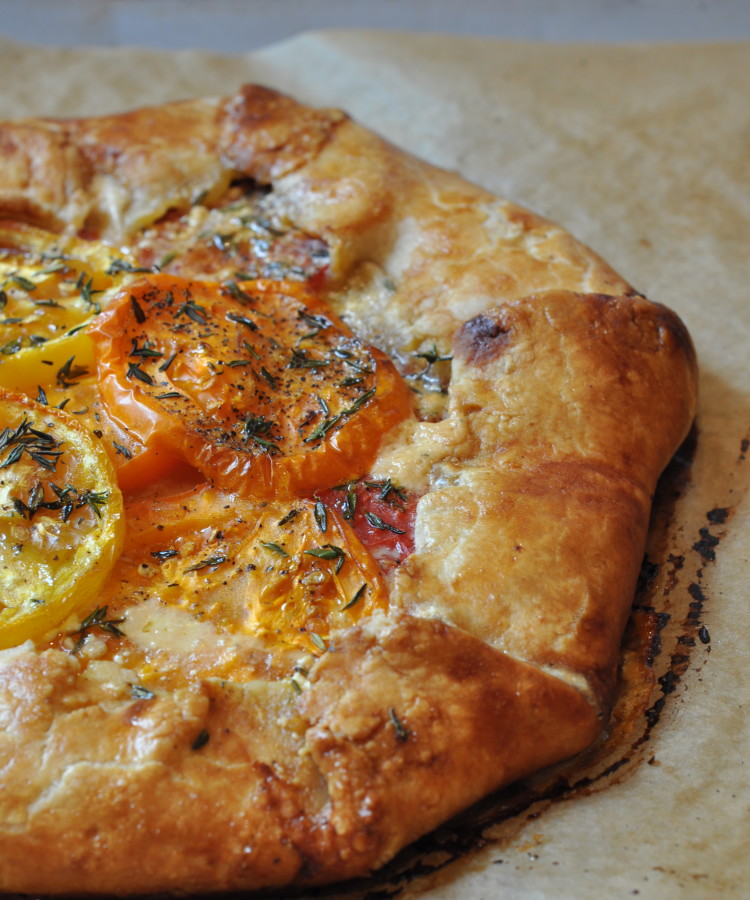
Sometimes it’s hard to decide what’s more perfect: a weekend morning strolling the farmer’s market or the post-market creations… Life is full of hard choices. But, making this tomato galette should not be one of them… Galette’s are so easy, so versatile, so lunch, brunch, dinner with a side salad, served hot, cold…so midnight snack.
This galette recipe caught my eye on Bloglovin. Tomatoes, goat cheese, thyme …and honey. Oh honey, does this ever magically come together with the honey. I had no idea why the author of Wry Toast spent so much time talking about the honey in this recipe. Until.I.Tried.It… Savory, sweet, the richness of the goat cheese, tangy tomatoes, and the honey unifies the flavors in a unique and delightful way. Do you have those dishes you just want to bury your face in? This is it.
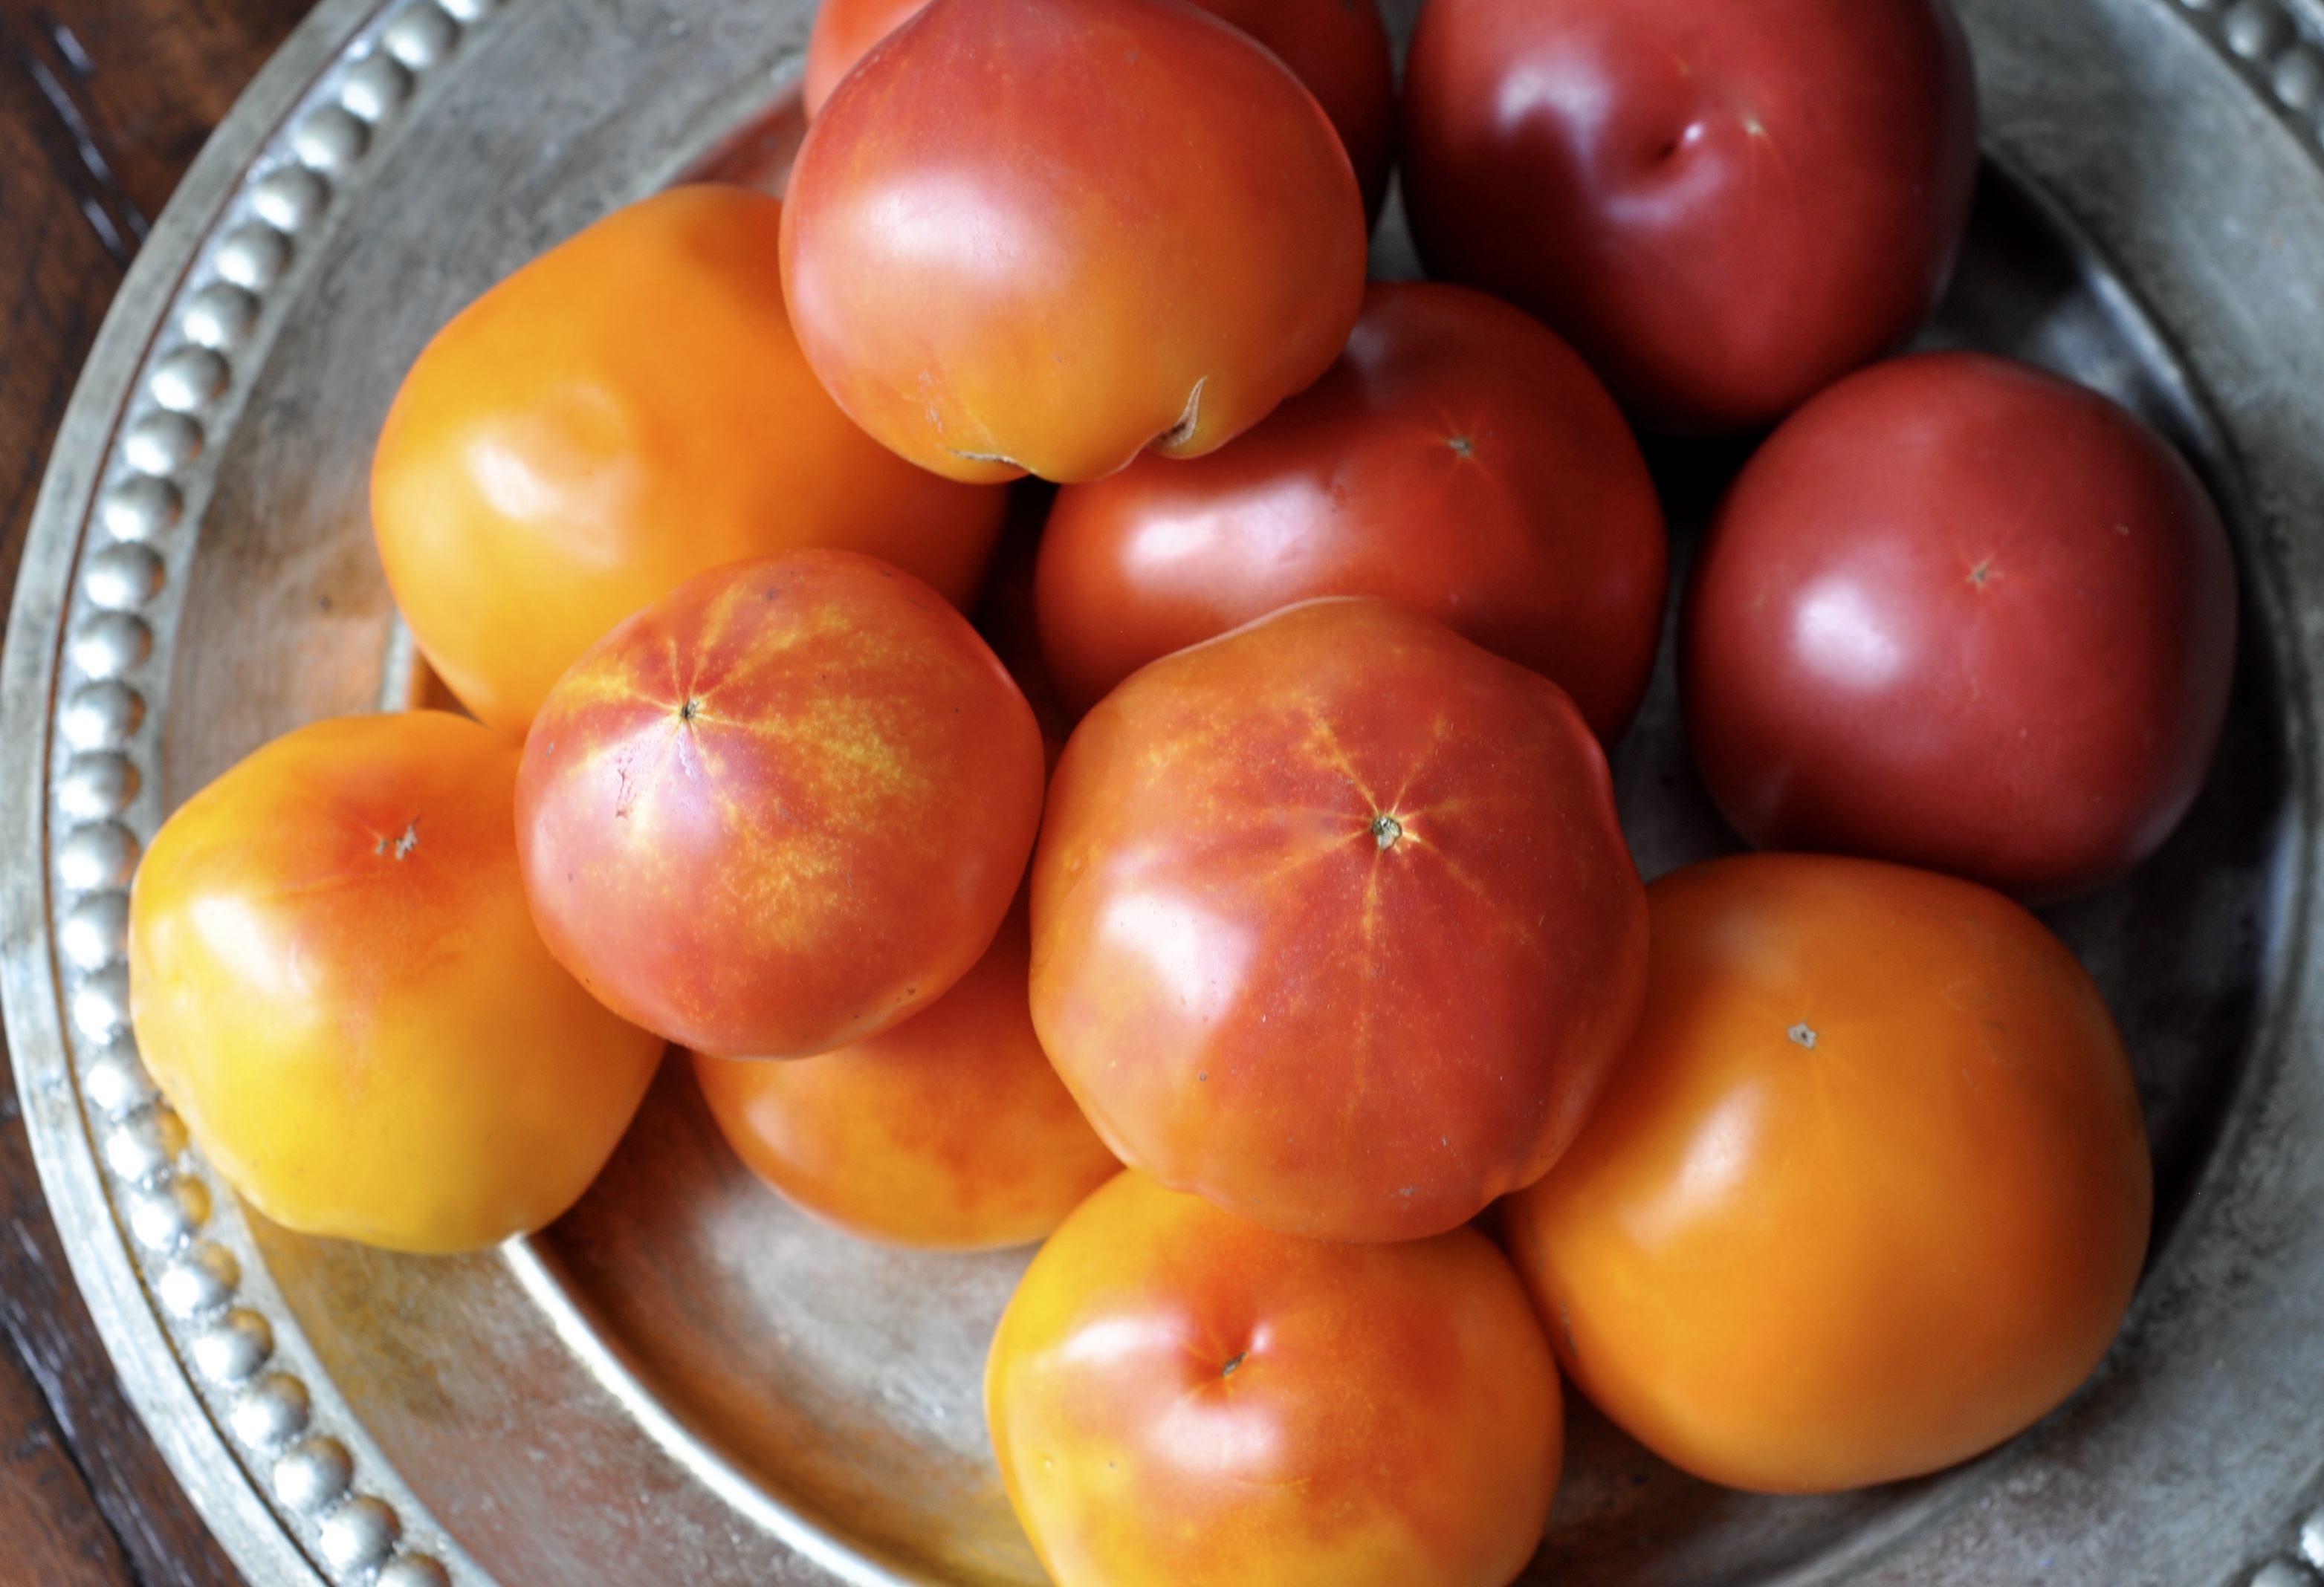
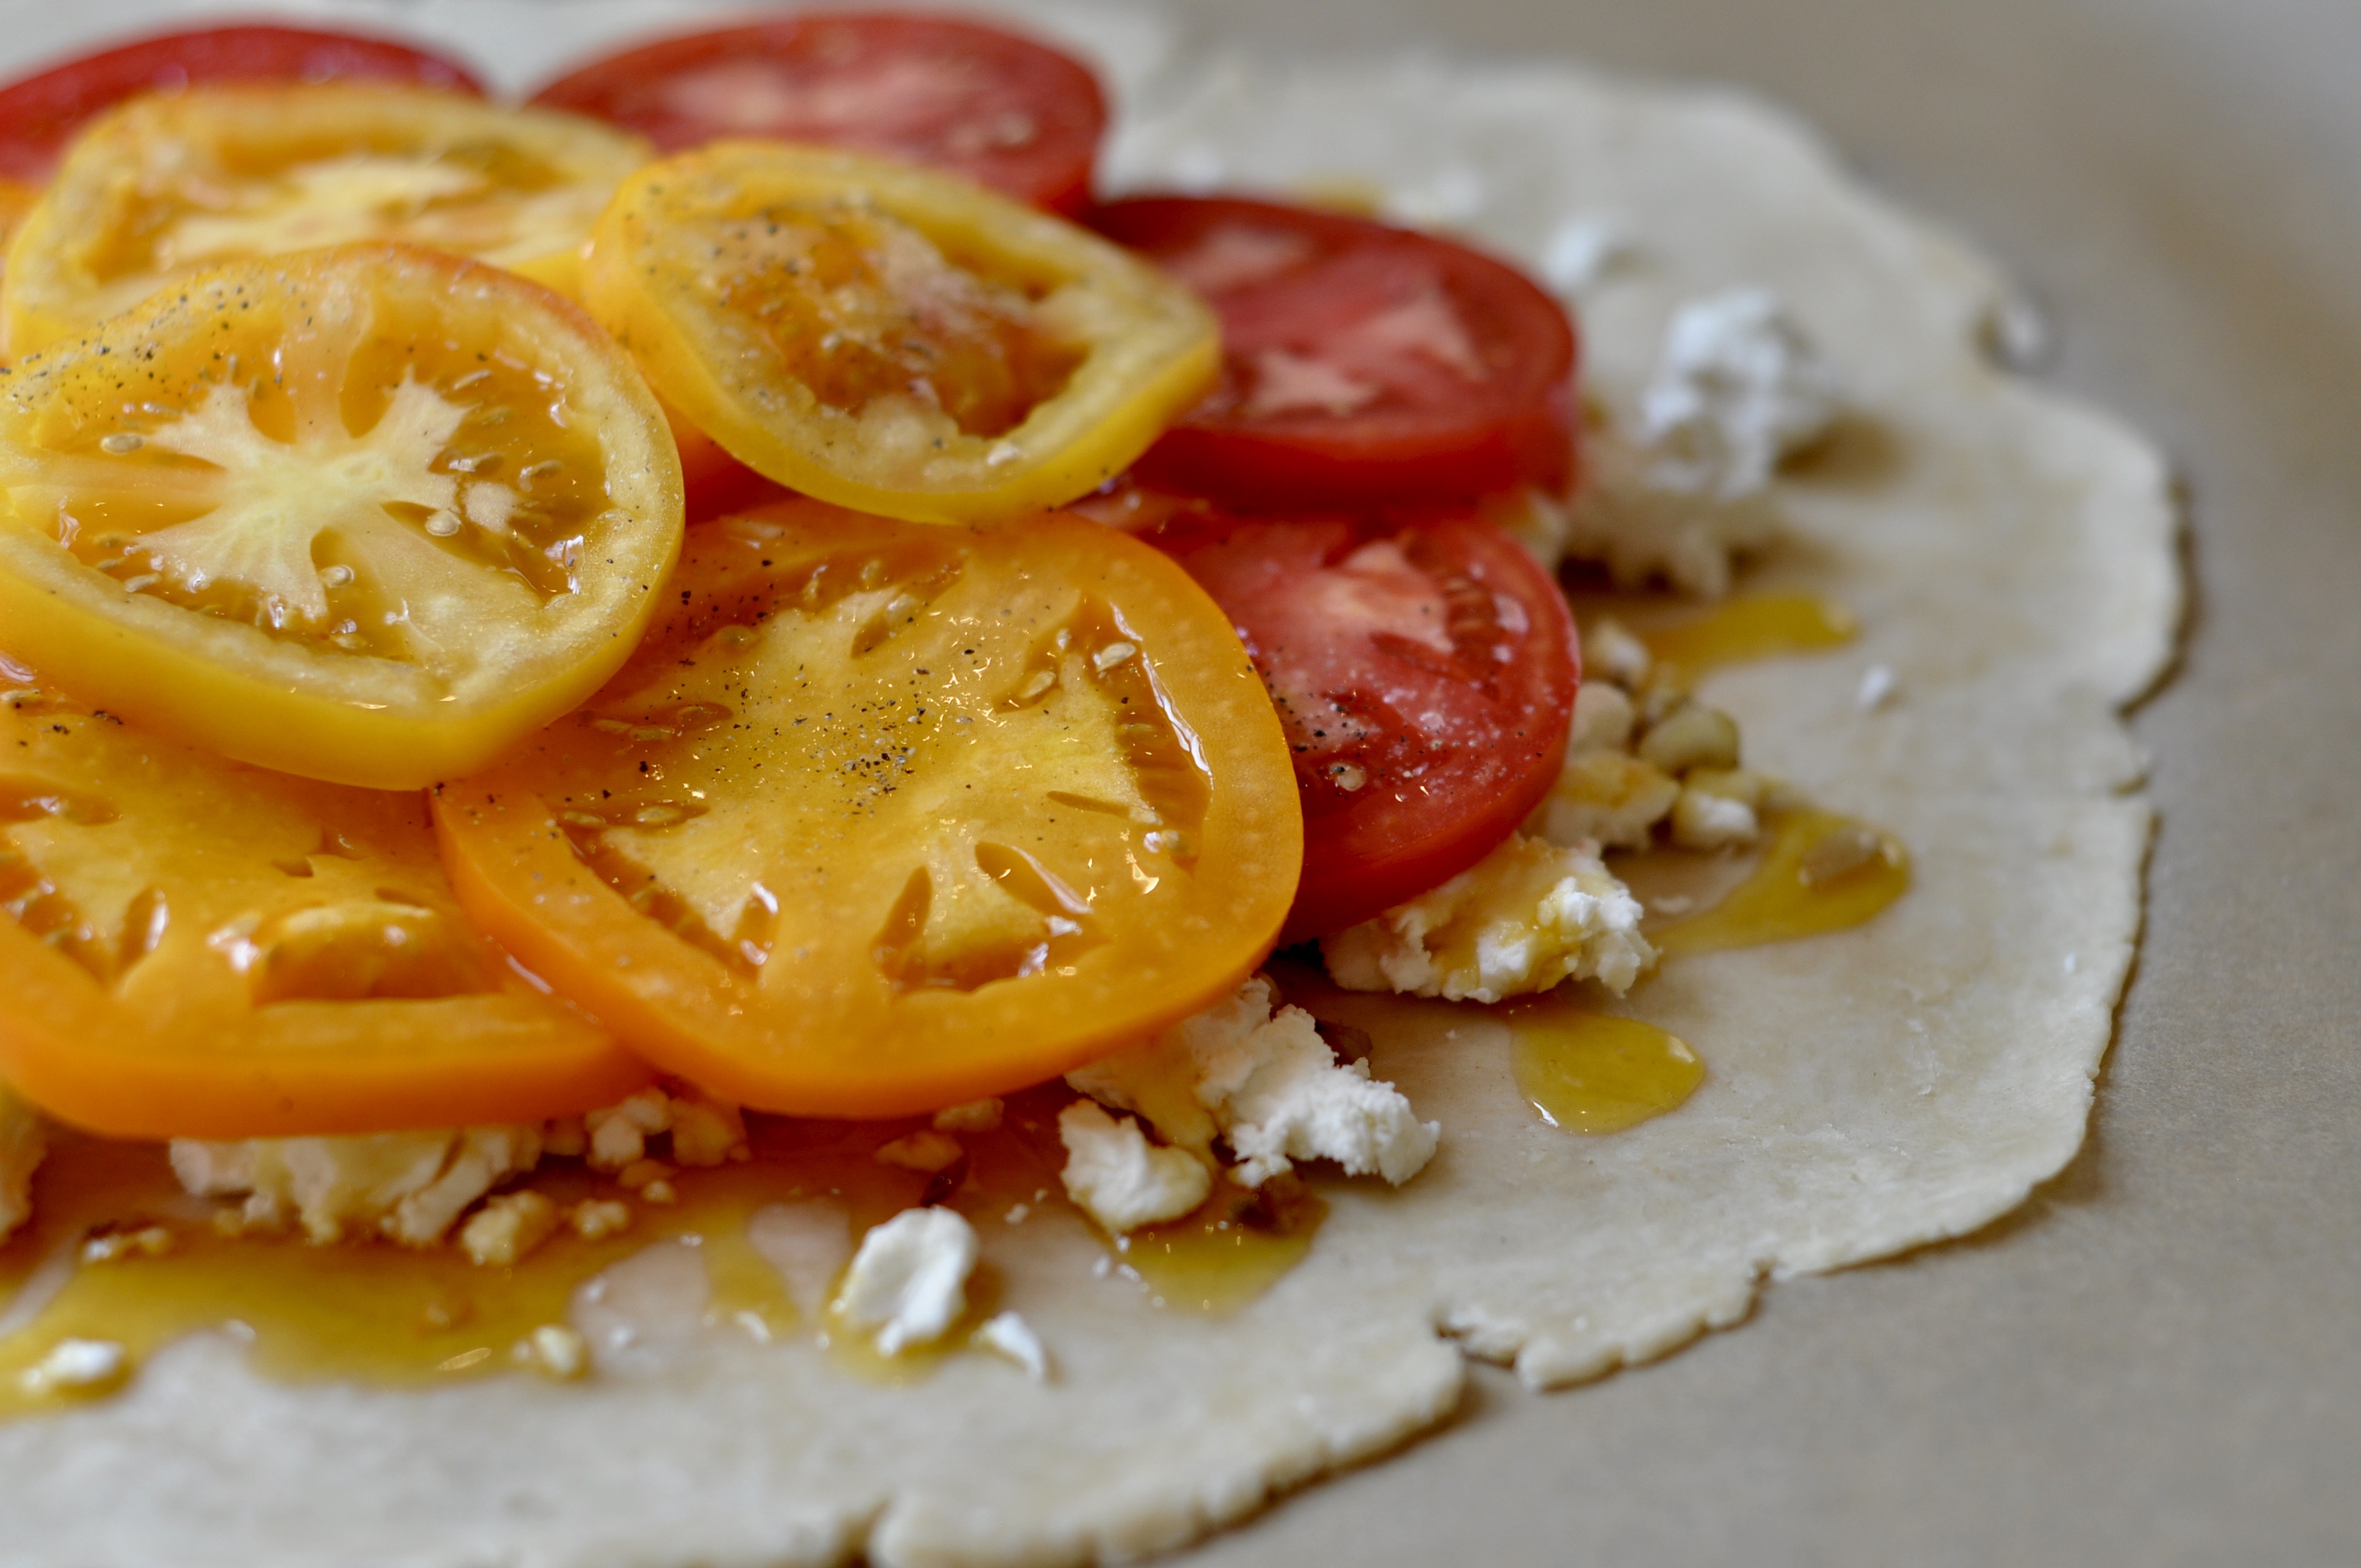
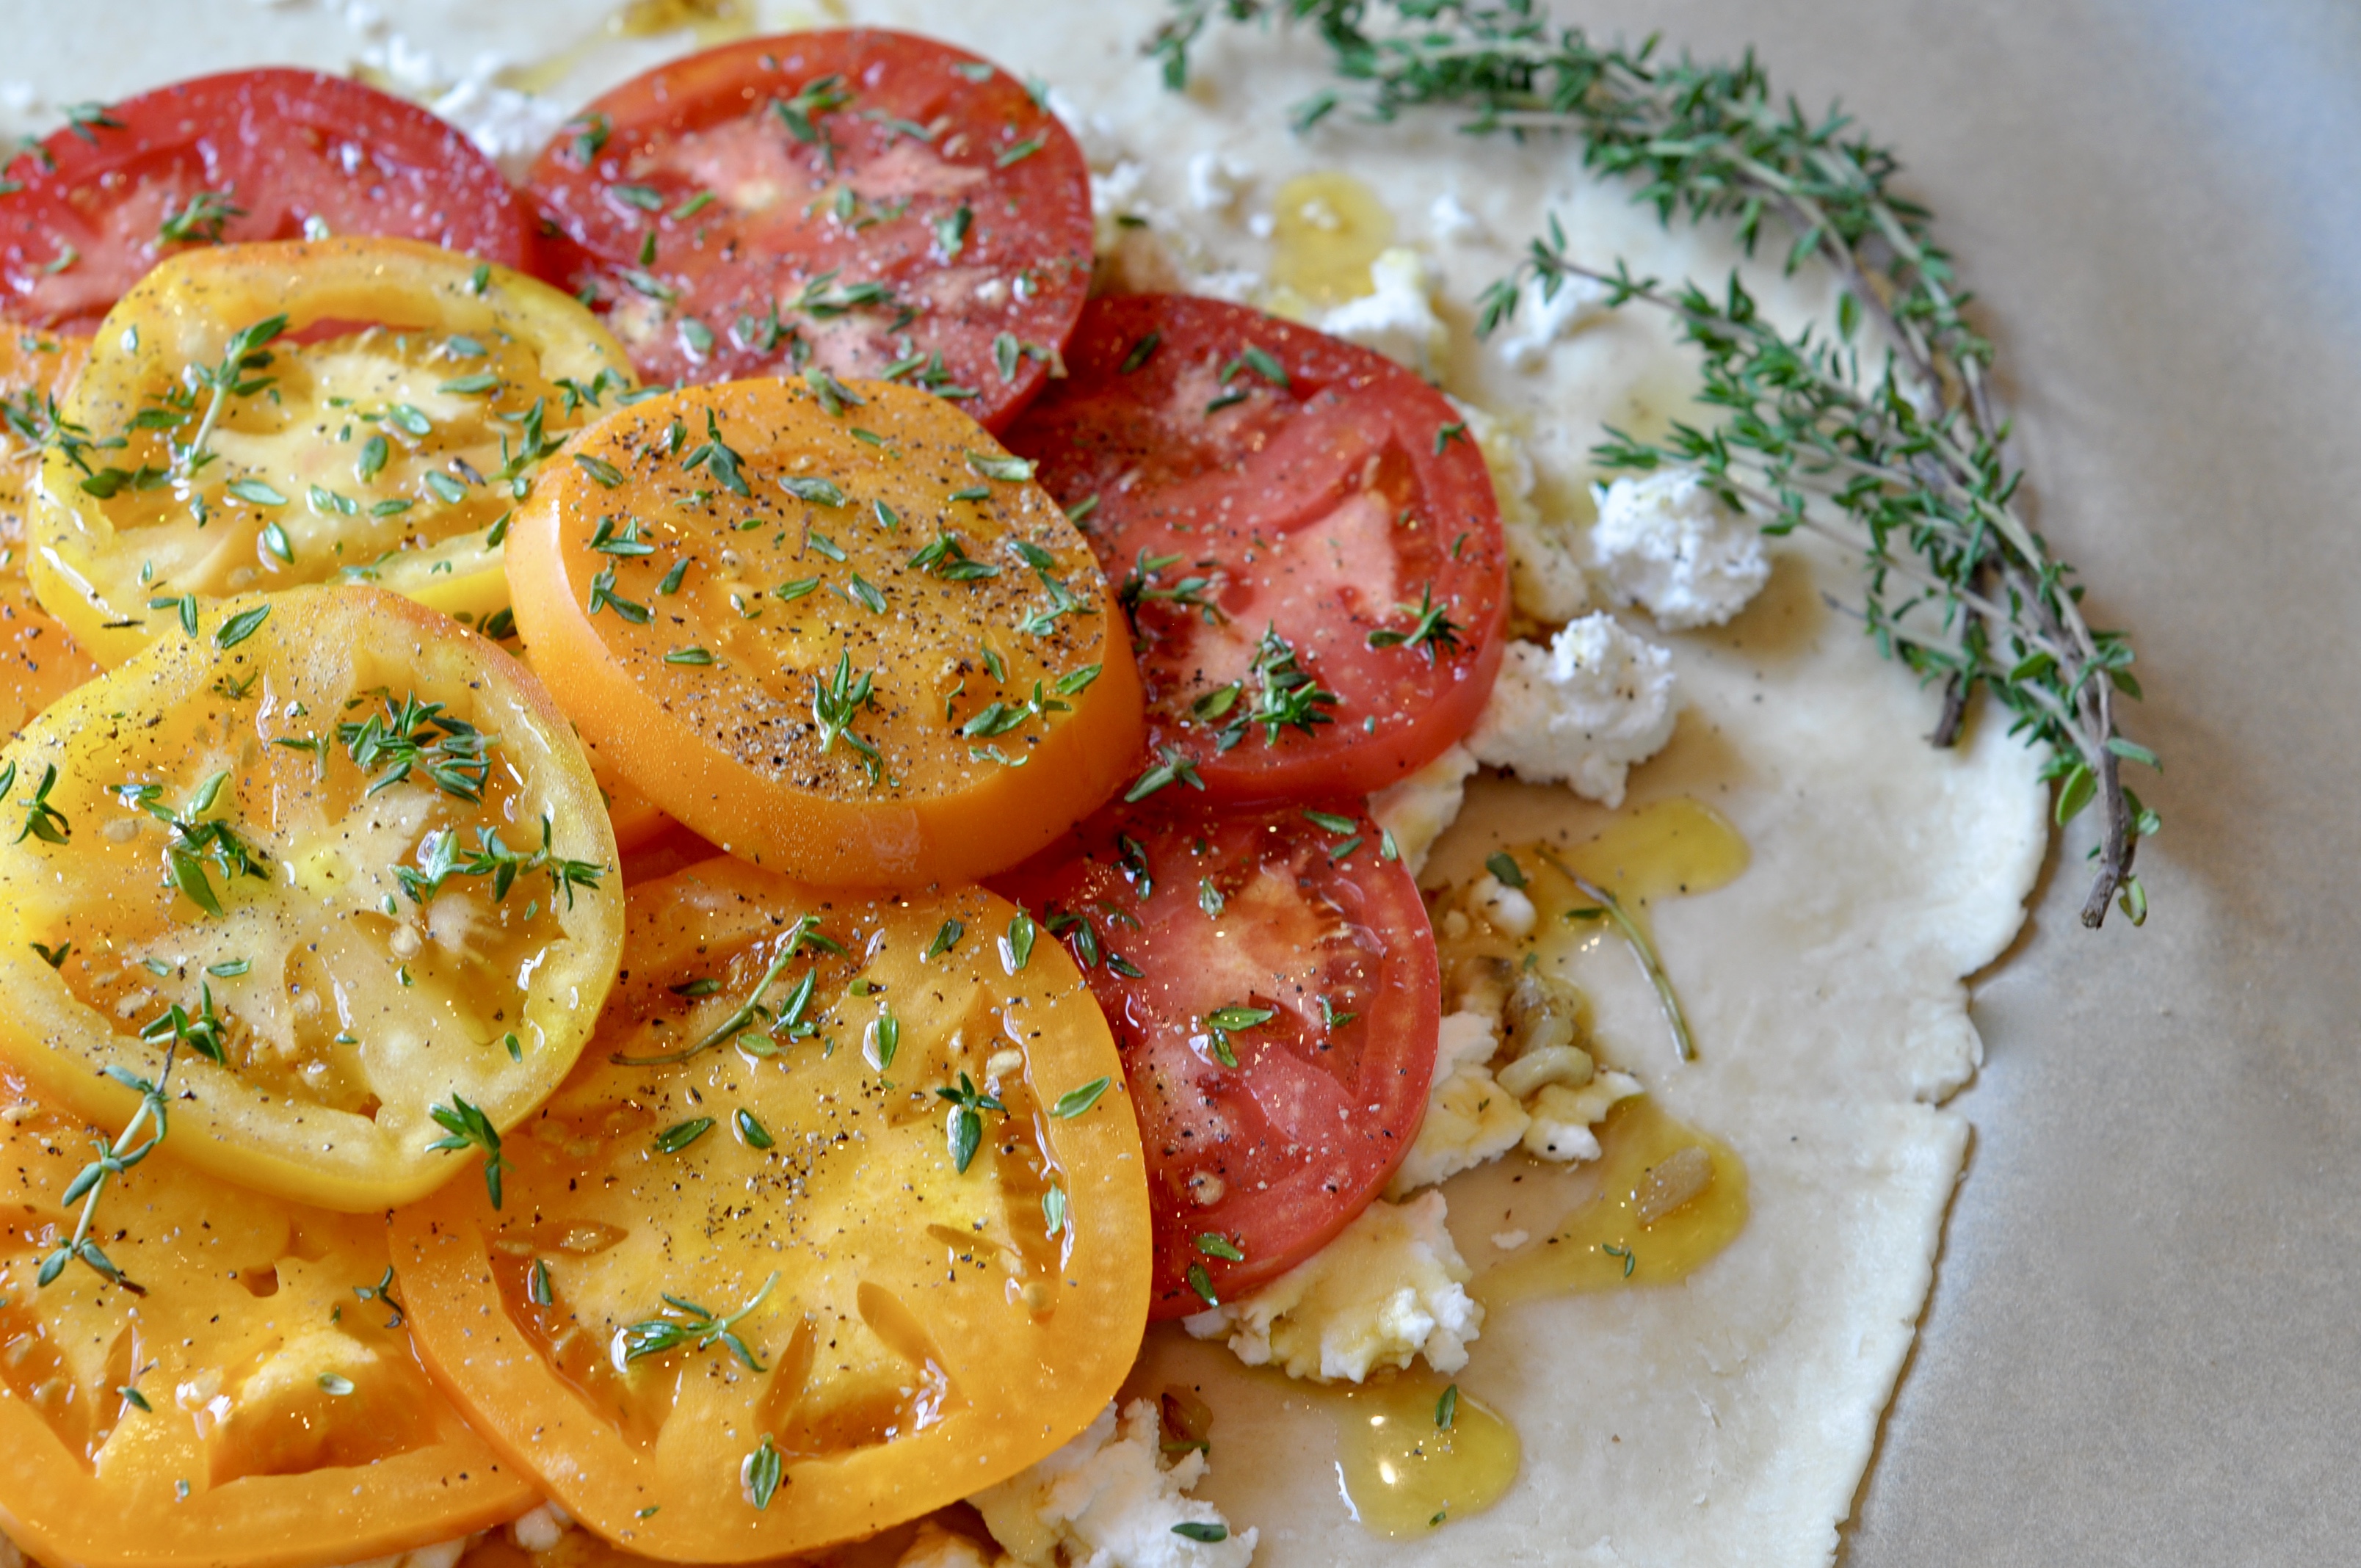
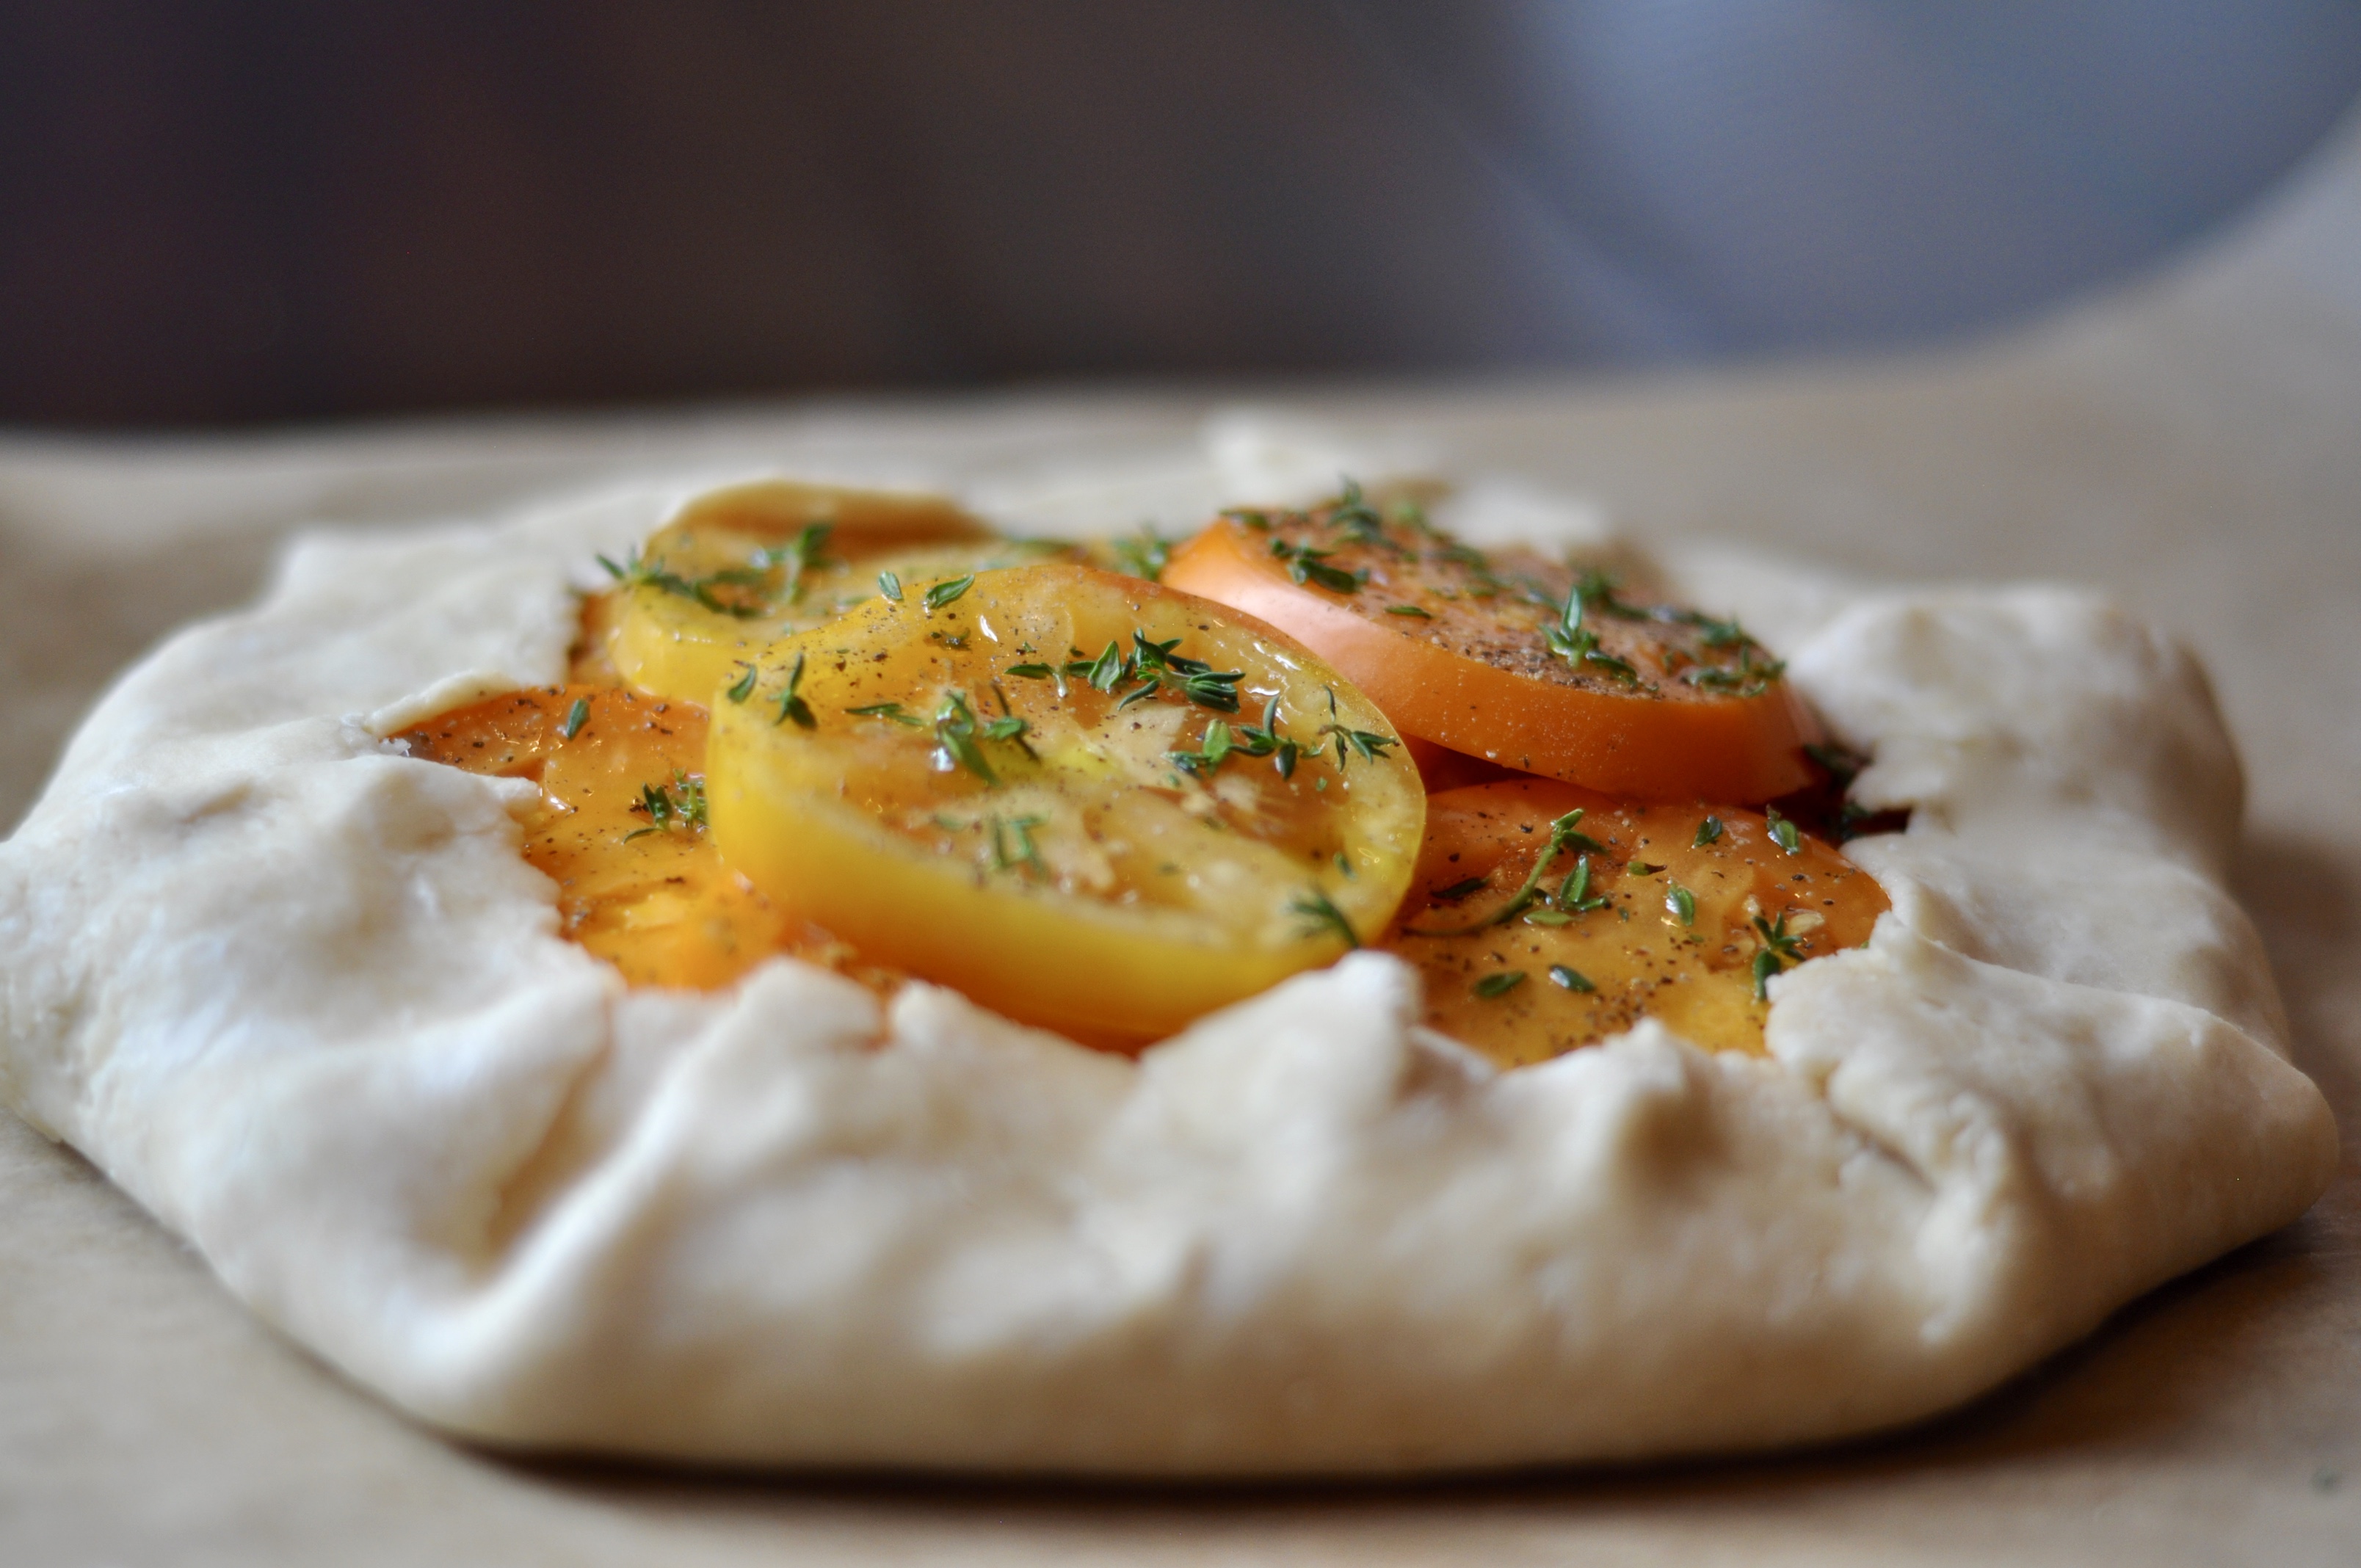
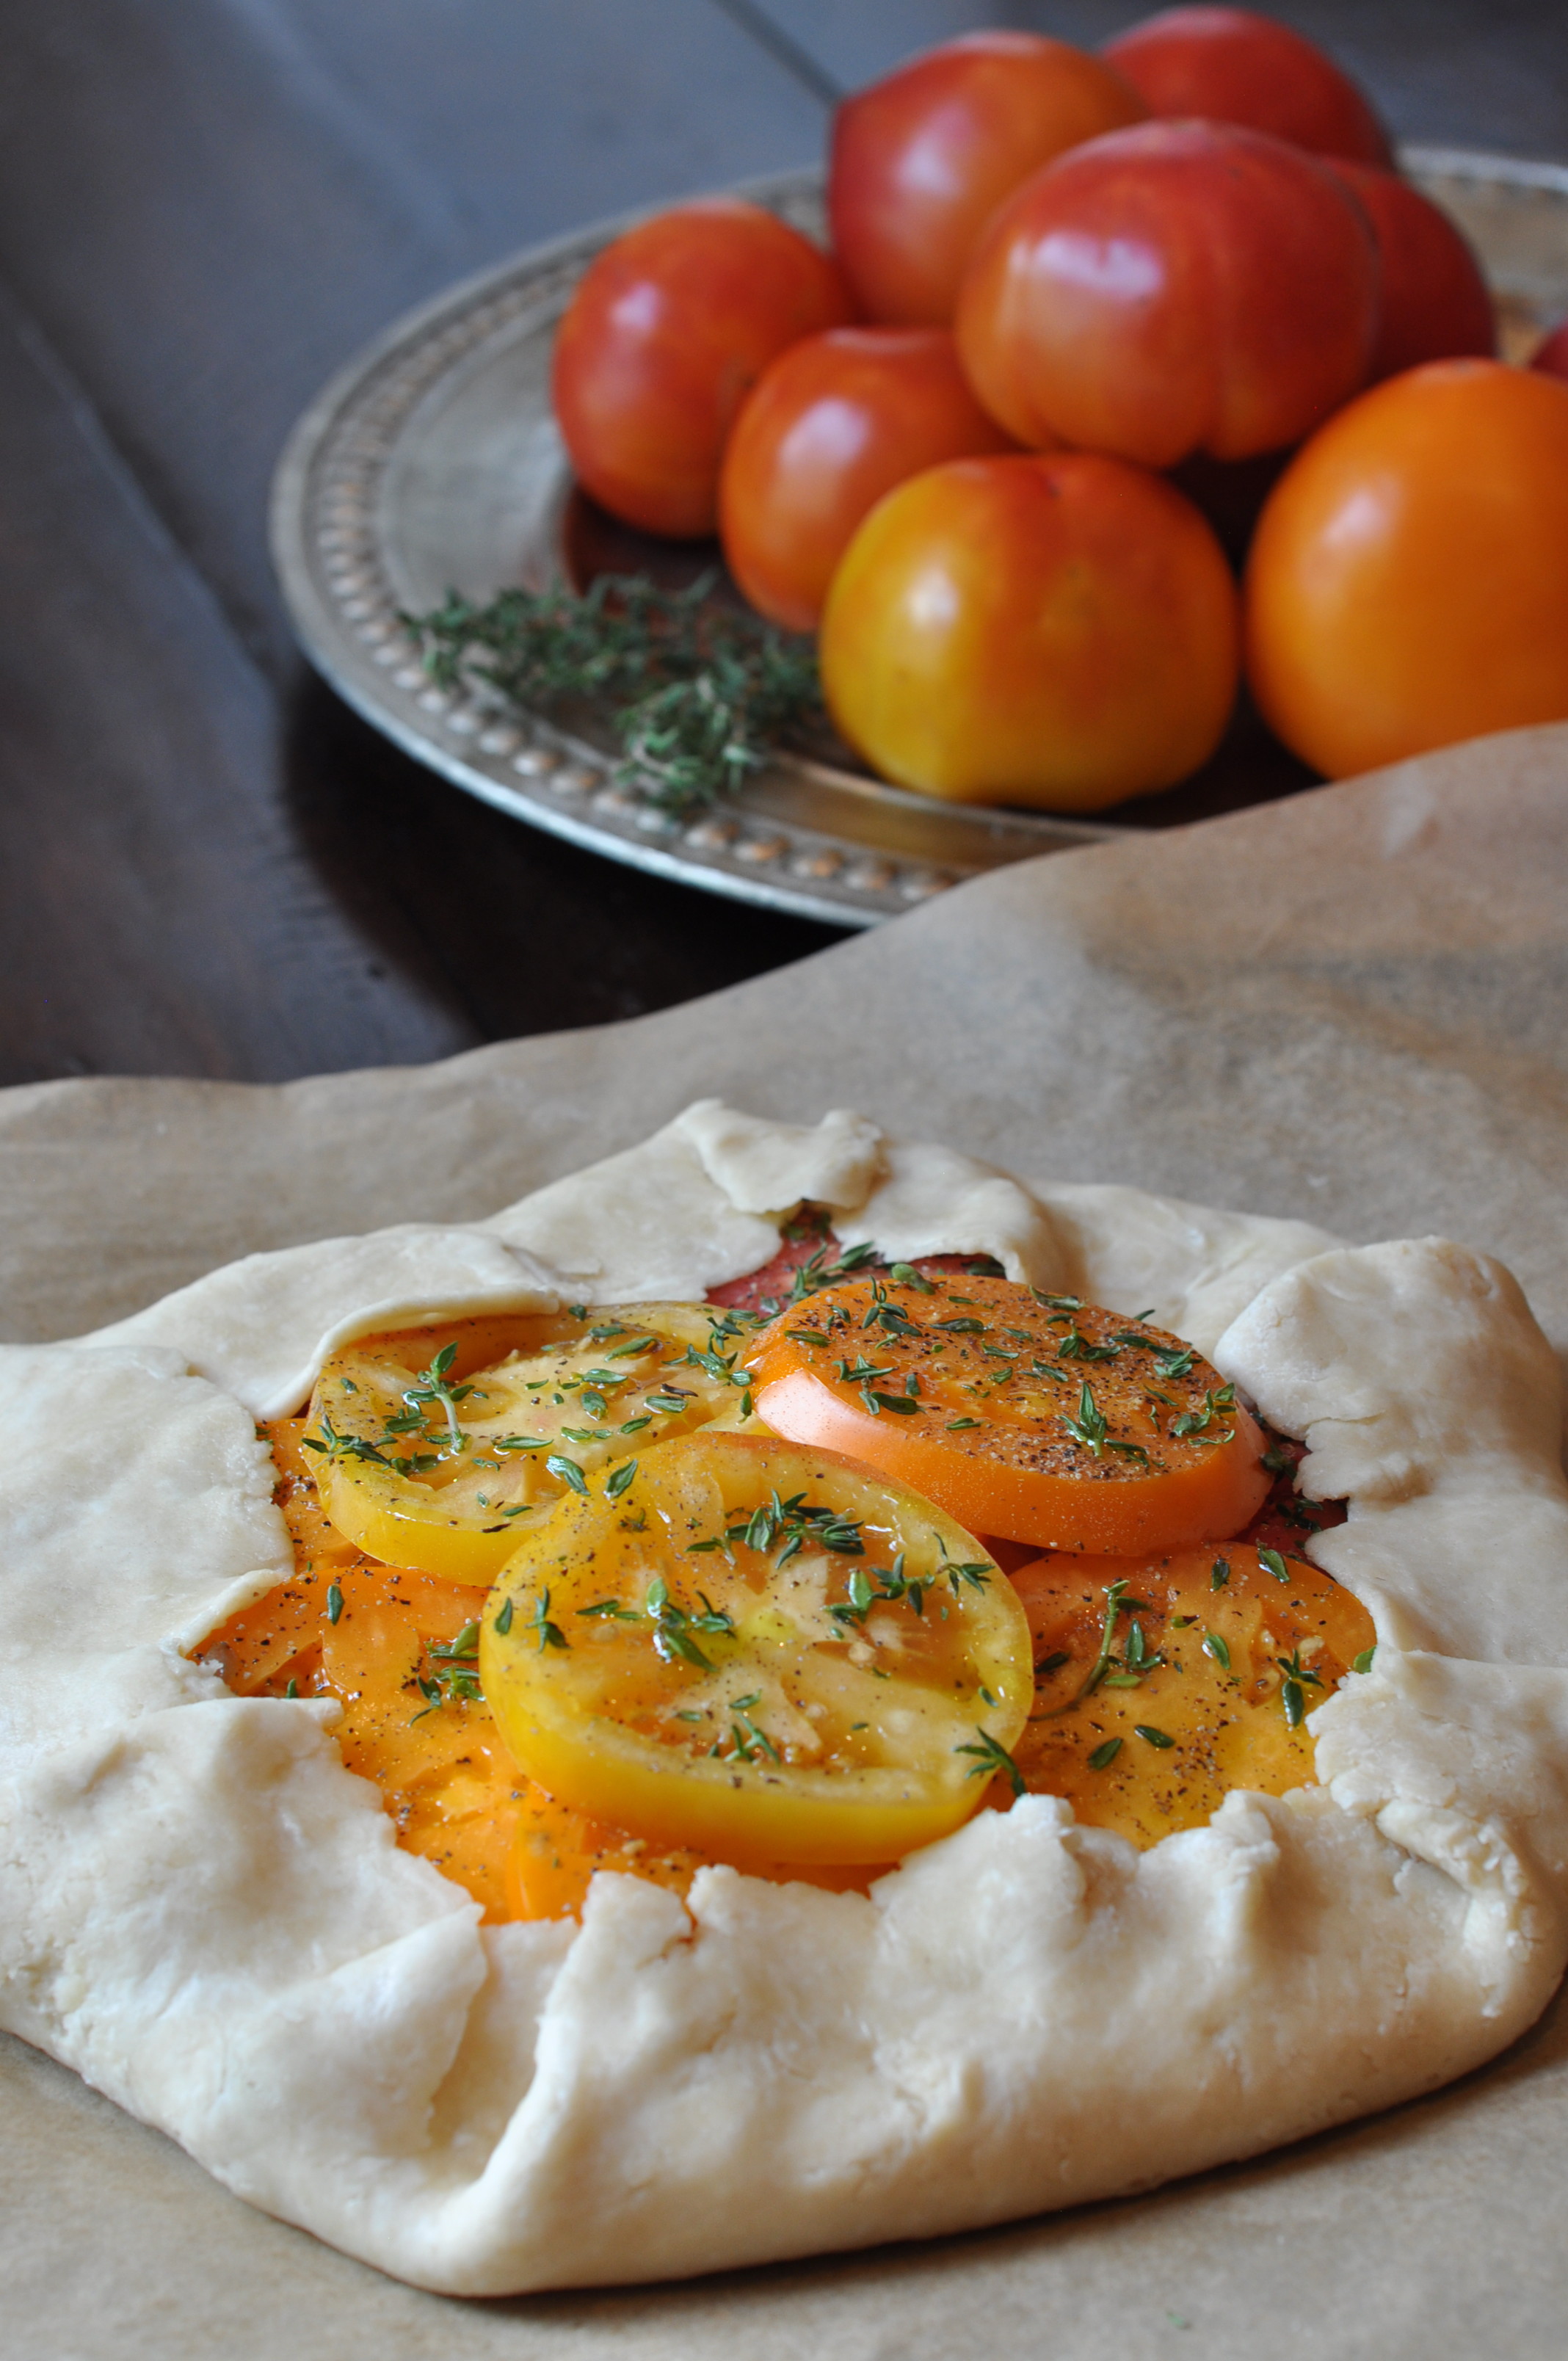
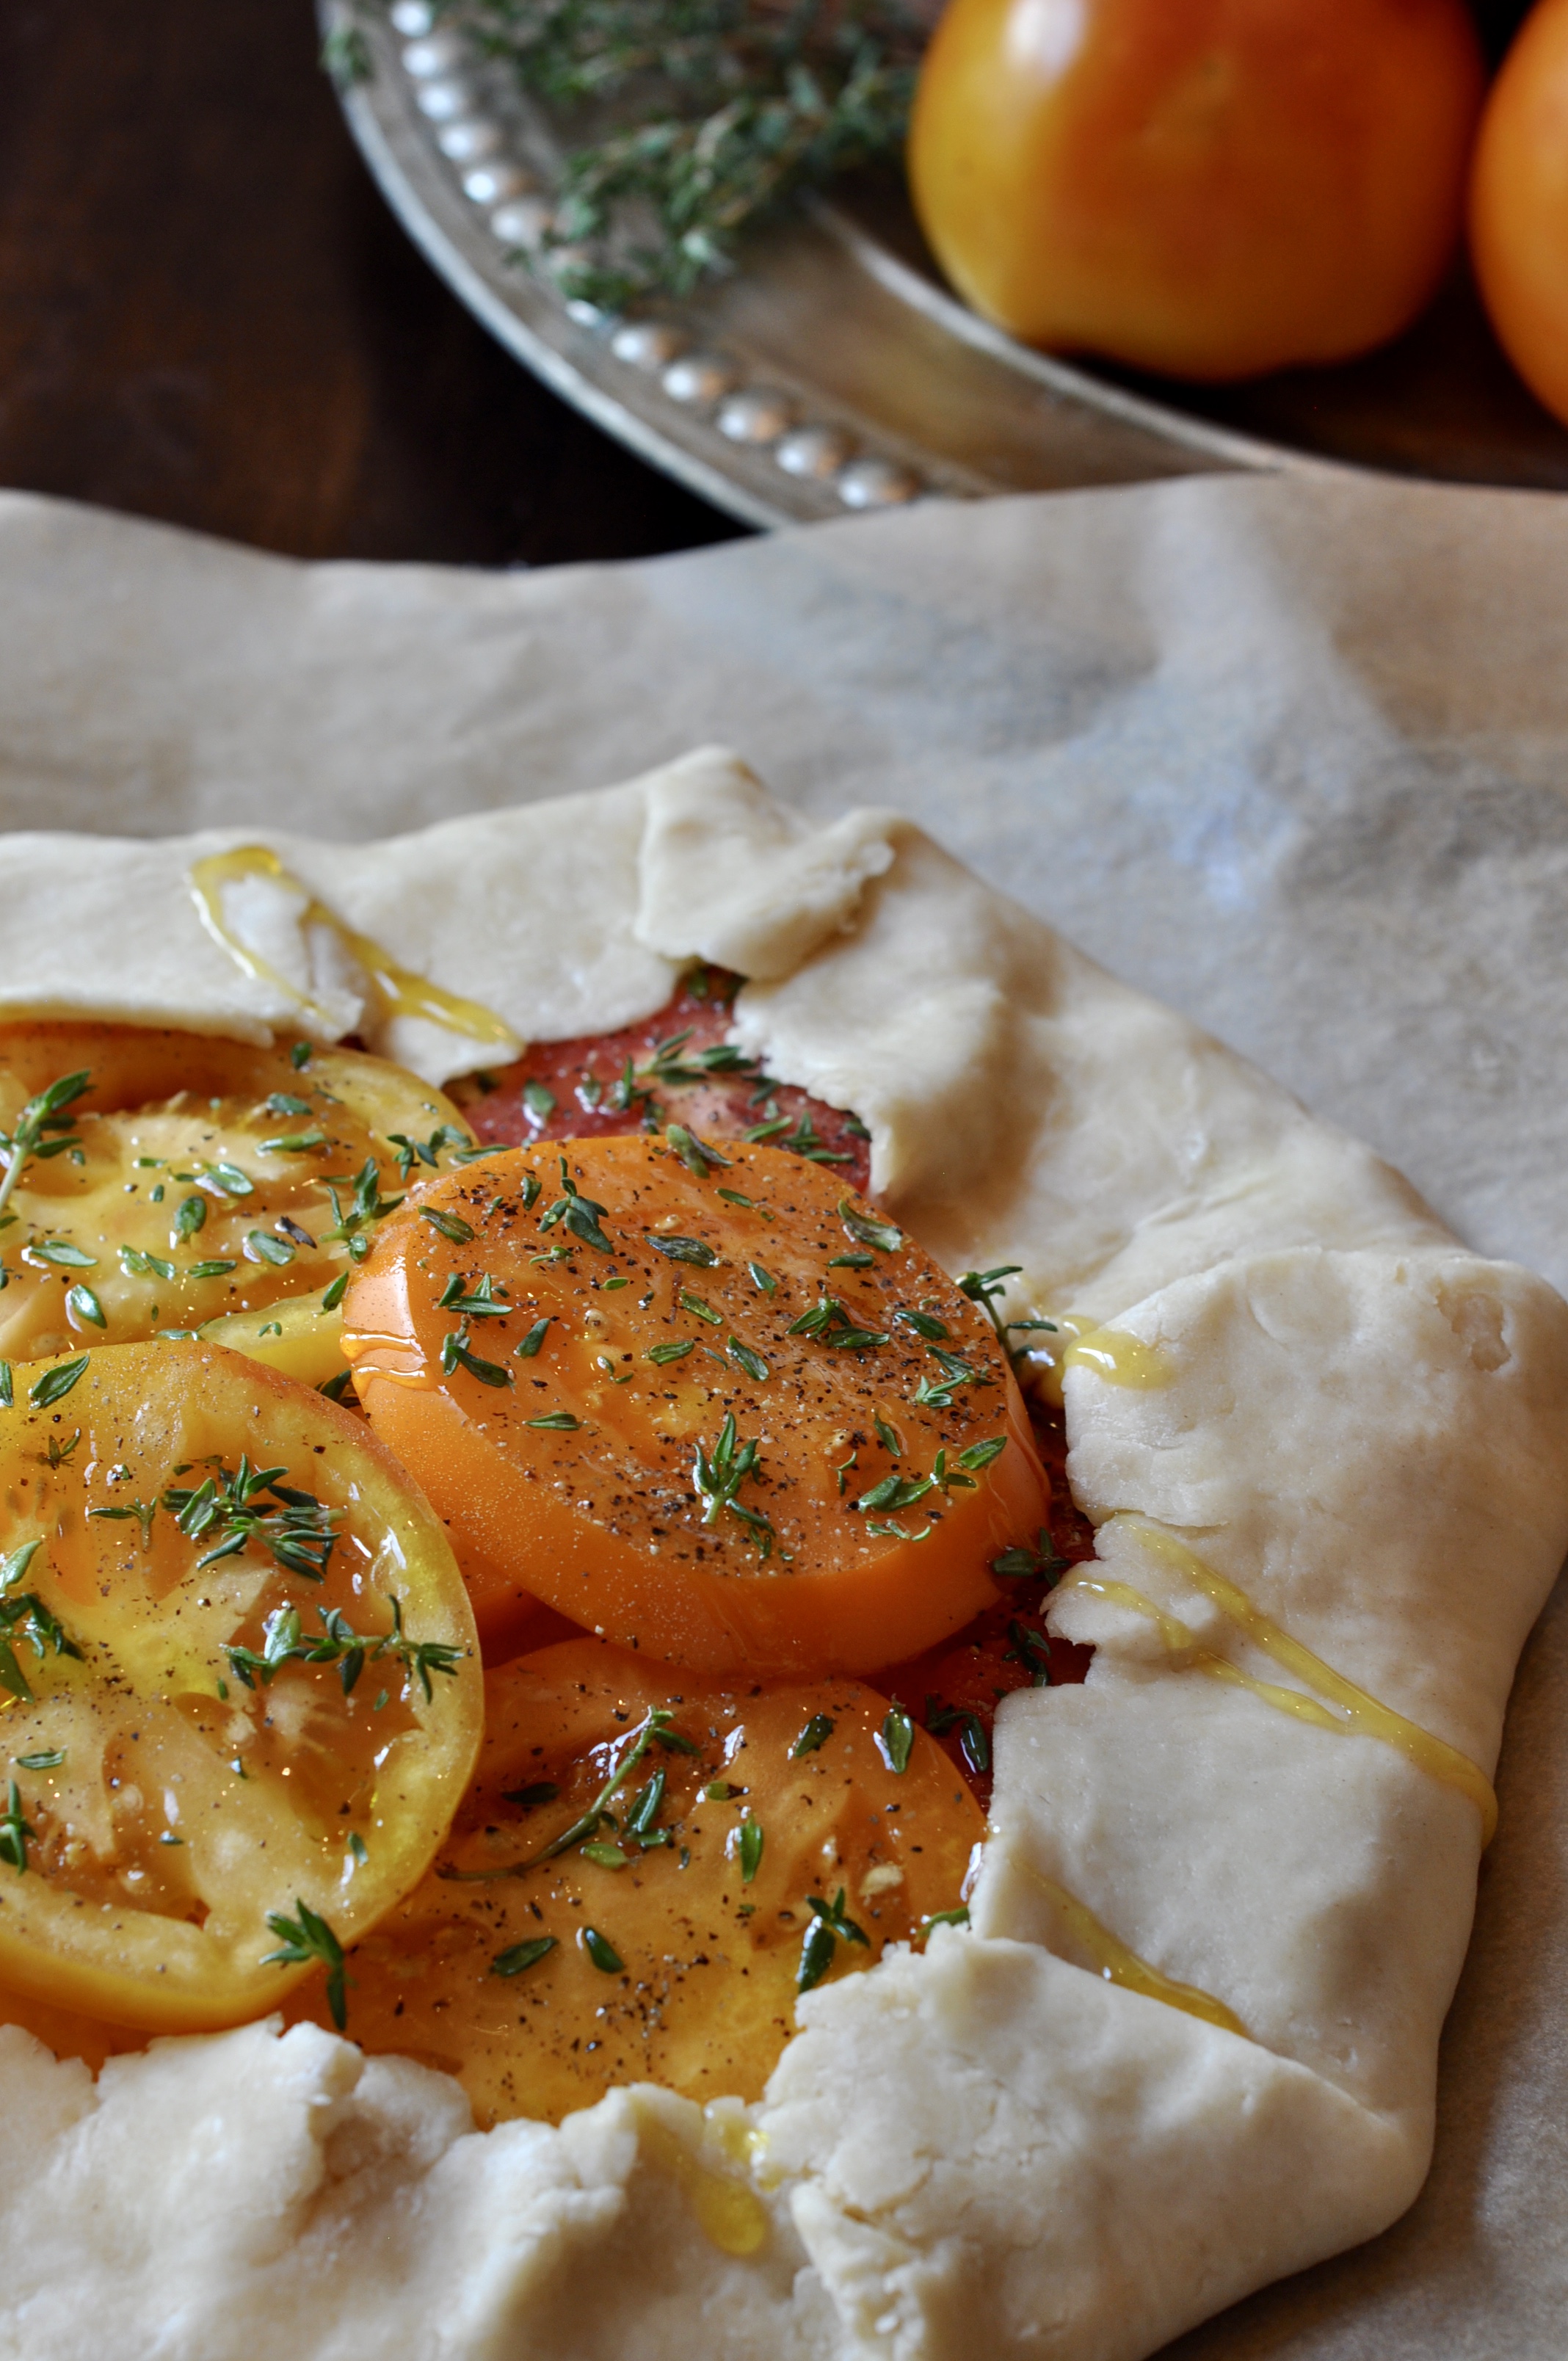
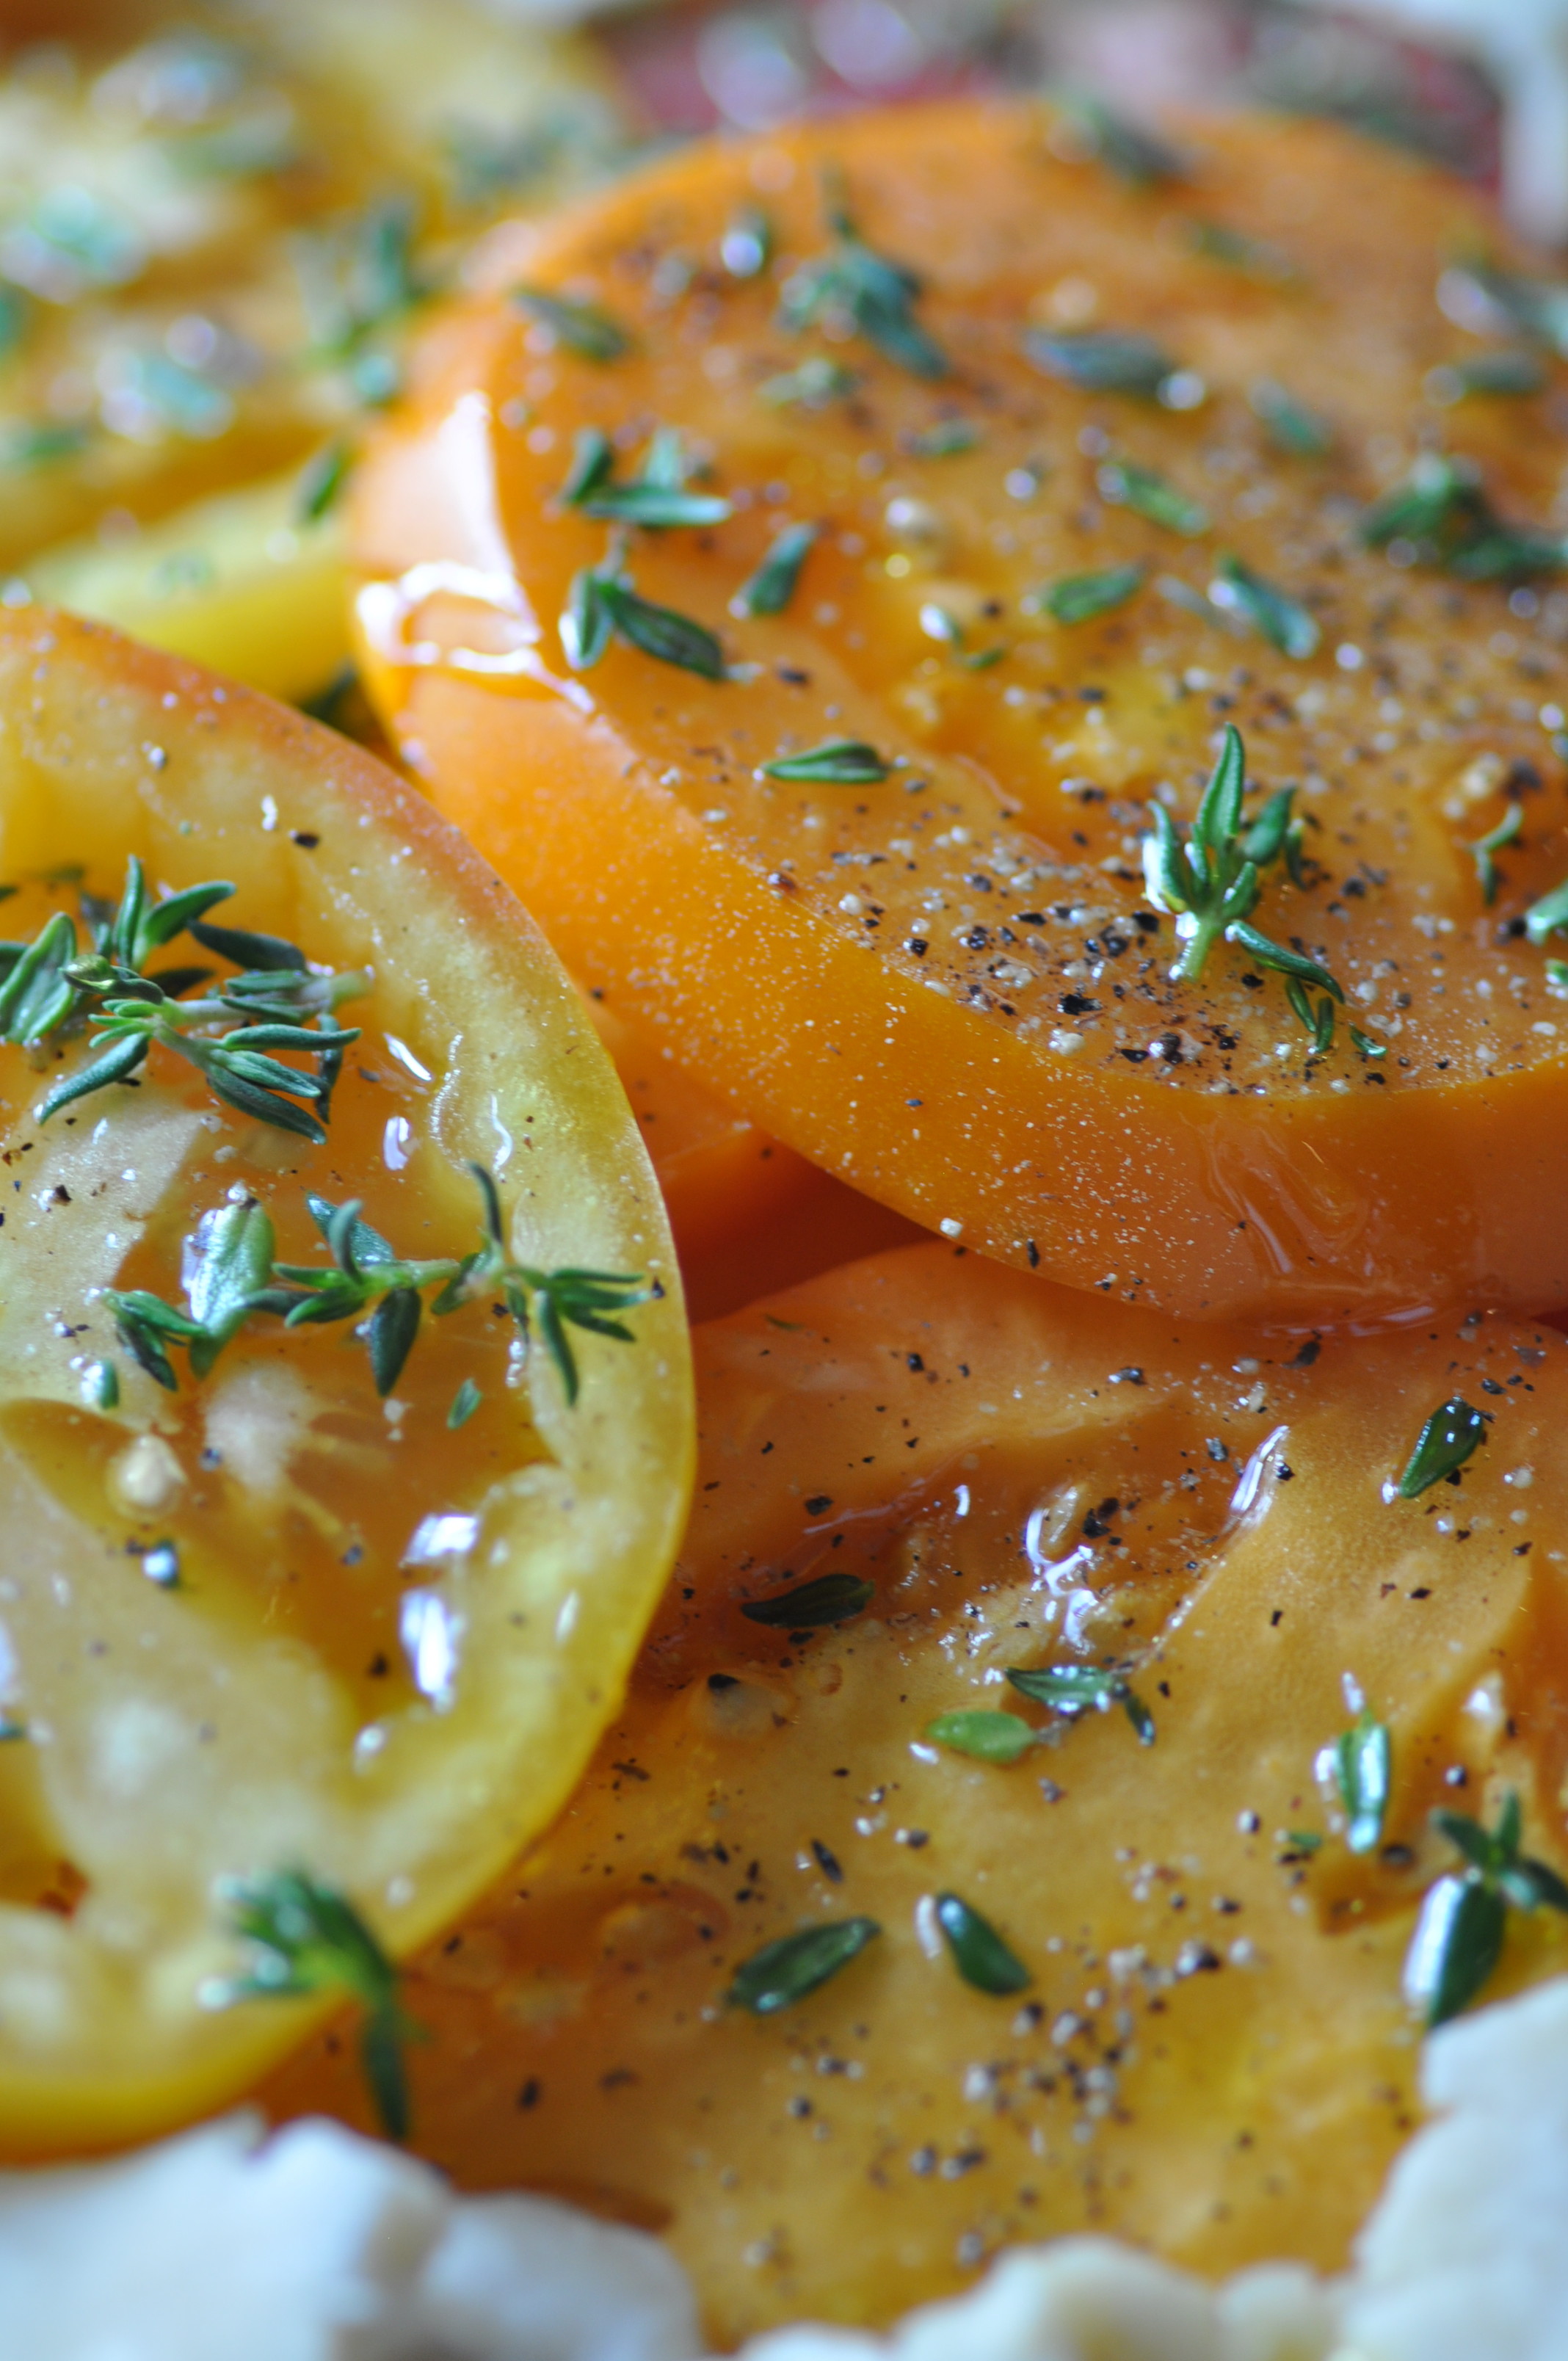
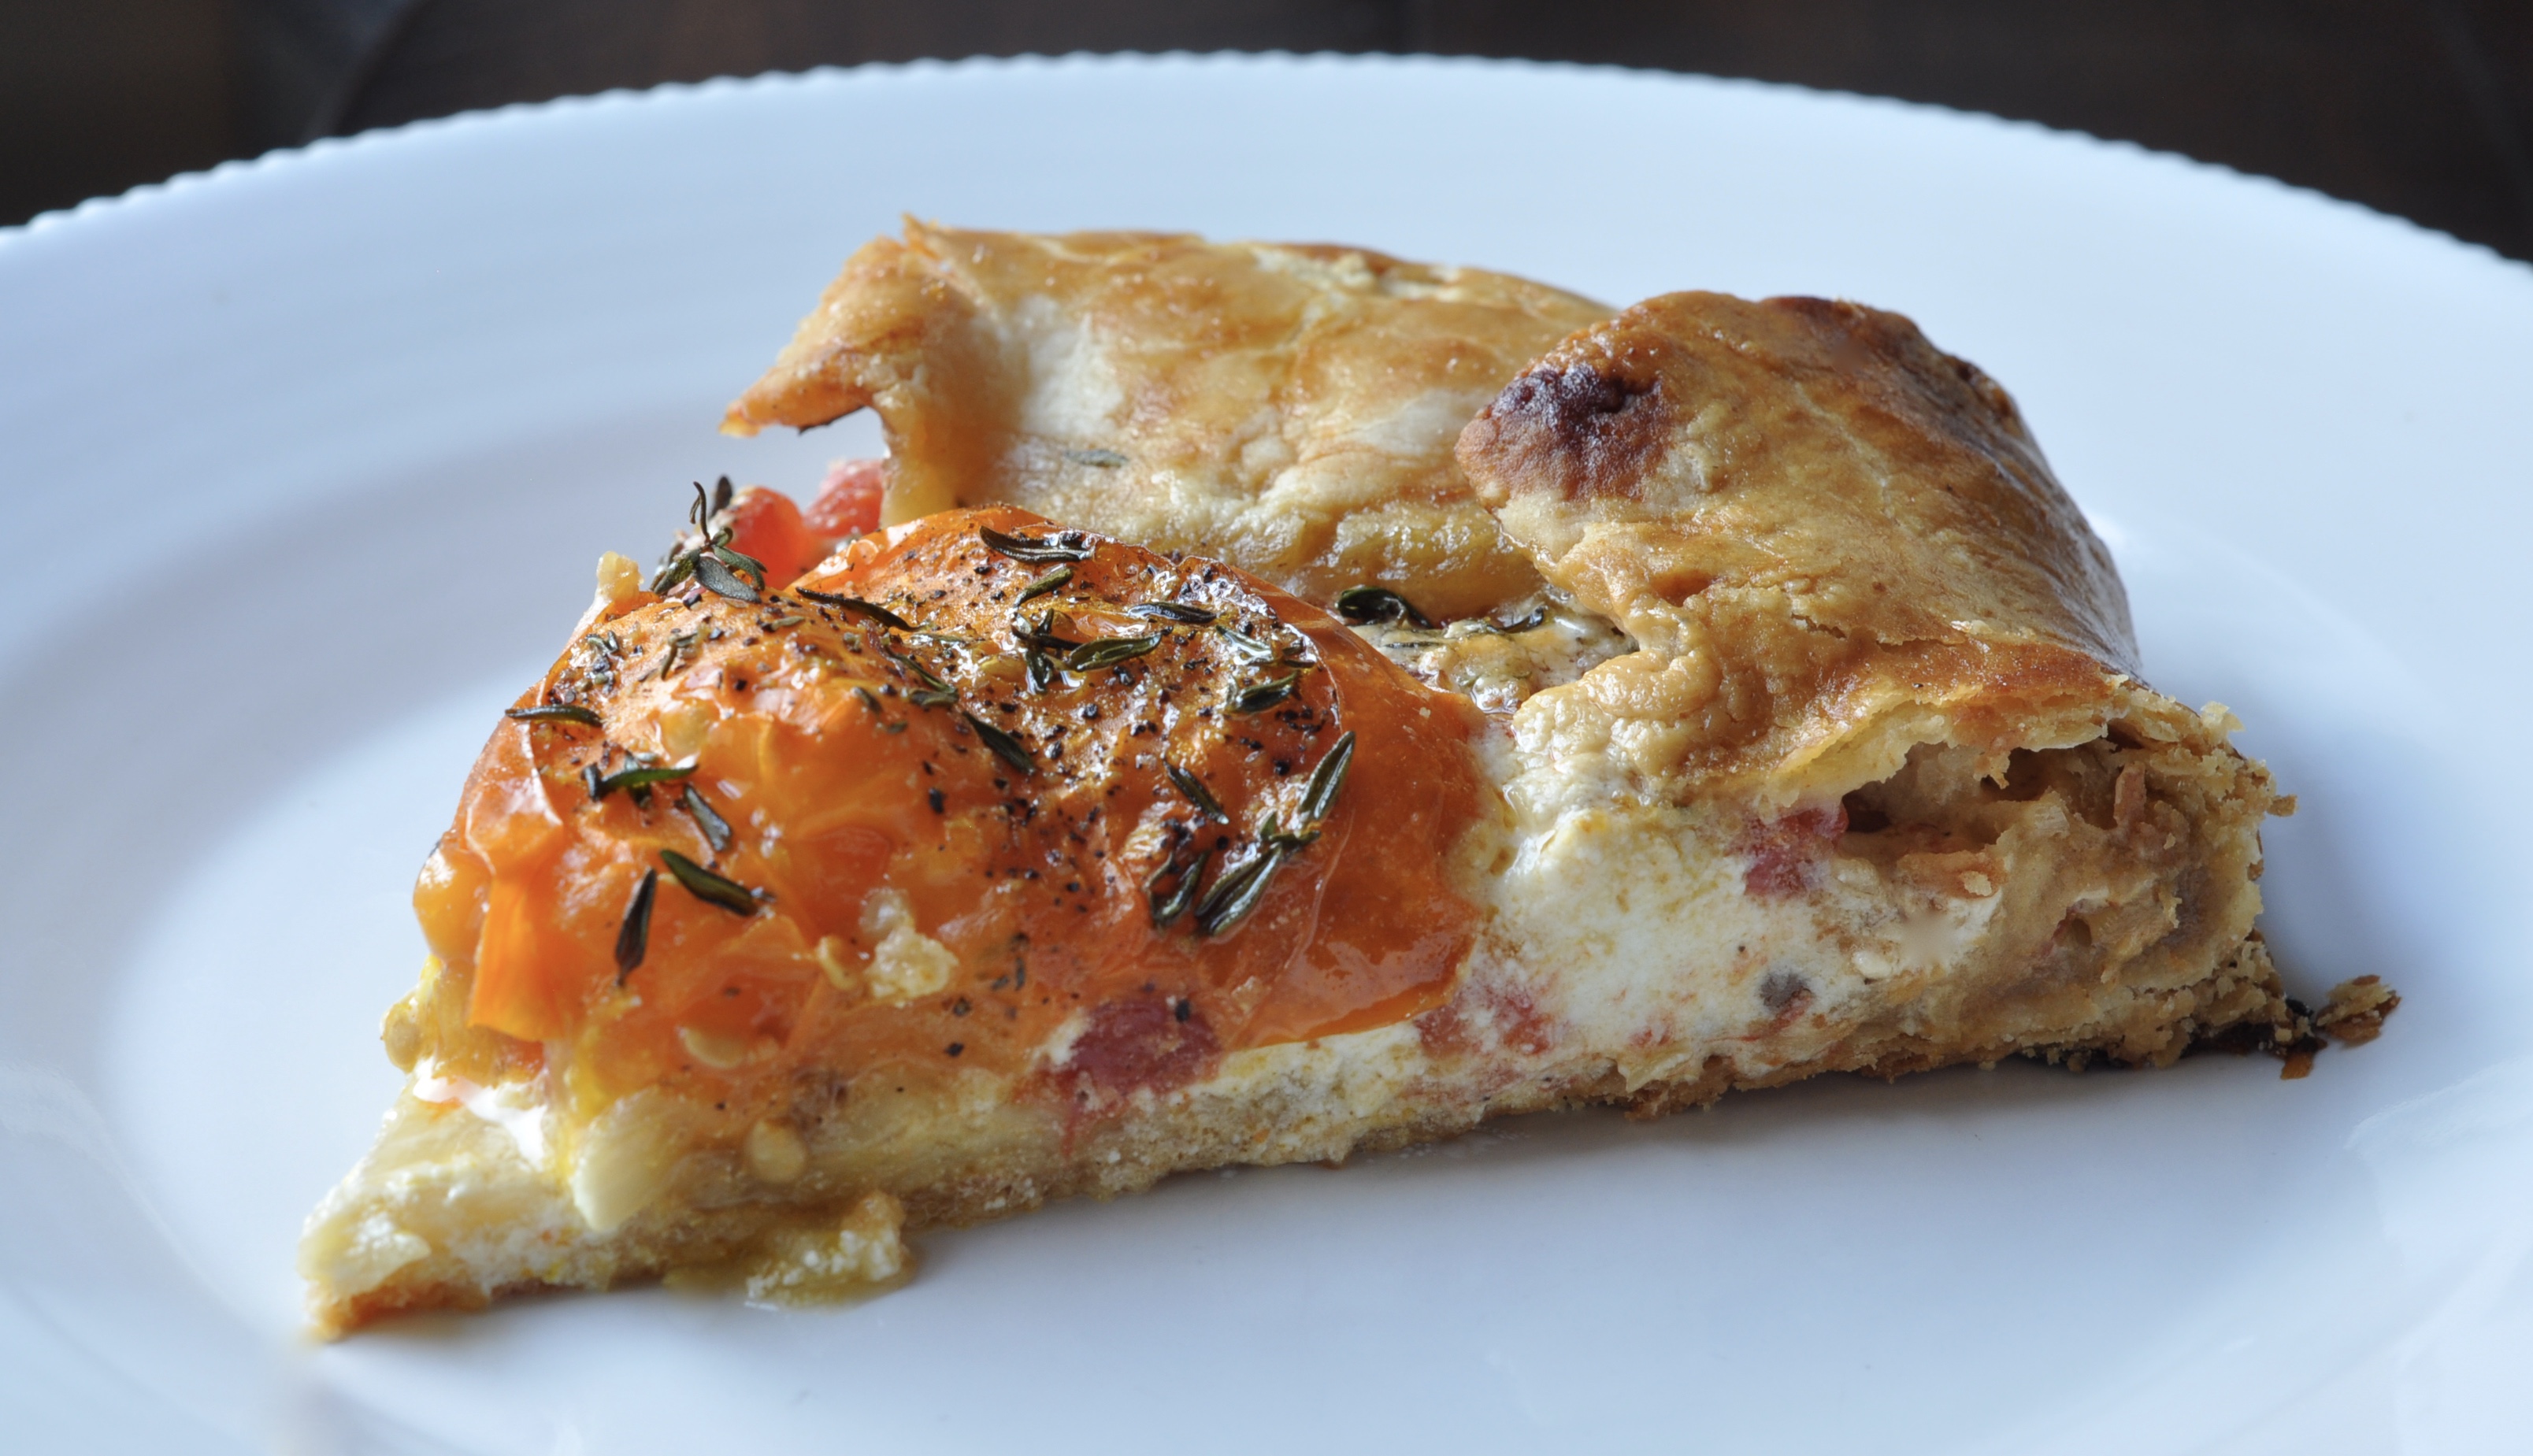
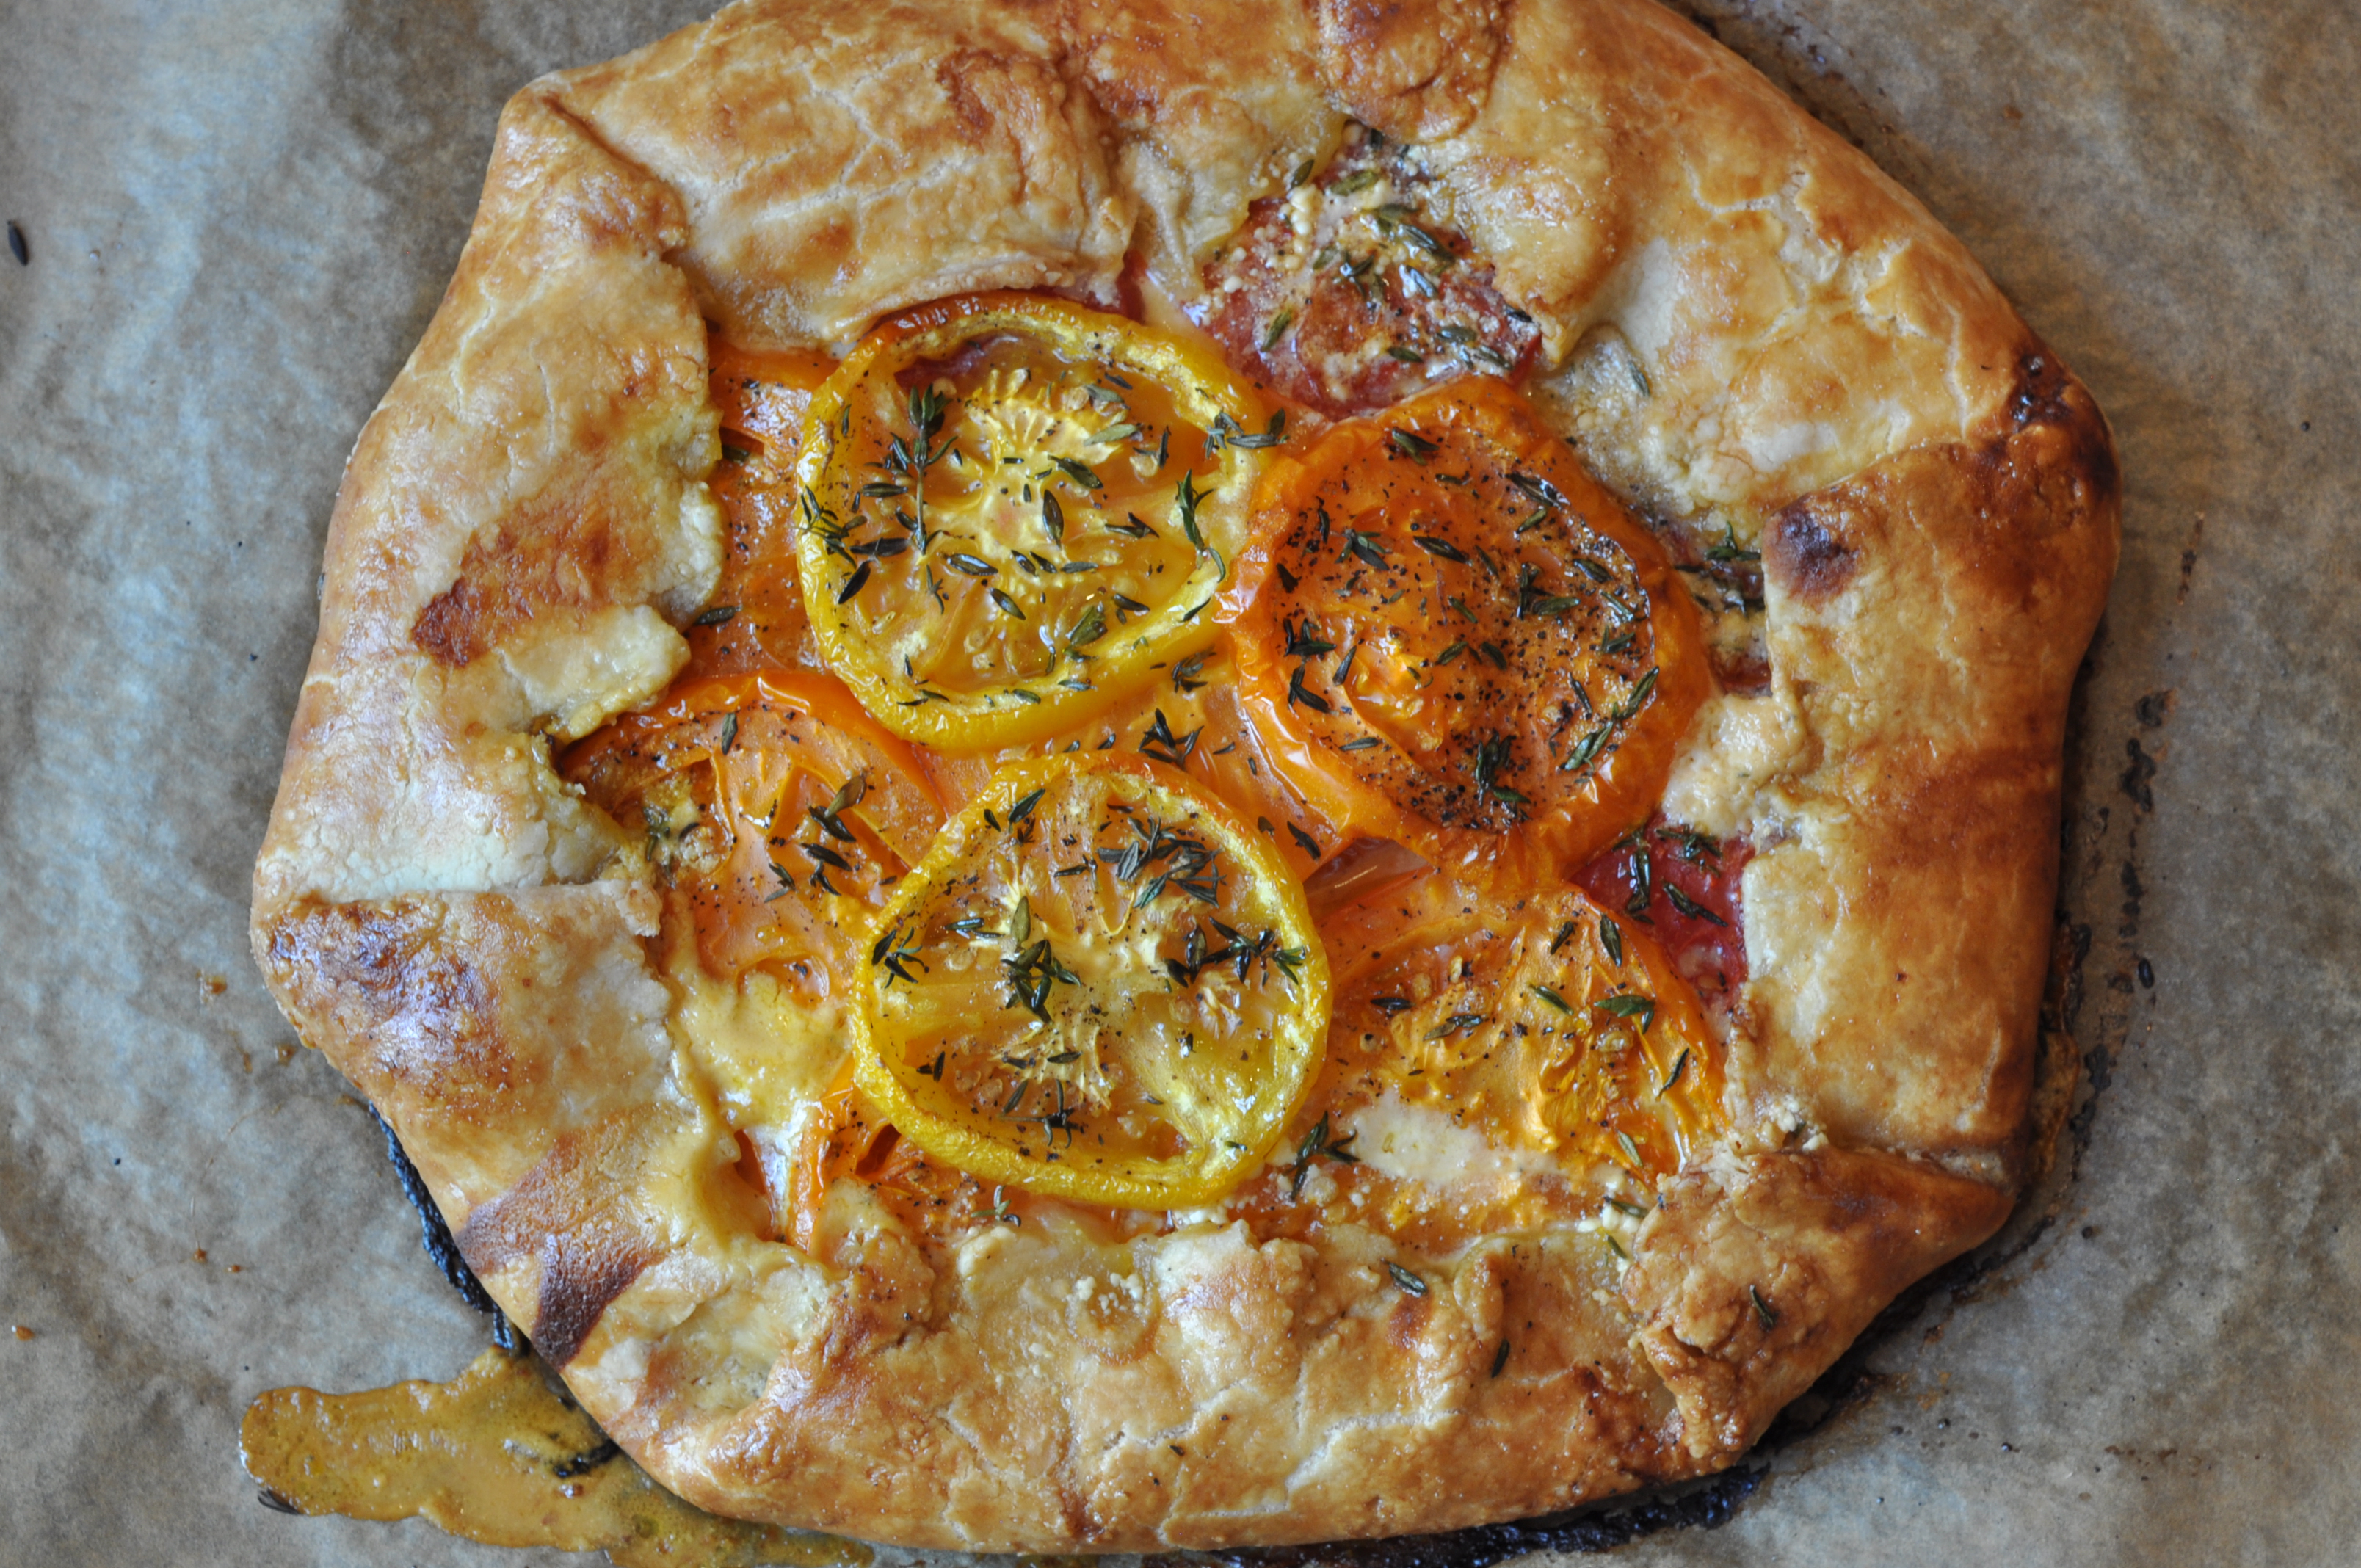
This galette was lovingly filled with yellow, orange and red tomatoes I picked up from the Dupont Circle Farmer’s Market this weekend. Ahhh, a tomato rainbow. I felt like their beauty deserved to be framed, wrapped in love. What better than a galette. Summer’s gift in a light and crispy pastry. Now, that’s a gift worth giving.
Bon appetit mon amour….

- 1/2 cup (1 stick) unsalted butter
- 1 1/2 cups all purpose flour, sifted
- pinch of salt
- pinch of sugar
- 1/3 cup cold water
- 4 shallots, diced (approximately 1 cup)
- 2 teaspoons extra virgin olive oil + more for drizzling
- 8 ounces goat cheese
- 3 tablespoons honey
- 3 – 4 heirloom or variety of tomatoes, sliced
- 1/2 teaspoon sea salt
- 1/2 teaspoon black pepper
- 2 tablespoons fresh thyme
- 1 large egg, beaten
- Start first by preparing the dough. Using a cheese grater, grate the butter into a small bowl and freeze for 10 minutes. While butter freezes, combine the flour, salt, and sugar in a large mixing bowl. Whisk the cold grated butter into the flour mixture until a mealy texture forms, then slowly add water, 1 tablespoon at a time, until dough takes shape. Form the dough in a ball, transfer to a lightly floured surface, and shape into a flattened round. Tightly wrap in plastic and refrigerate for 45 minutes until the dough is firm and cold.
- While the dough chills, heat olive oil over medium-high heat and sauté the diced shallots until lightly caramelized (approximately 10 minutes). Remove from heat and allow to cool.
- Preheat oven to 375F.
- Line a baking sheet with parchment paper and lightly sprinkle with flour. With a floured rolling-pin, roll out the chilled dough into a 1/8″ thick round and transfer to the parchment-lined baking sheet. It's easiest to transfer the dough by rolling it onto the pin and then lifting it onto the baking sheet.
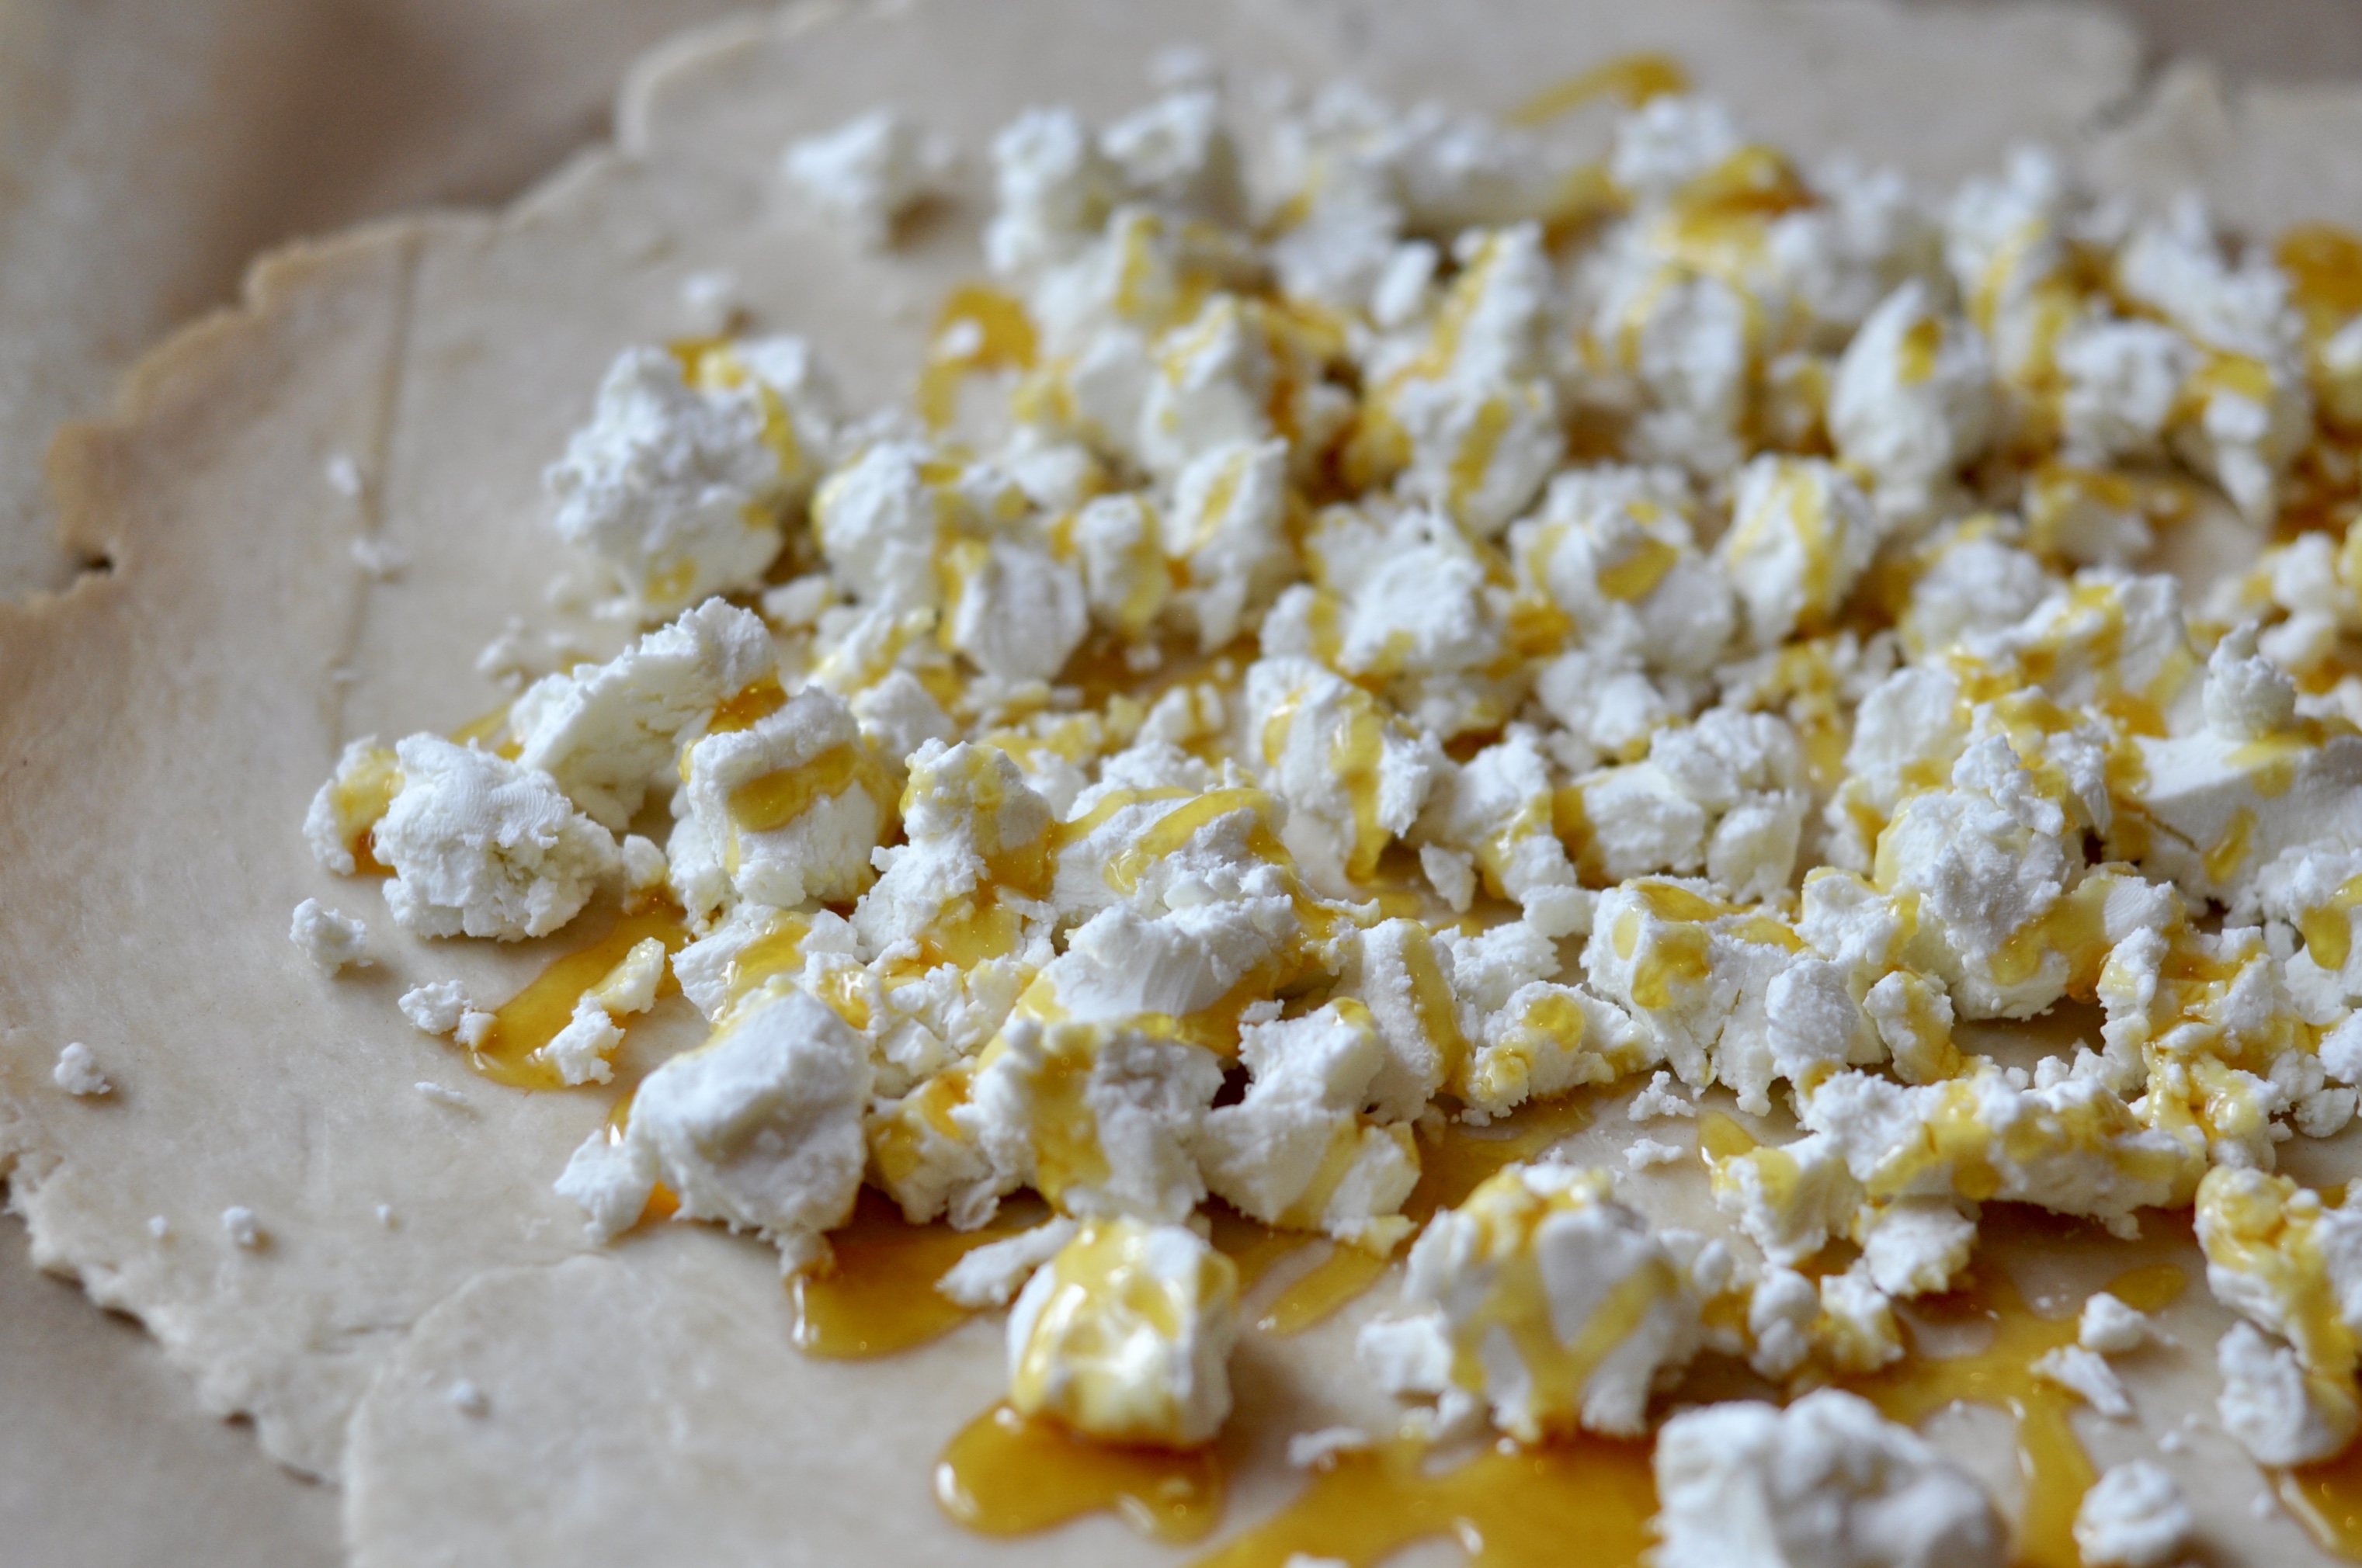
- Crumble the goat cheese over the rolled-out dough, leaving a 2-inch border along the edges. Drizzle a heavy serving of honey over goat cheese (don't be shy), then evenly top with caramelized shallots.
- Next, season the sliced tomatoes with salt & pepper and layer over the goat cheese and shallots. Drizzle the olive oil over the tomatoes and, finally, sprinkle with fresh thyme.
- Fold the 2-inch border of the dough over the edges of the tomatoes, then brush the crust with beaten egg.
- Bake the galette for 45-60 minutes until the crust is golden and the tomatoes have begun to char.
- Cool for a few minutes before serving.
Sweet Potatoes with Spiced Chickpeas & Ginger Lime Tahini Sauce
There’s a running list of recipes that scrolls through my head. There’s a lot of chatter up there. Thank gawd much of it is food related. This is one of those recipes I’ve waited a long time to make. Suddenly, it became one of those “must make now” recipes. Detour on the drive home from work. In Whole Foods snatching up sweet potatoes, cilantro, limes, tahini, chickpeas with all too much enthusiasm.
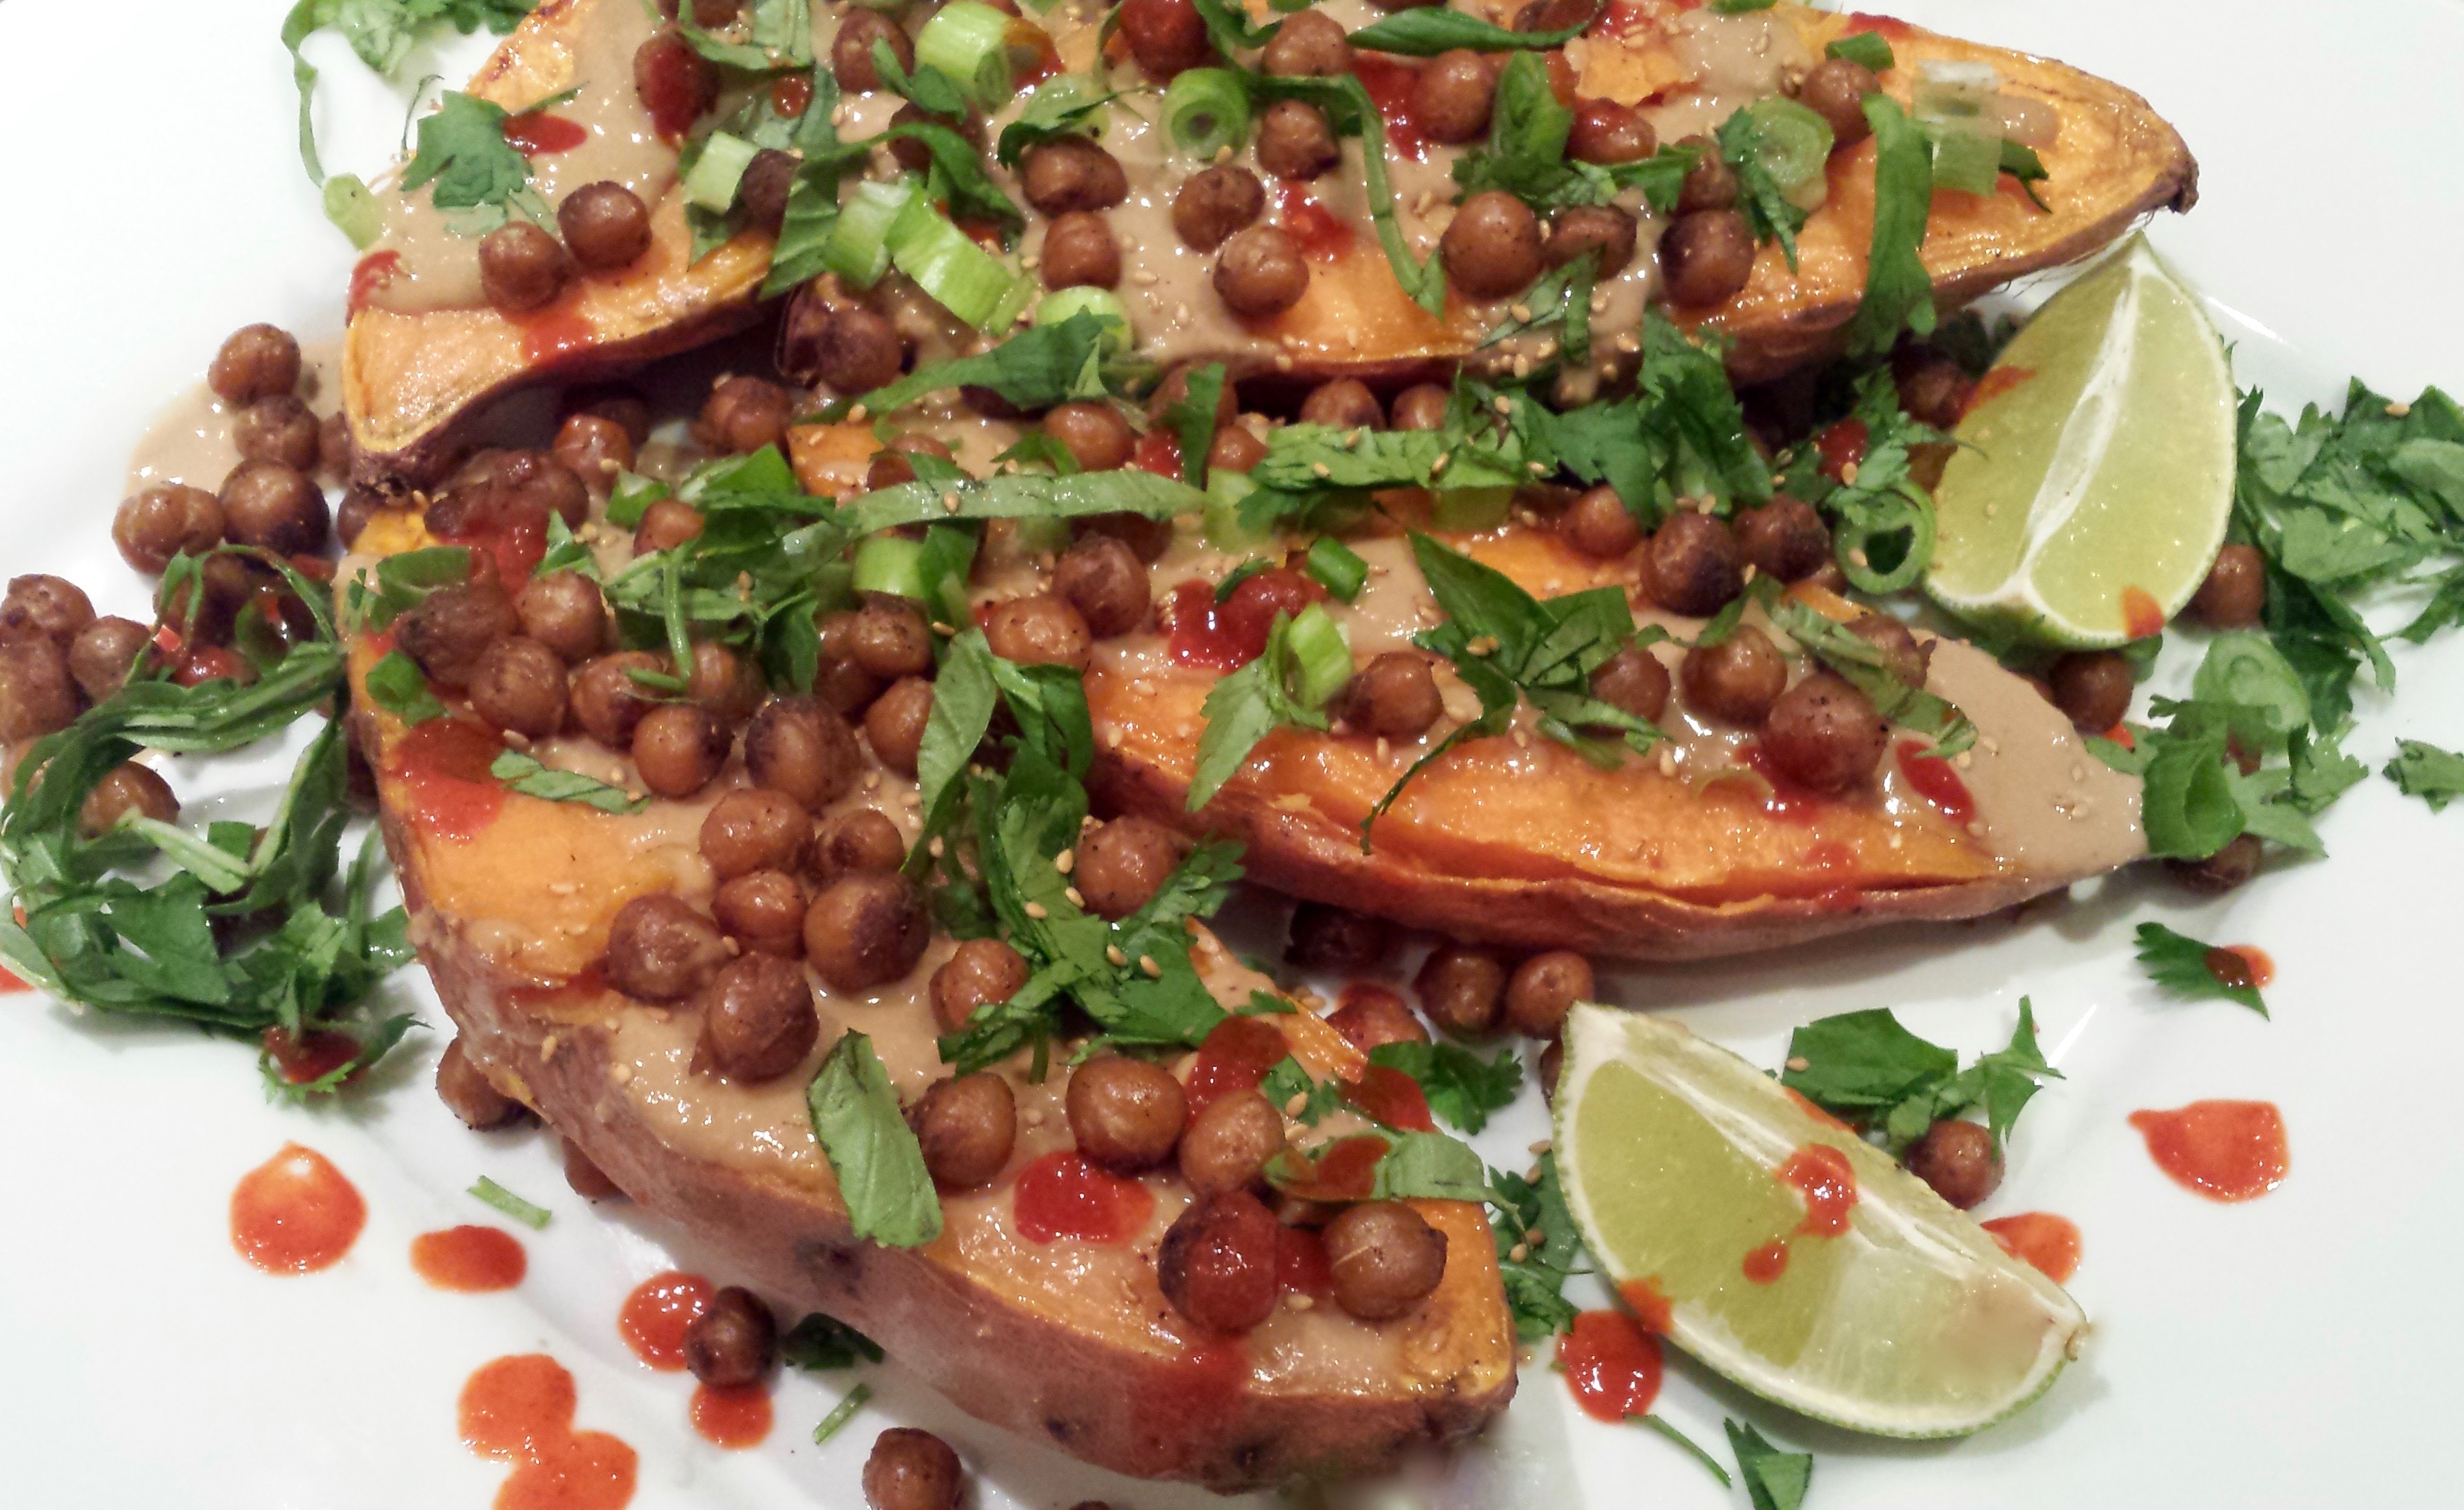
I burst through the door, straight into the kitchen, cranked up my fave Pandora channel (ohhh you love Chill Loungers Radio too?!), and got right to work. Don’t stop, won’t stop, oh no…forgot to take pictures…last ditch smartphone shot right before serving. Close call. Glad I can give you a little Samsung Galaxy 4 kickin-it-old-school snap.
This is one of those dishes that highlights what I love about cooking. Simple to make; perfect mix of flavors; separate components of a dish that stand alone wonderfully, but come together perfectly; results exceed expectations. What’s not to like…?
So, in a string of “I’m not vegan” vegan recipes: Just.Make.This.One.
Another beautiful recipe from a favorite website, The First Mess.

- 4 medium sweet potatoes
- 2 teaspoons olive or coconut oil
- 1 15 oz can chickpeas, drained and rinsed
- 1 teaspoon garlic powder
- 1 teaspoon ground cumin
- ½ teaspoon finely grated fresh ginger
- ¼ teaspoon ground coriander
- 1 tablespoon pure maple syrup
- 1 tablespoon soy sauce
- ½ teaspoon chili garlic sauce or other hot sauce
- 1 tsp finely grated fresh ginger
- ¼ cup tahini
- 1 lime, juiced (approximately 2 tablespoons)
- 1-2 tablespoons soy sauce
- 2-3 tablespoons pure maple syrup
- ½ teaspoon chili garlic sauce or other hot sauce
- 2-3 tablespoons water (to thin sauce after mixed)
- 2 green onions, thinly sliced
- 1/4 cup chopped cilantro
- 1/4 cup fresh basil, thinly sliced
- Sesame seeds
- Sriracha sauce
- Lime wedges
- Preheat oven to 400 degrees F. Line a baking dish with 2-inch sides with parchment paper. Set the sweet potatoes, flesh side down, onto the parchment. Bake sweet potatoes until they are tender all the way through, about 25-30 minutes.
- While sweet potatoes bake, heat the oil in a medium skillet over medium heat. In a glass bowl, mix the garlic powder, cumin, ginger, coriander, maple syrup, tamari, and hot sauce. Then toss the chickpeas in this sauce.
- Transfer the chickpeas to the skillet. Sauté chickpeas until visibly browned and lightly dried. The spices should form a golden “crust” on the outside of the chickpeas. This should take about 5-10 minutes with intermittent stirring.
- Using the same bowl that you tossed the chickpeas in, whisk together the tahini sauce. Mix the ginger, tahini, lime juice, tamari, maple syrup, and hot sauce. When the sauce is smooth, add hot water to get the sauce to pourable consistency. Whisk thoroughly and set aside.
- Place the baked sweet potatoes on a platter. Top the sweet potato halves with tahini sauce, the cooked chickpeas, green onions, cilantro, basil, sesame seeds, and sriracha sauce. Serve with lime wedges on the side. Enjoy immediately.
Vegan Power Frappe
 I know, I know… just when I told you I’m not vegan. Presenting: the Vegan Power Frappe! Ta da… I just can’t help myself because 1) I’m falling in love …with a new food blog…oh yes, The First Mess and 2) I’m trapped inside with 30 consecutive days of rain in the Washington DC area (..and NPR just reported it’s sunny in Seattle during the local
 rubbing-it-in weather report). I need a pick-me-up people! Like now… like right now…
I love adding Maca powder to my morning shakes, and I’ve been known to sneak a pour of coffee into my shakes as well. So, when I saw these two in The First Mess Maca Caramel Frap, I dove right in. Maca has a malty, earthy flavor and, most importantly, a noticeable energy kick. You’d think it might be the coffee, but I get the same energy boost when I add only Maca and no coffee to my shakes.
There are a few items you’ll need to prepare in advance: the frozen banana (I always keep a gallon ziplock bag of half-cut bananas in the freezer); cold brewed coffee (you can cold brew, when needed, or use yesterday’s leftovers); and soaked cashews (soak the cashews overnight in cold water or soak in boiling water for 10 minutes as you’re preparing the rest of the shake… I used boiling water from my electric tea kettle while preparing the other ingredients).


- 1/2 cup raw cashews, soaked for 10 minutes in boiling water
- 4 soft Medjool dates, pitted
- 1 banana, sliced and frozen
- Handful of ice cubes
- 2 teaspoons Maca powder
- 1 teaspoon vanilla extract
- 1/4 teaspoon fine sea salt
- 1/2 cup cold brewed coffee
- 1/2 cup unsweetened, unflavored almond or coconut milk
- Soak the raw cashews in a bowl with boiling water for 10 minutes. You can boil the water in the microwave, stove top or tea kettle.
- For the coffee, you can cold brew or use yesterday's leftover coffee...
- Combine all of the ingredients in a high-speed blender. Blend the mixture on high until smooth and frothy. Enjoy!
Easy Vegan Overnight Oats with Nutty Granola Clusters
Every time I find myself in Dupont Circle, I wonder why I’m not wandering around Dupont Circle more often. It’s a charming and lively spot in the city: embassies, restaurants, shops, bookstores, eclectic everything. On each visit, I seem to end up at Kramerbooks & Afterwards Cafe. There are many things I love there: books and food and cashiers with nose piercings and tucked in the corner by the cafe… cookbooks… a.k.a. foodie romance novels.
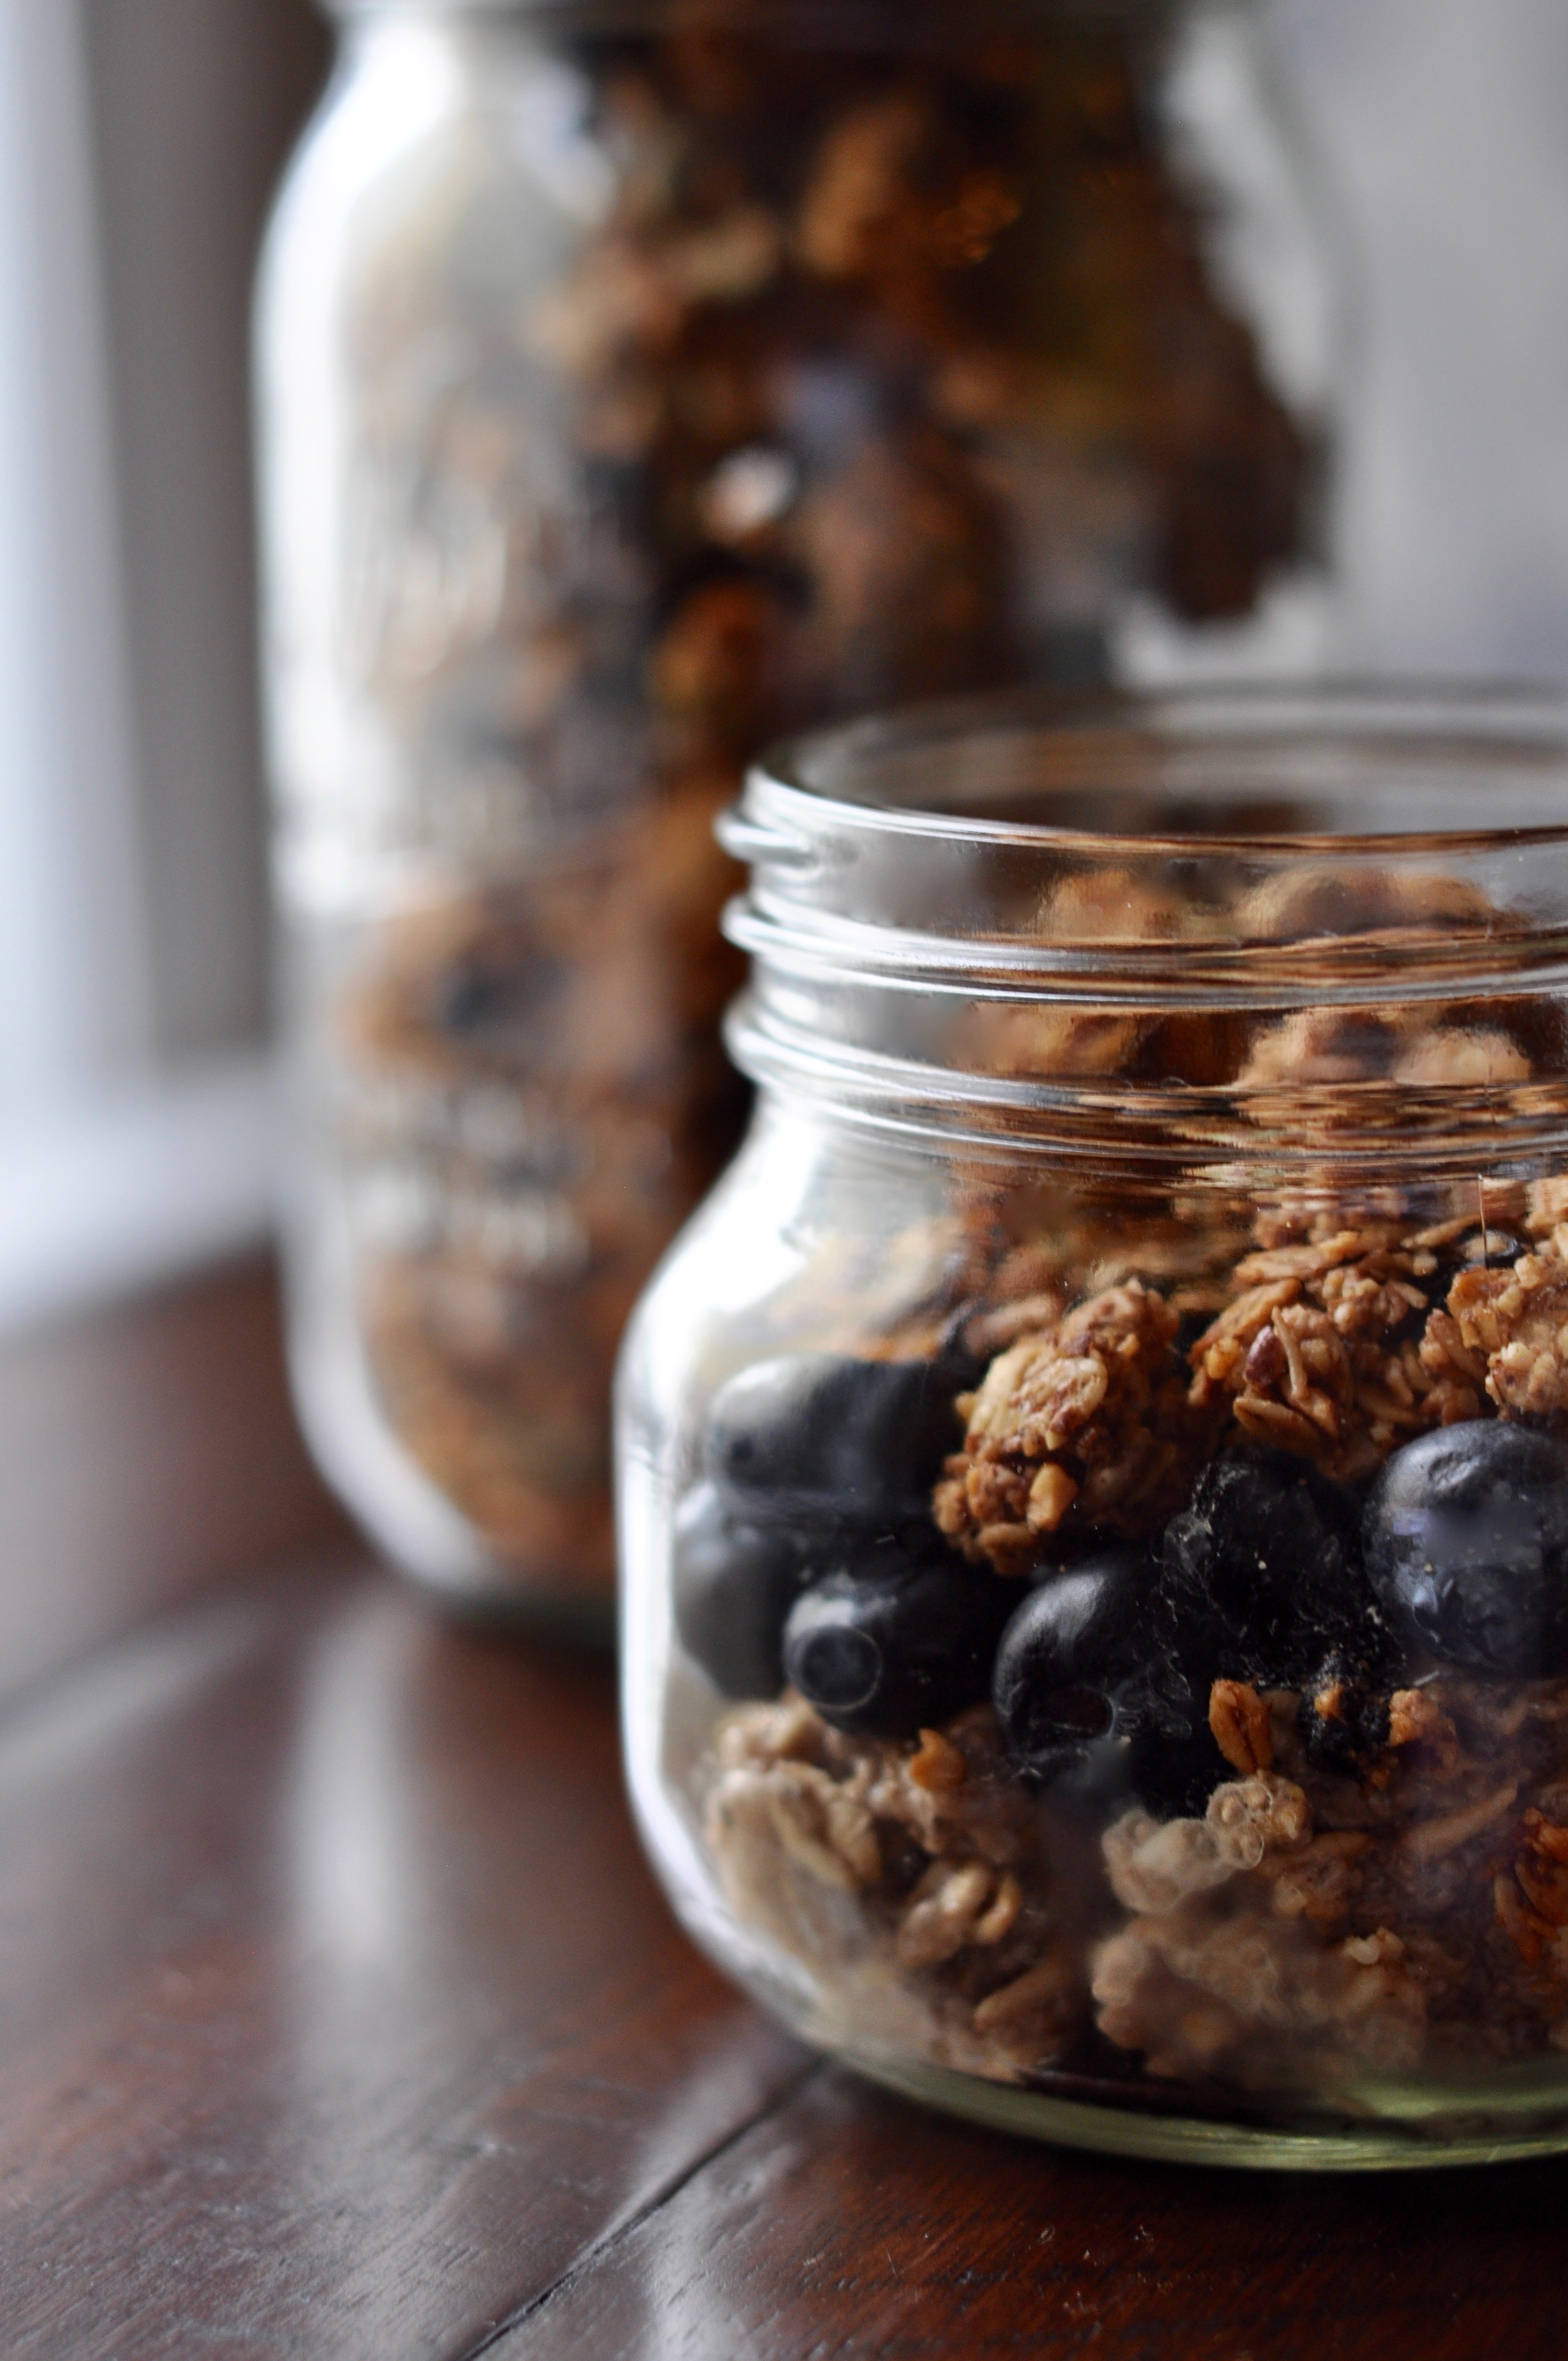
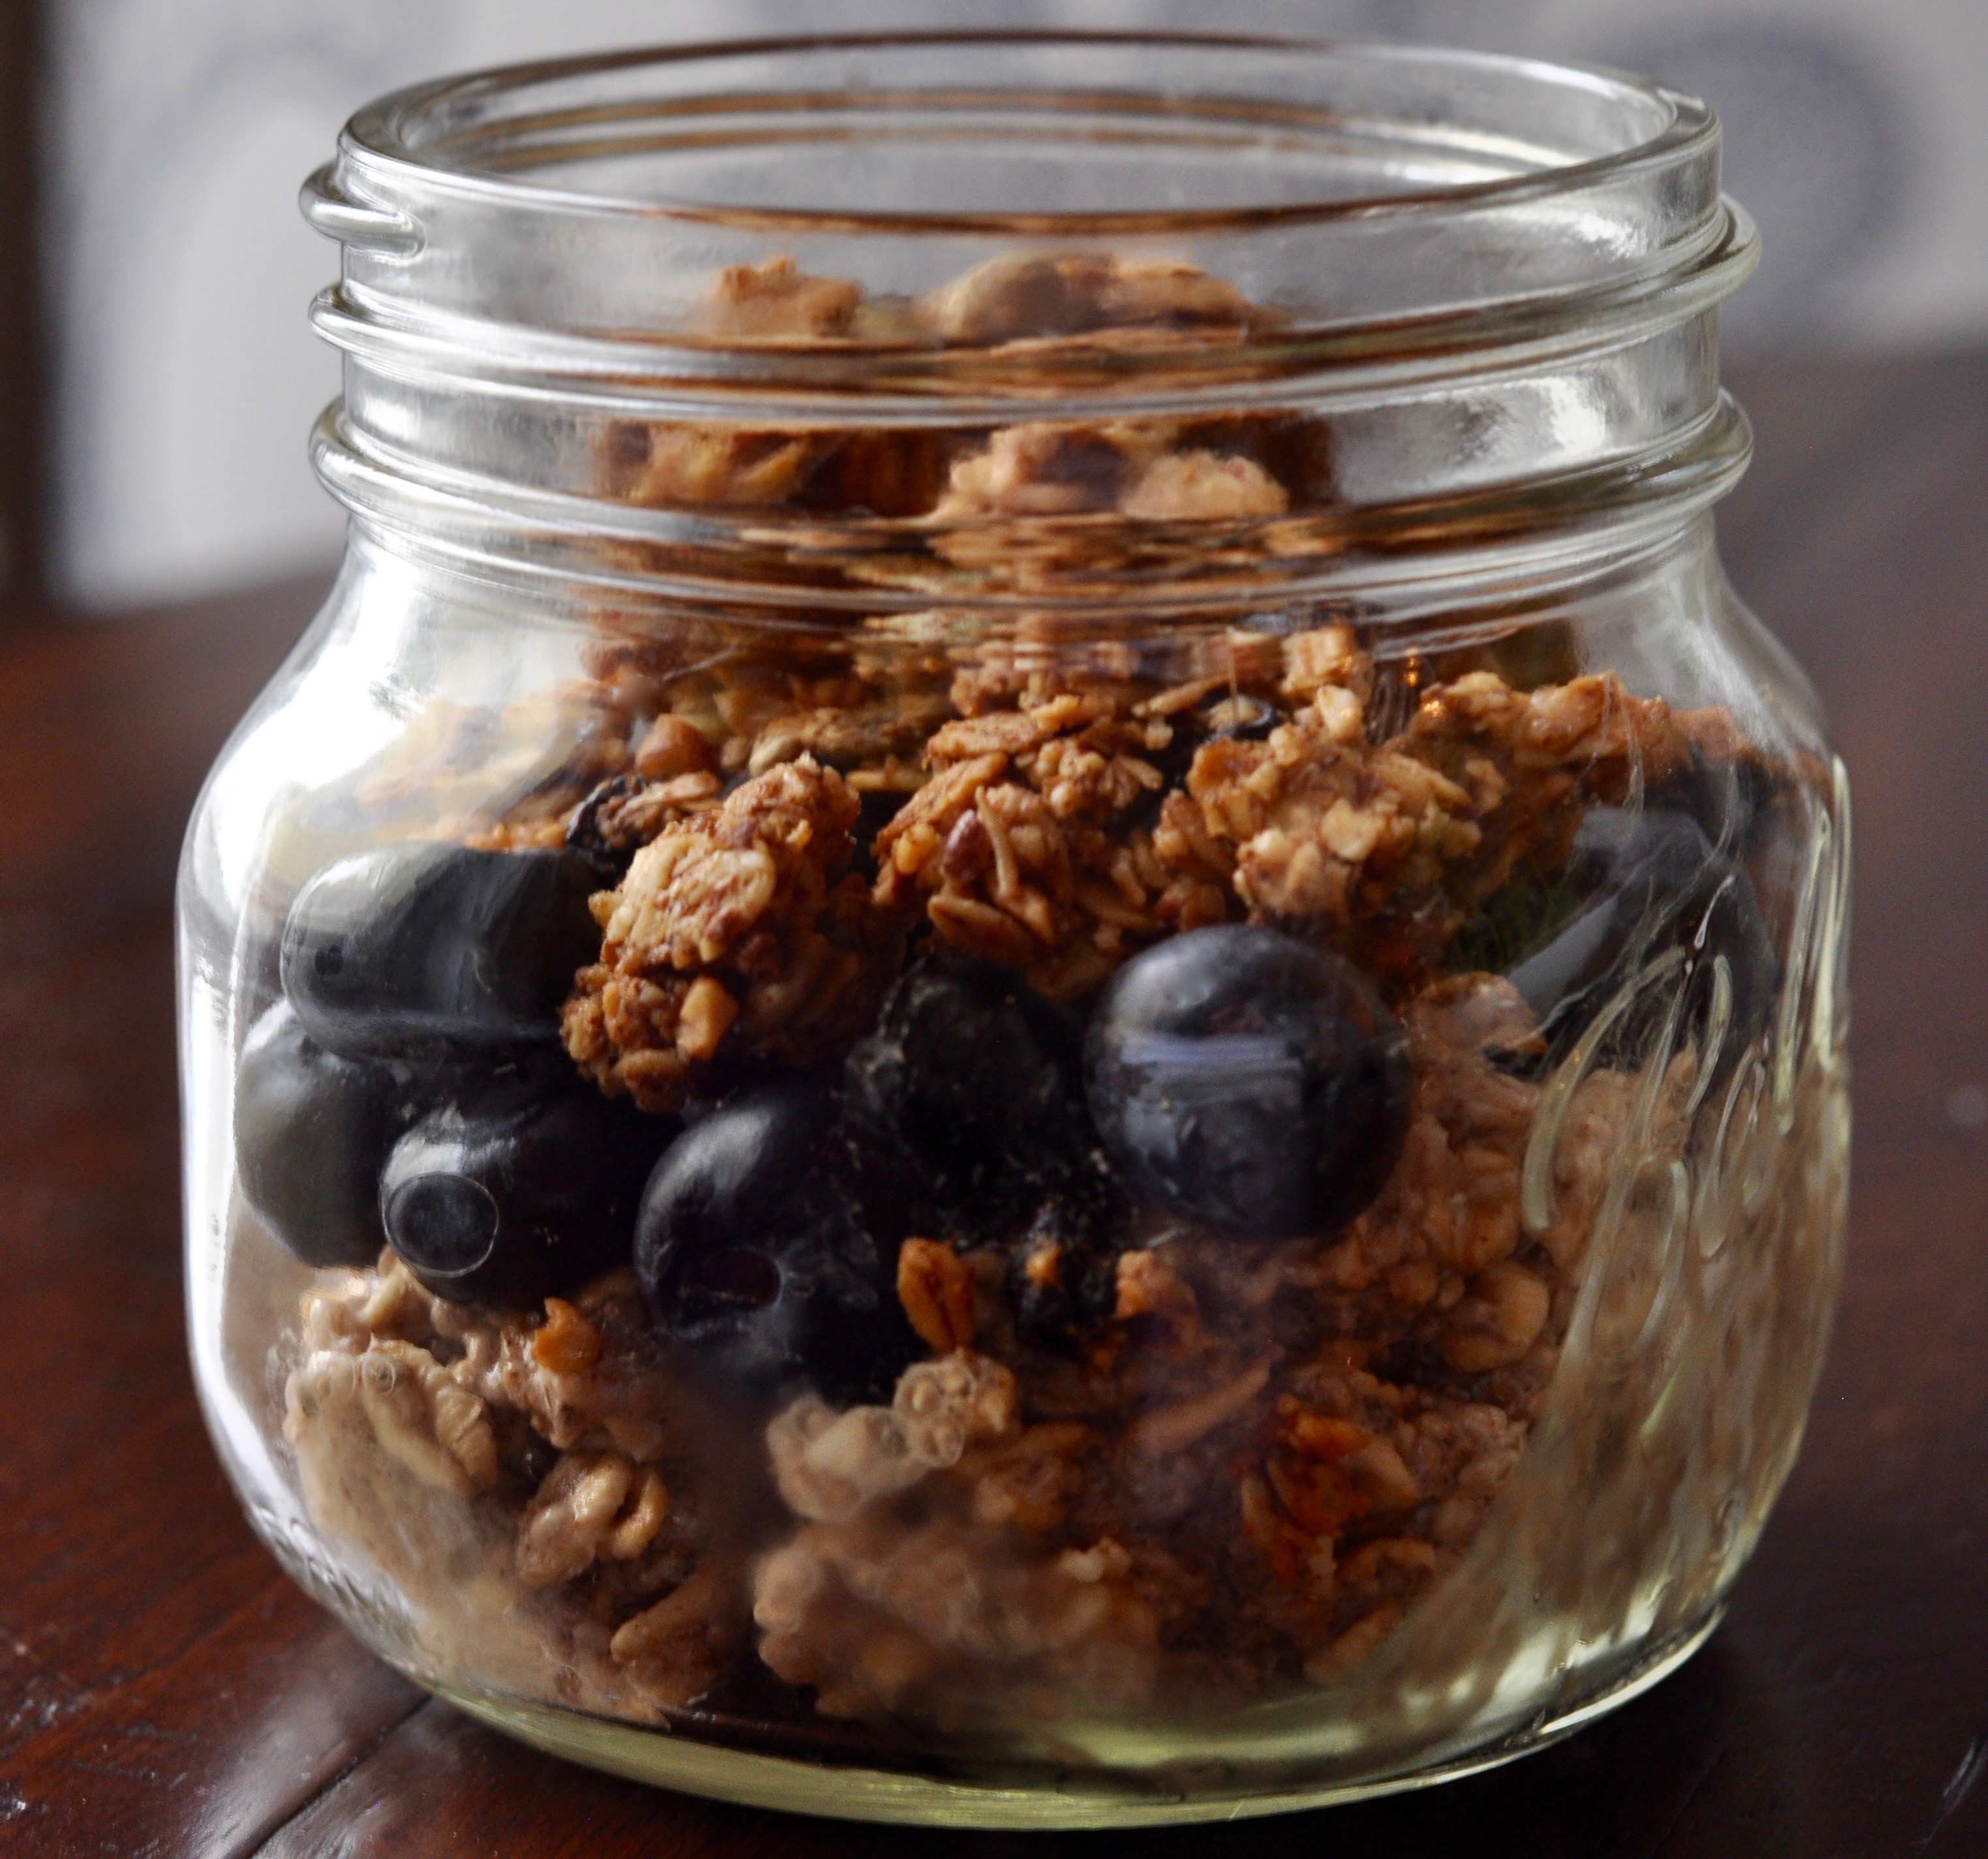
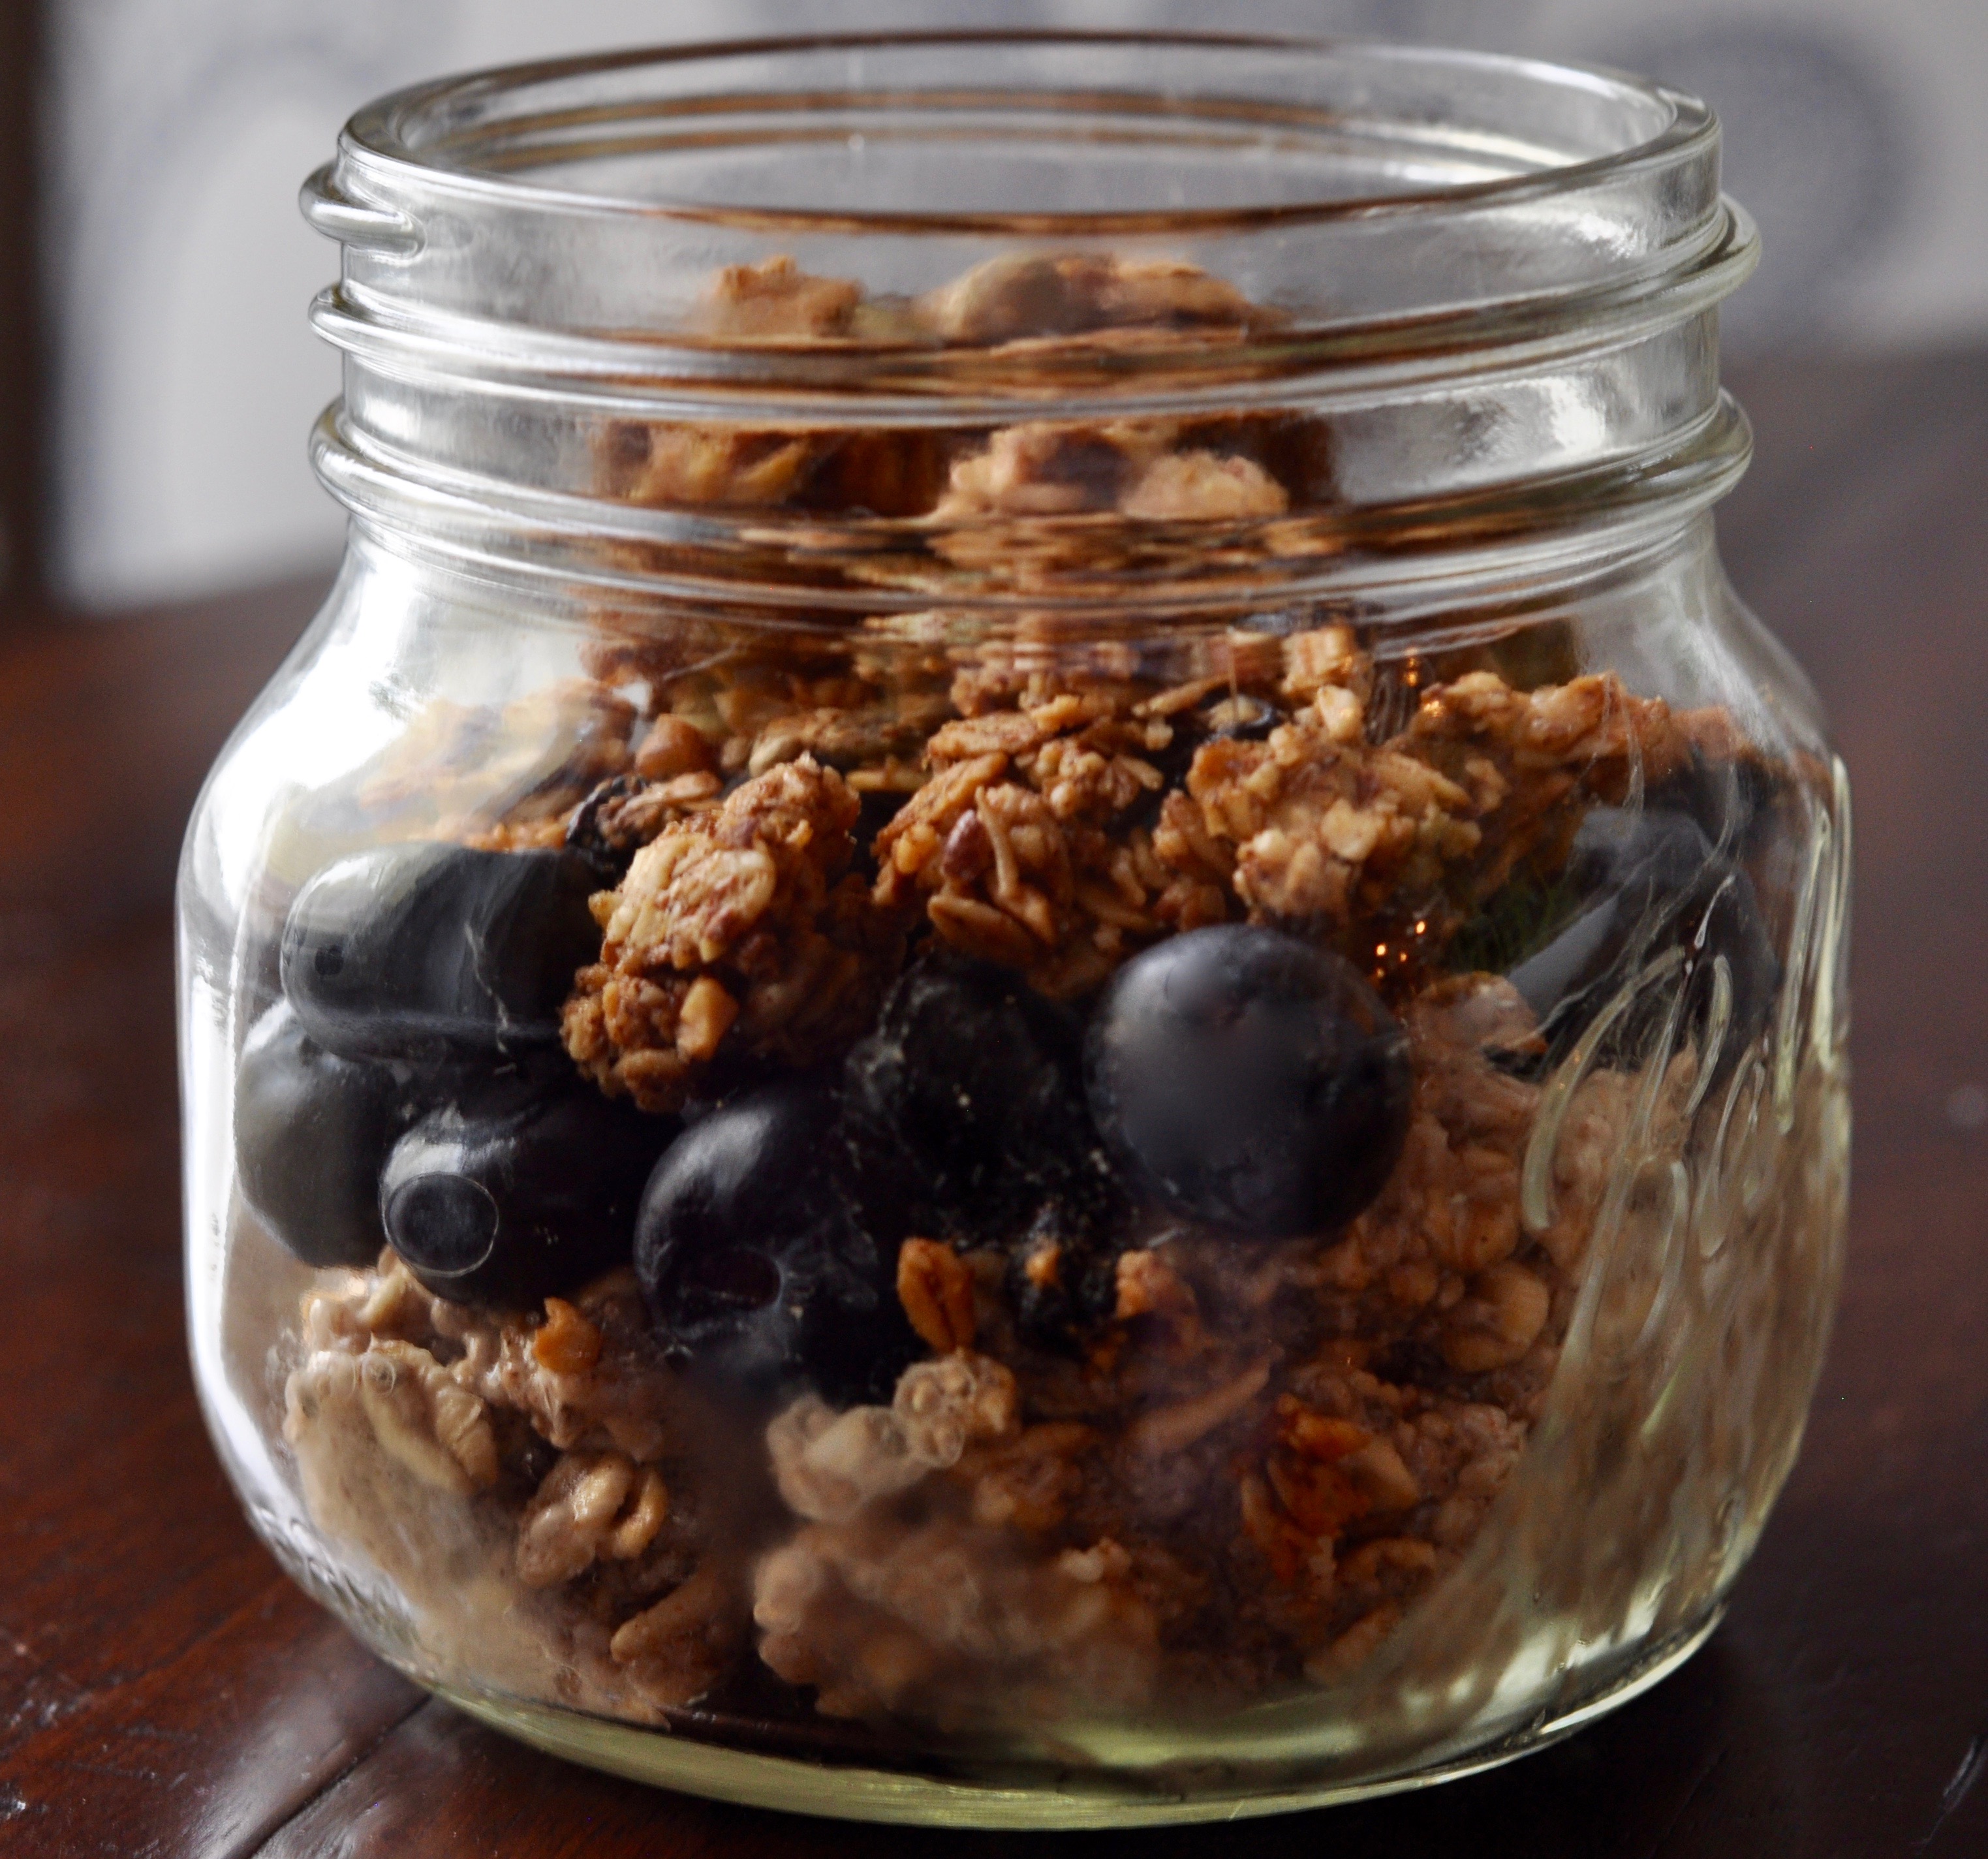
And just like that, another one for the collection: The Oh She Glows Cookbook, Over 100 Vegan Recipes to Glow from the Inside Out by Angela Liddon. Not because I’m vegan, but just because I want to be more mindful of what I’m eating. In the interest of more mindful eating, I thought I’d start with breakfast… Because, in my world, coffee is a food group… It’s what’s for breakfast… I’m not a morning person… so, I knew this new mindful eating thing would have to be easy if involving breakfast. And, with that, I present to you: Angela’s Vegan Overnight Oats with Nutty Granola Clusters. They are simply delicious. If you’re skeptical of cold oats… don’t be. Vegan oats… It’s what’s for breakfast.

- 1 cup rolled oats
- 1 1/2 cups almond milk
- 1/4 cup chia seeds (white chia seeds if you can find them)
- 1 large banana, mashed
- 1/2 teaspoon ground cinnamon
- Blueberries or fresh berries of your choice
- Nutty Granola Clusters
- Maple Syrup
- 1 cup whole raw almonds
- 1/2 cup raw pecans
- 1 1/4 cup rolled oats
- 2/3 cup mixed dried fruit (cranberries, cherries and/or blueberries)
- 1/2 cup raw pepita seeds
- 1/4 cup raw sunflower seeds
- 1/3 cup shredded unsweetened coconut
- 2 teaspoons ground cinnamon
- 1/4 teaspoon fine-grain sea salt
- 1/4 cup + 2 tablespoons pure maple syrup (or other liquid sweetener)
- 1/4 cup coconut oil, melted
- 2 teaspoons pure vanilla extract
- In a small bowl, thoroughly mix the oats, almond milk, chia seeds, mashed banana and cinnamon. Cover and refrigerate overnight to thicken. In the morning, if too thick--add a little almond milk.
- Pre-heat the oven to 275 degrees. Line a large baking sheet with parchment paper.
- Place 1/2 cup almonds into a food processor and process for 10-15 seconds, until a fine meal forms. Transfer the ground almonds to a large bowl.
- In the food processor, combine the remaining 1/2 cup almonds and 1/2 cup pecans and process 5-10 seconds, until finely chopped (there will be some fine meal and some larger pieces). Add to the bowl with the almond meal.
- Add the oats, dried fruit, pepita seeds, sunflower seeds, coconut, cinnamon and salt to the large mixing bowl and stir.
- In a small bowl, combine the maple syrup, melted oil and vanilla and then mix into the large bowl with the oats.
- With a spatula, spread the granola into a 1/2 inch layer on the baking sheet and gently press to lightly compact it. Bake for 20 min, then rotate the pan and bake for 18-20 minutes more--until the granola is lightly golden.
- Cool the granola in the pan for at least 1 hour and then break apart and store in a glass jar. The granola stores for 2-3 weeks in the refrigerator or freezer for 4-5 weeks.
- In a jar or parfait dish, layer the oats, fresh berries and granola and drizzle with a little maple syrup, if desired.
