Vegan Power Frappe
 I know, I know… just when I told you I’m not vegan. Presenting: the Vegan Power Frappe! Ta da… I just can’t help myself because 1) I’m falling in love …with a new food blog…oh yes, The First Mess and 2) I’m trapped inside with 30 consecutive days of rain in the Washington DC area (..and NPR just reported it’s sunny in Seattle during the local
 rubbing-it-in weather report). I need a pick-me-up people! Like now… like right now…
I love adding Maca powder to my morning shakes, and I’ve been known to sneak a pour of coffee into my shakes as well. So, when I saw these two in The First Mess Maca Caramel Frap, I dove right in. Maca has a malty, earthy flavor and, most importantly, a noticeable energy kick. You’d think it might be the coffee, but I get the same energy boost when I add only Maca and no coffee to my shakes.
There are a few items you’ll need to prepare in advance: the frozen banana (I always keep a gallon ziplock bag of half-cut bananas in the freezer); cold brewed coffee (you can cold brew, when needed, or use yesterday’s leftovers); and soaked cashews (soak the cashews overnight in cold water or soak in boiling water for 10 minutes as you’re preparing the rest of the shake… I used boiling water from my electric tea kettle while preparing the other ingredients).


- 1/2 cup raw cashews, soaked for 10 minutes in boiling water
- 4 soft Medjool dates, pitted
- 1 banana, sliced and frozen
- Handful of ice cubes
- 2 teaspoons Maca powder
- 1 teaspoon vanilla extract
- 1/4 teaspoon fine sea salt
- 1/2 cup cold brewed coffee
- 1/2 cup unsweetened, unflavored almond or coconut milk
- Soak the raw cashews in a bowl with boiling water for 10 minutes. You can boil the water in the microwave, stove top or tea kettle.
- For the coffee, you can cold brew or use yesterday's leftover coffee...
- Combine all of the ingredients in a high-speed blender. Blend the mixture on high until smooth and frothy. Enjoy!
Easy Vegan Overnight Oats with Nutty Granola Clusters
Every time I find myself in Dupont Circle, I wonder why I’m not wandering around Dupont Circle more often. It’s a charming and lively spot in the city: embassies, restaurants, shops, bookstores, eclectic everything. On each visit, I seem to end up at Kramerbooks & Afterwards Cafe. There are many things I love there: books and food and cashiers with nose piercings and tucked in the corner by the cafe… cookbooks… a.k.a. foodie romance novels.
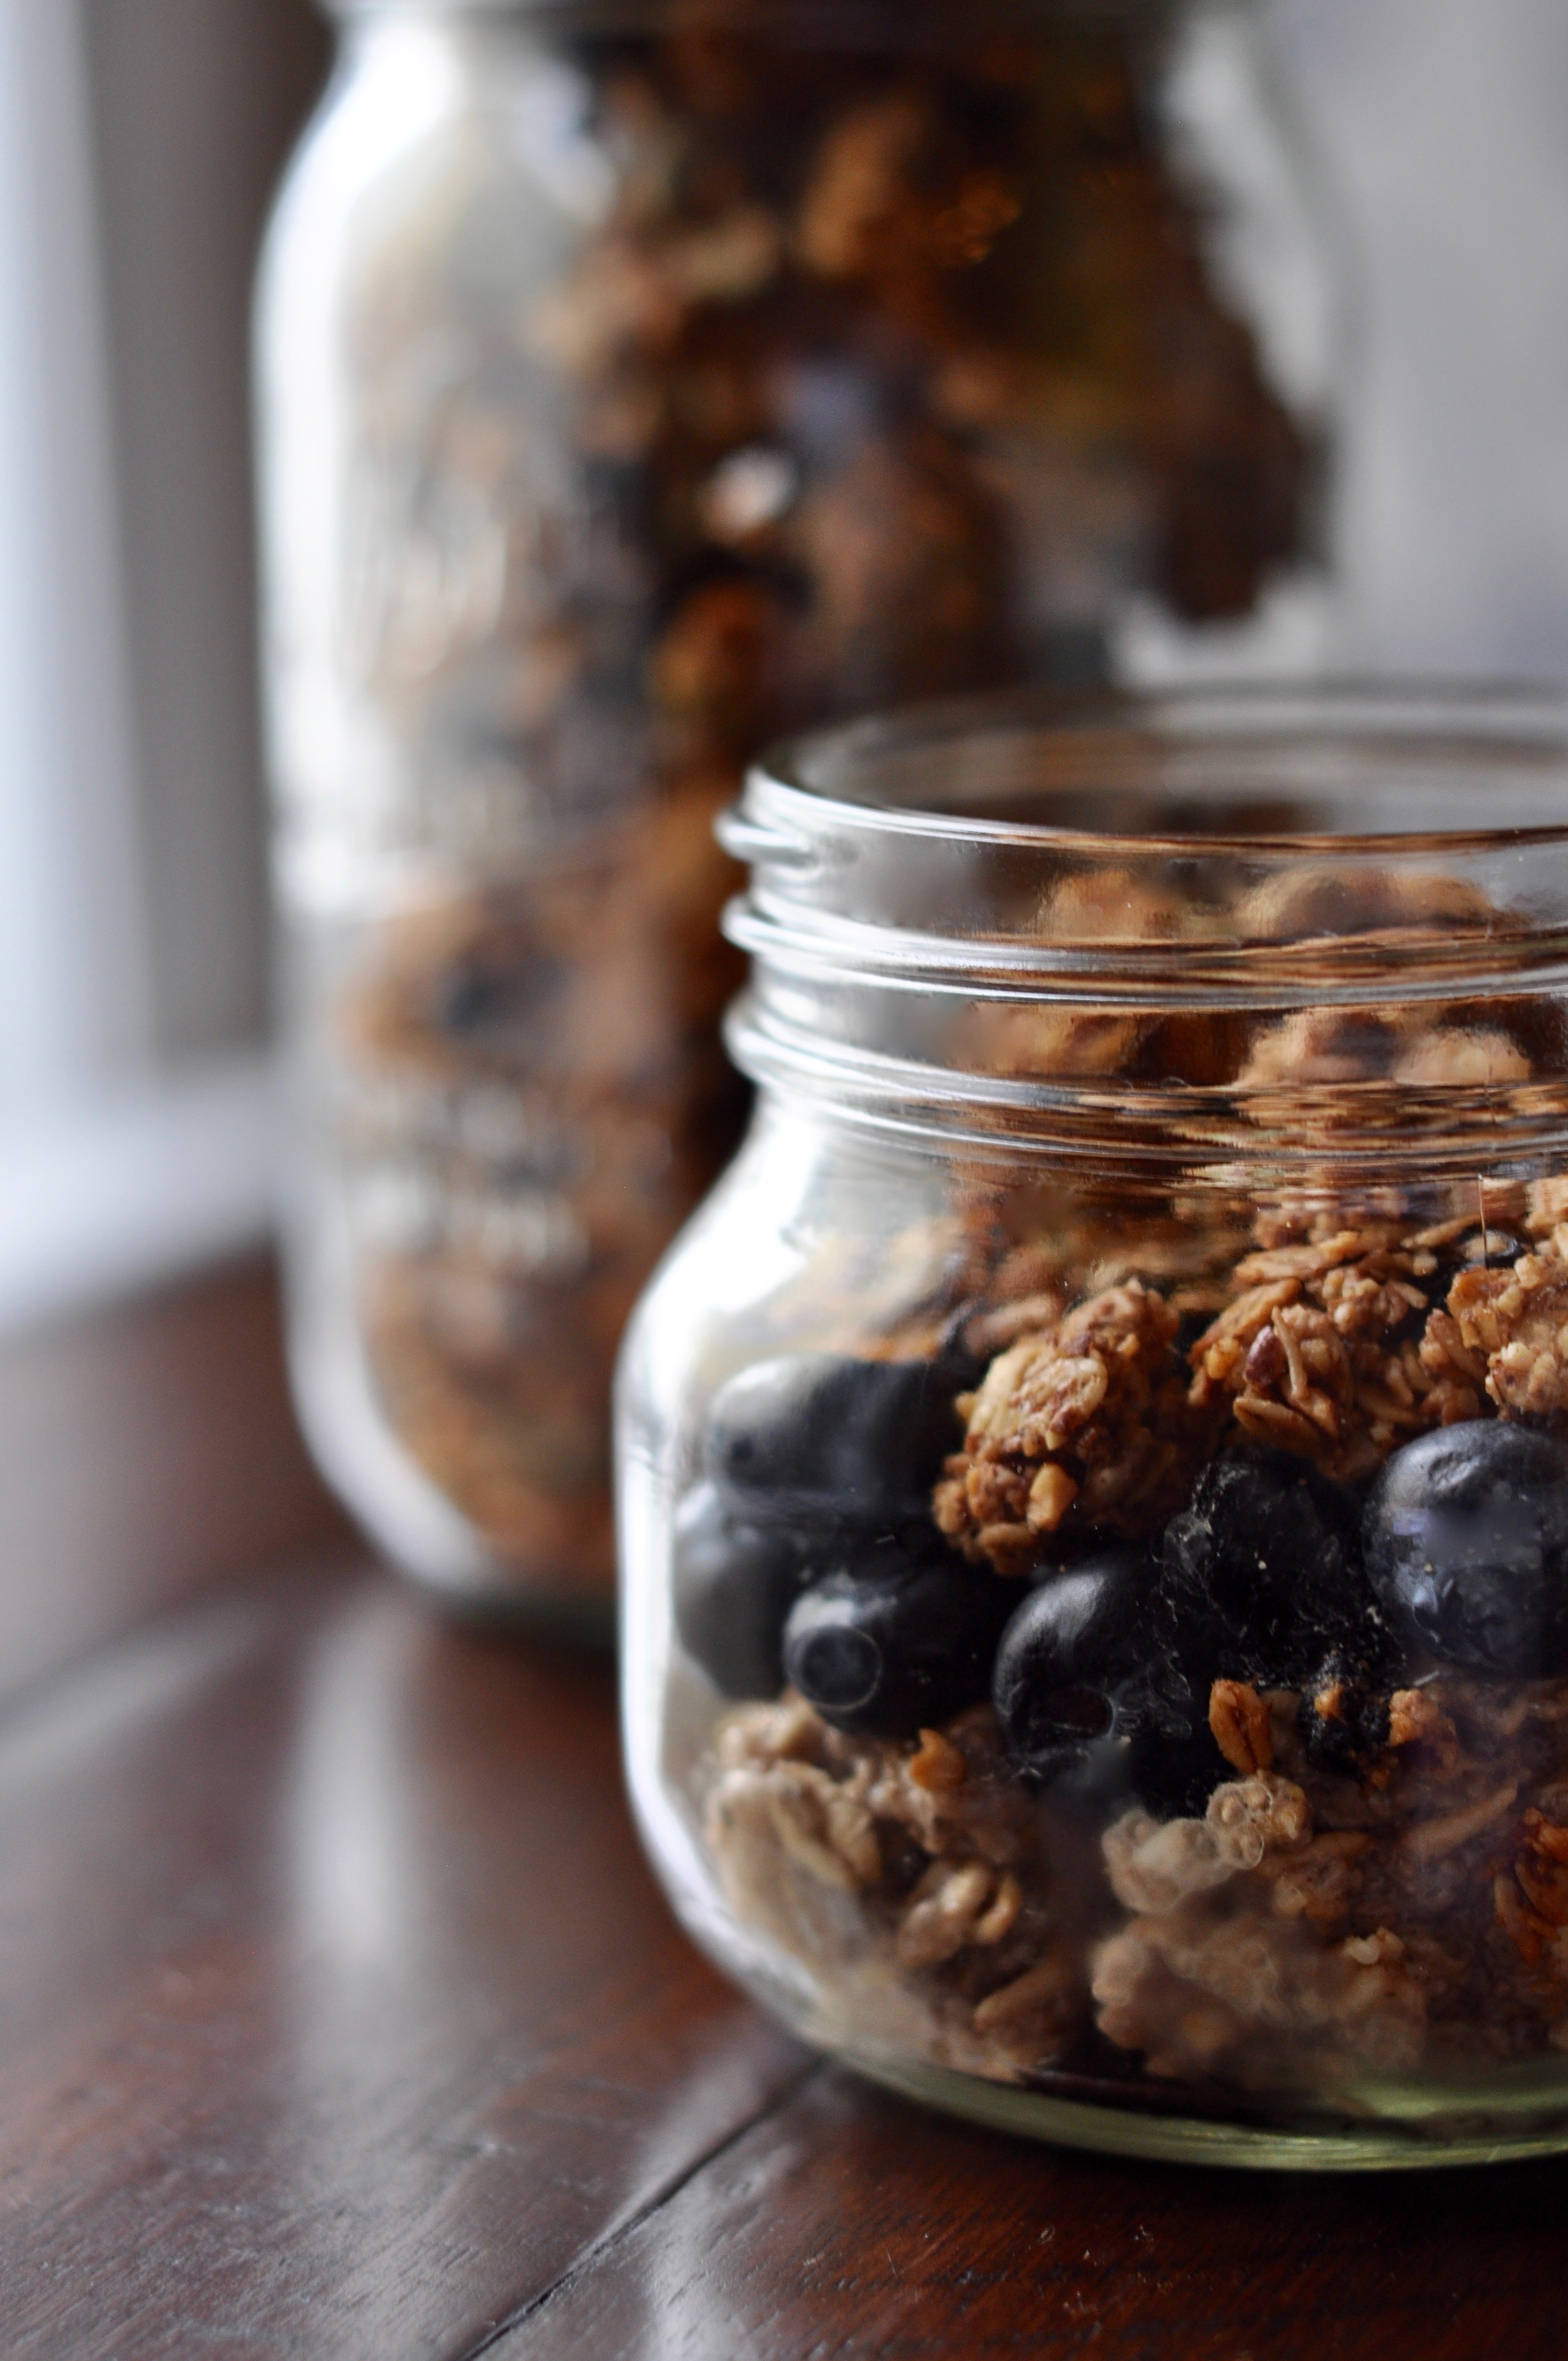
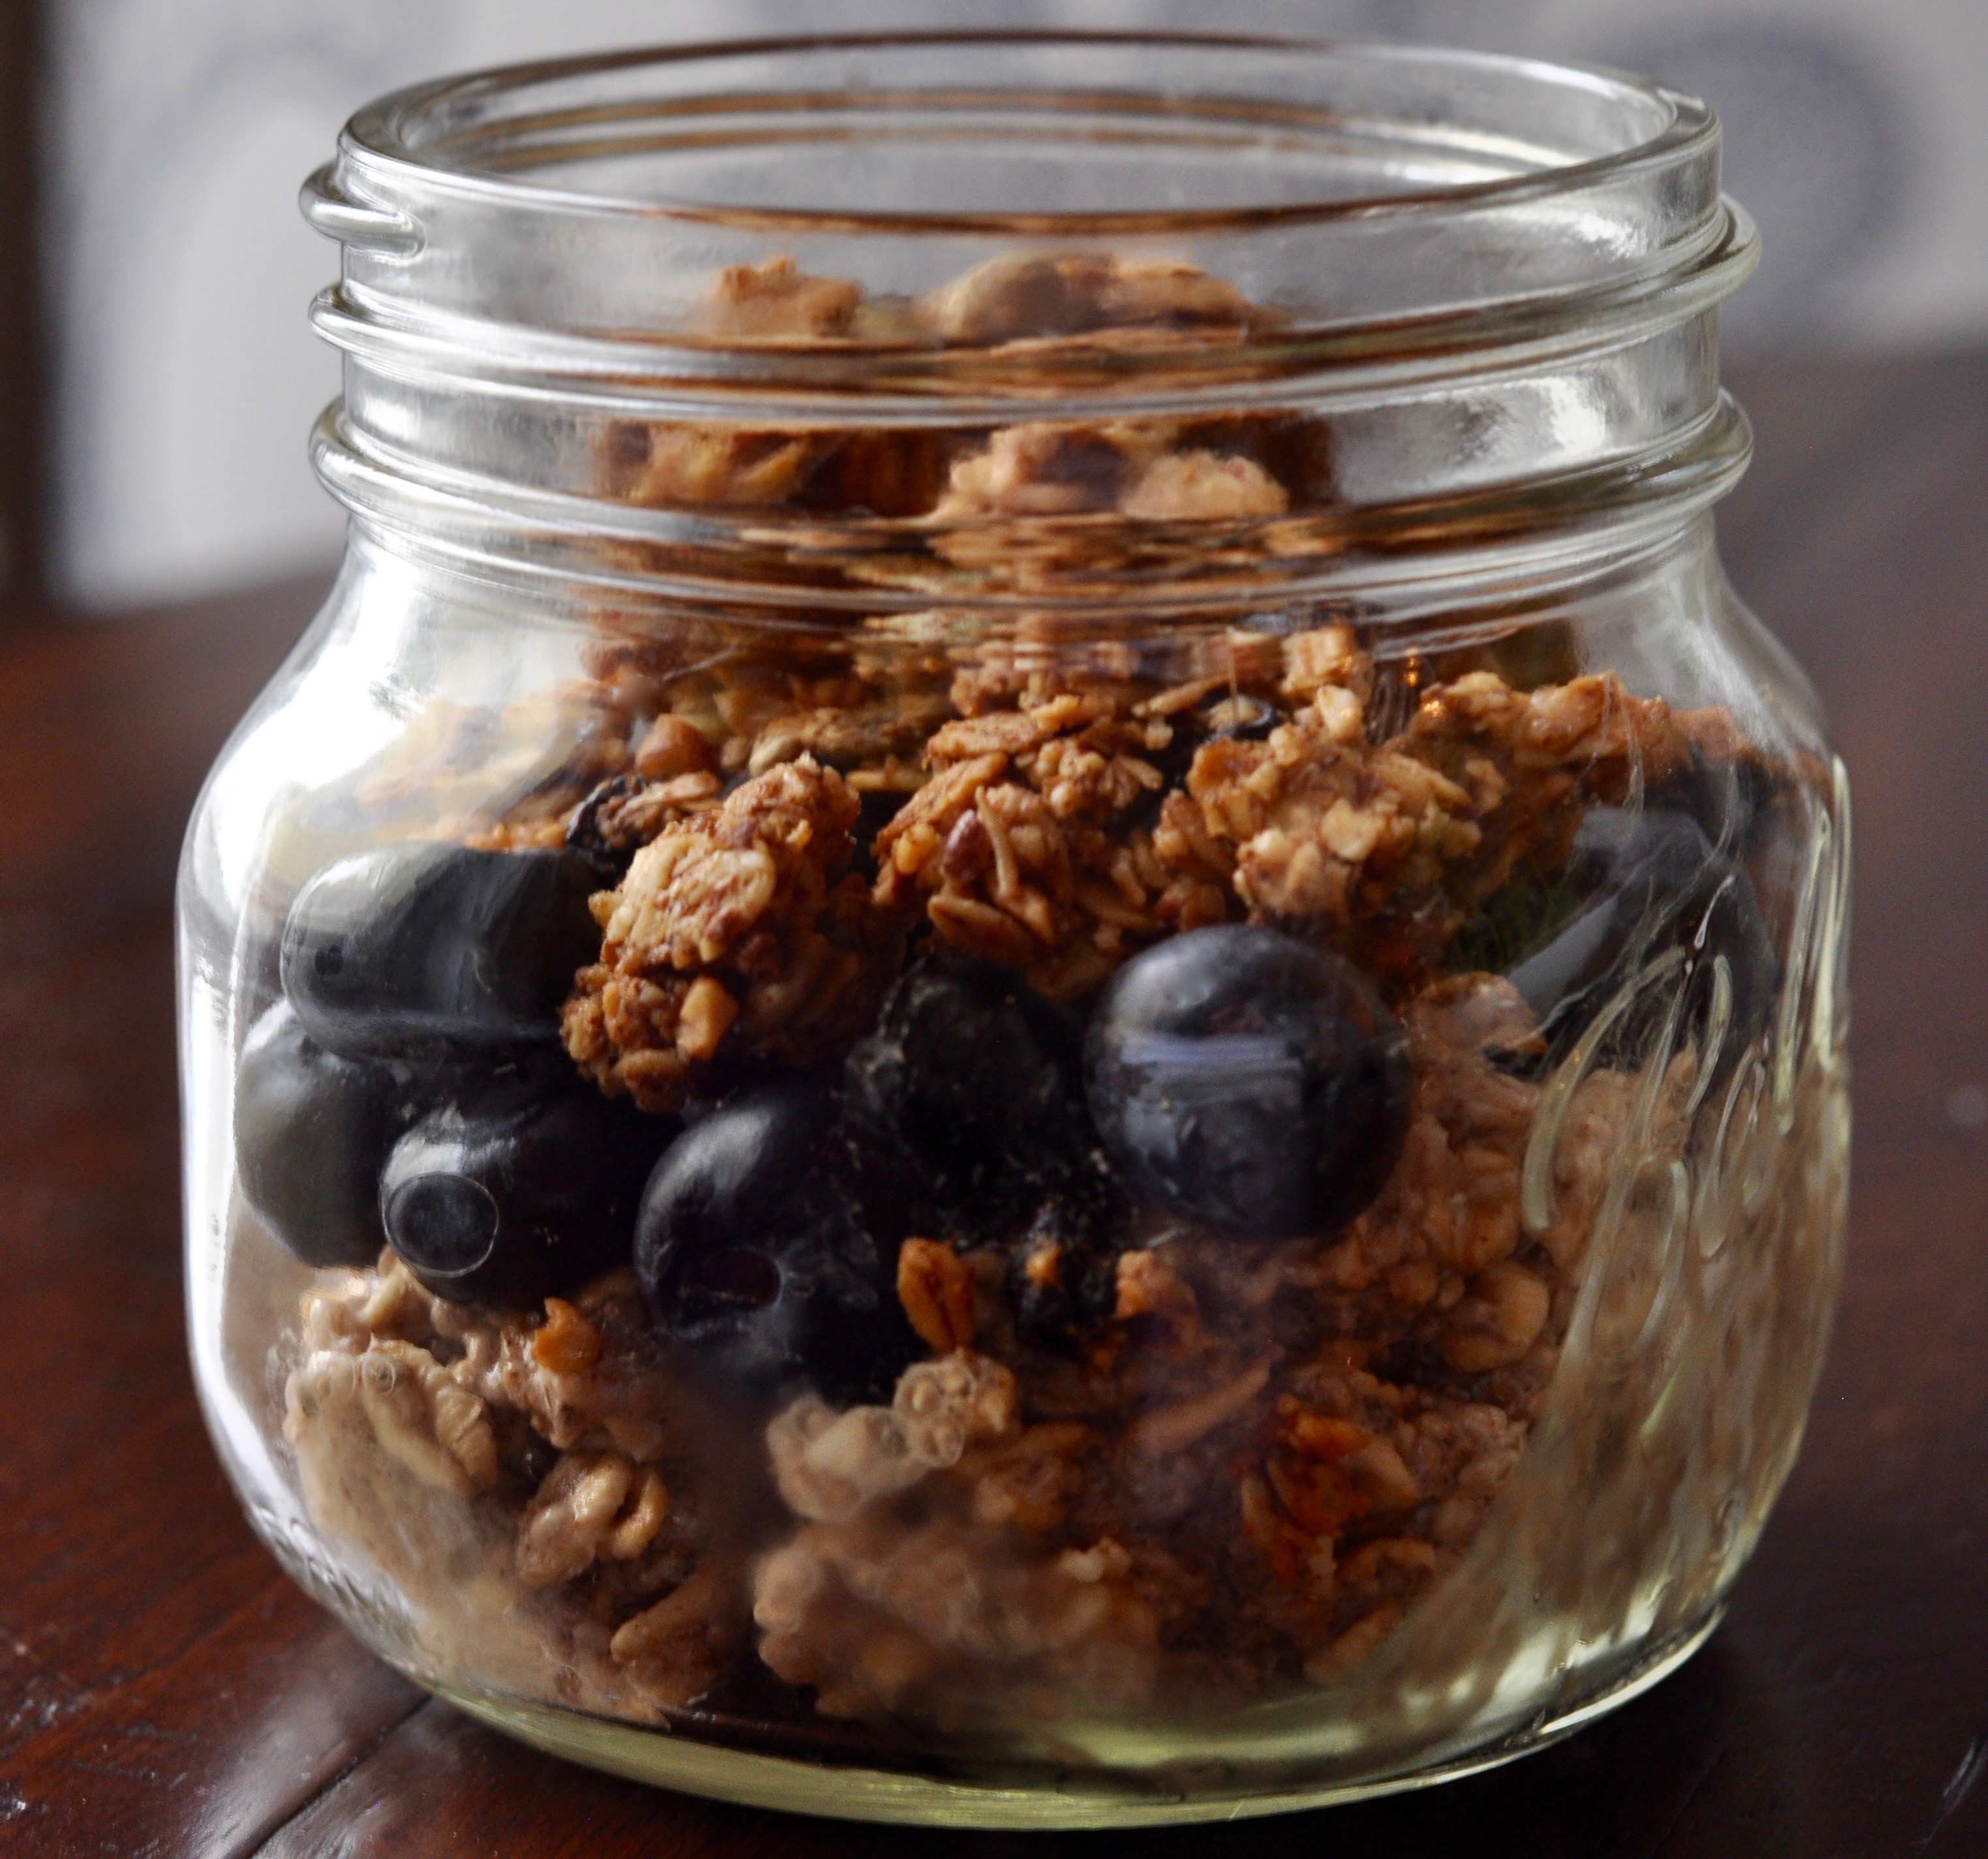
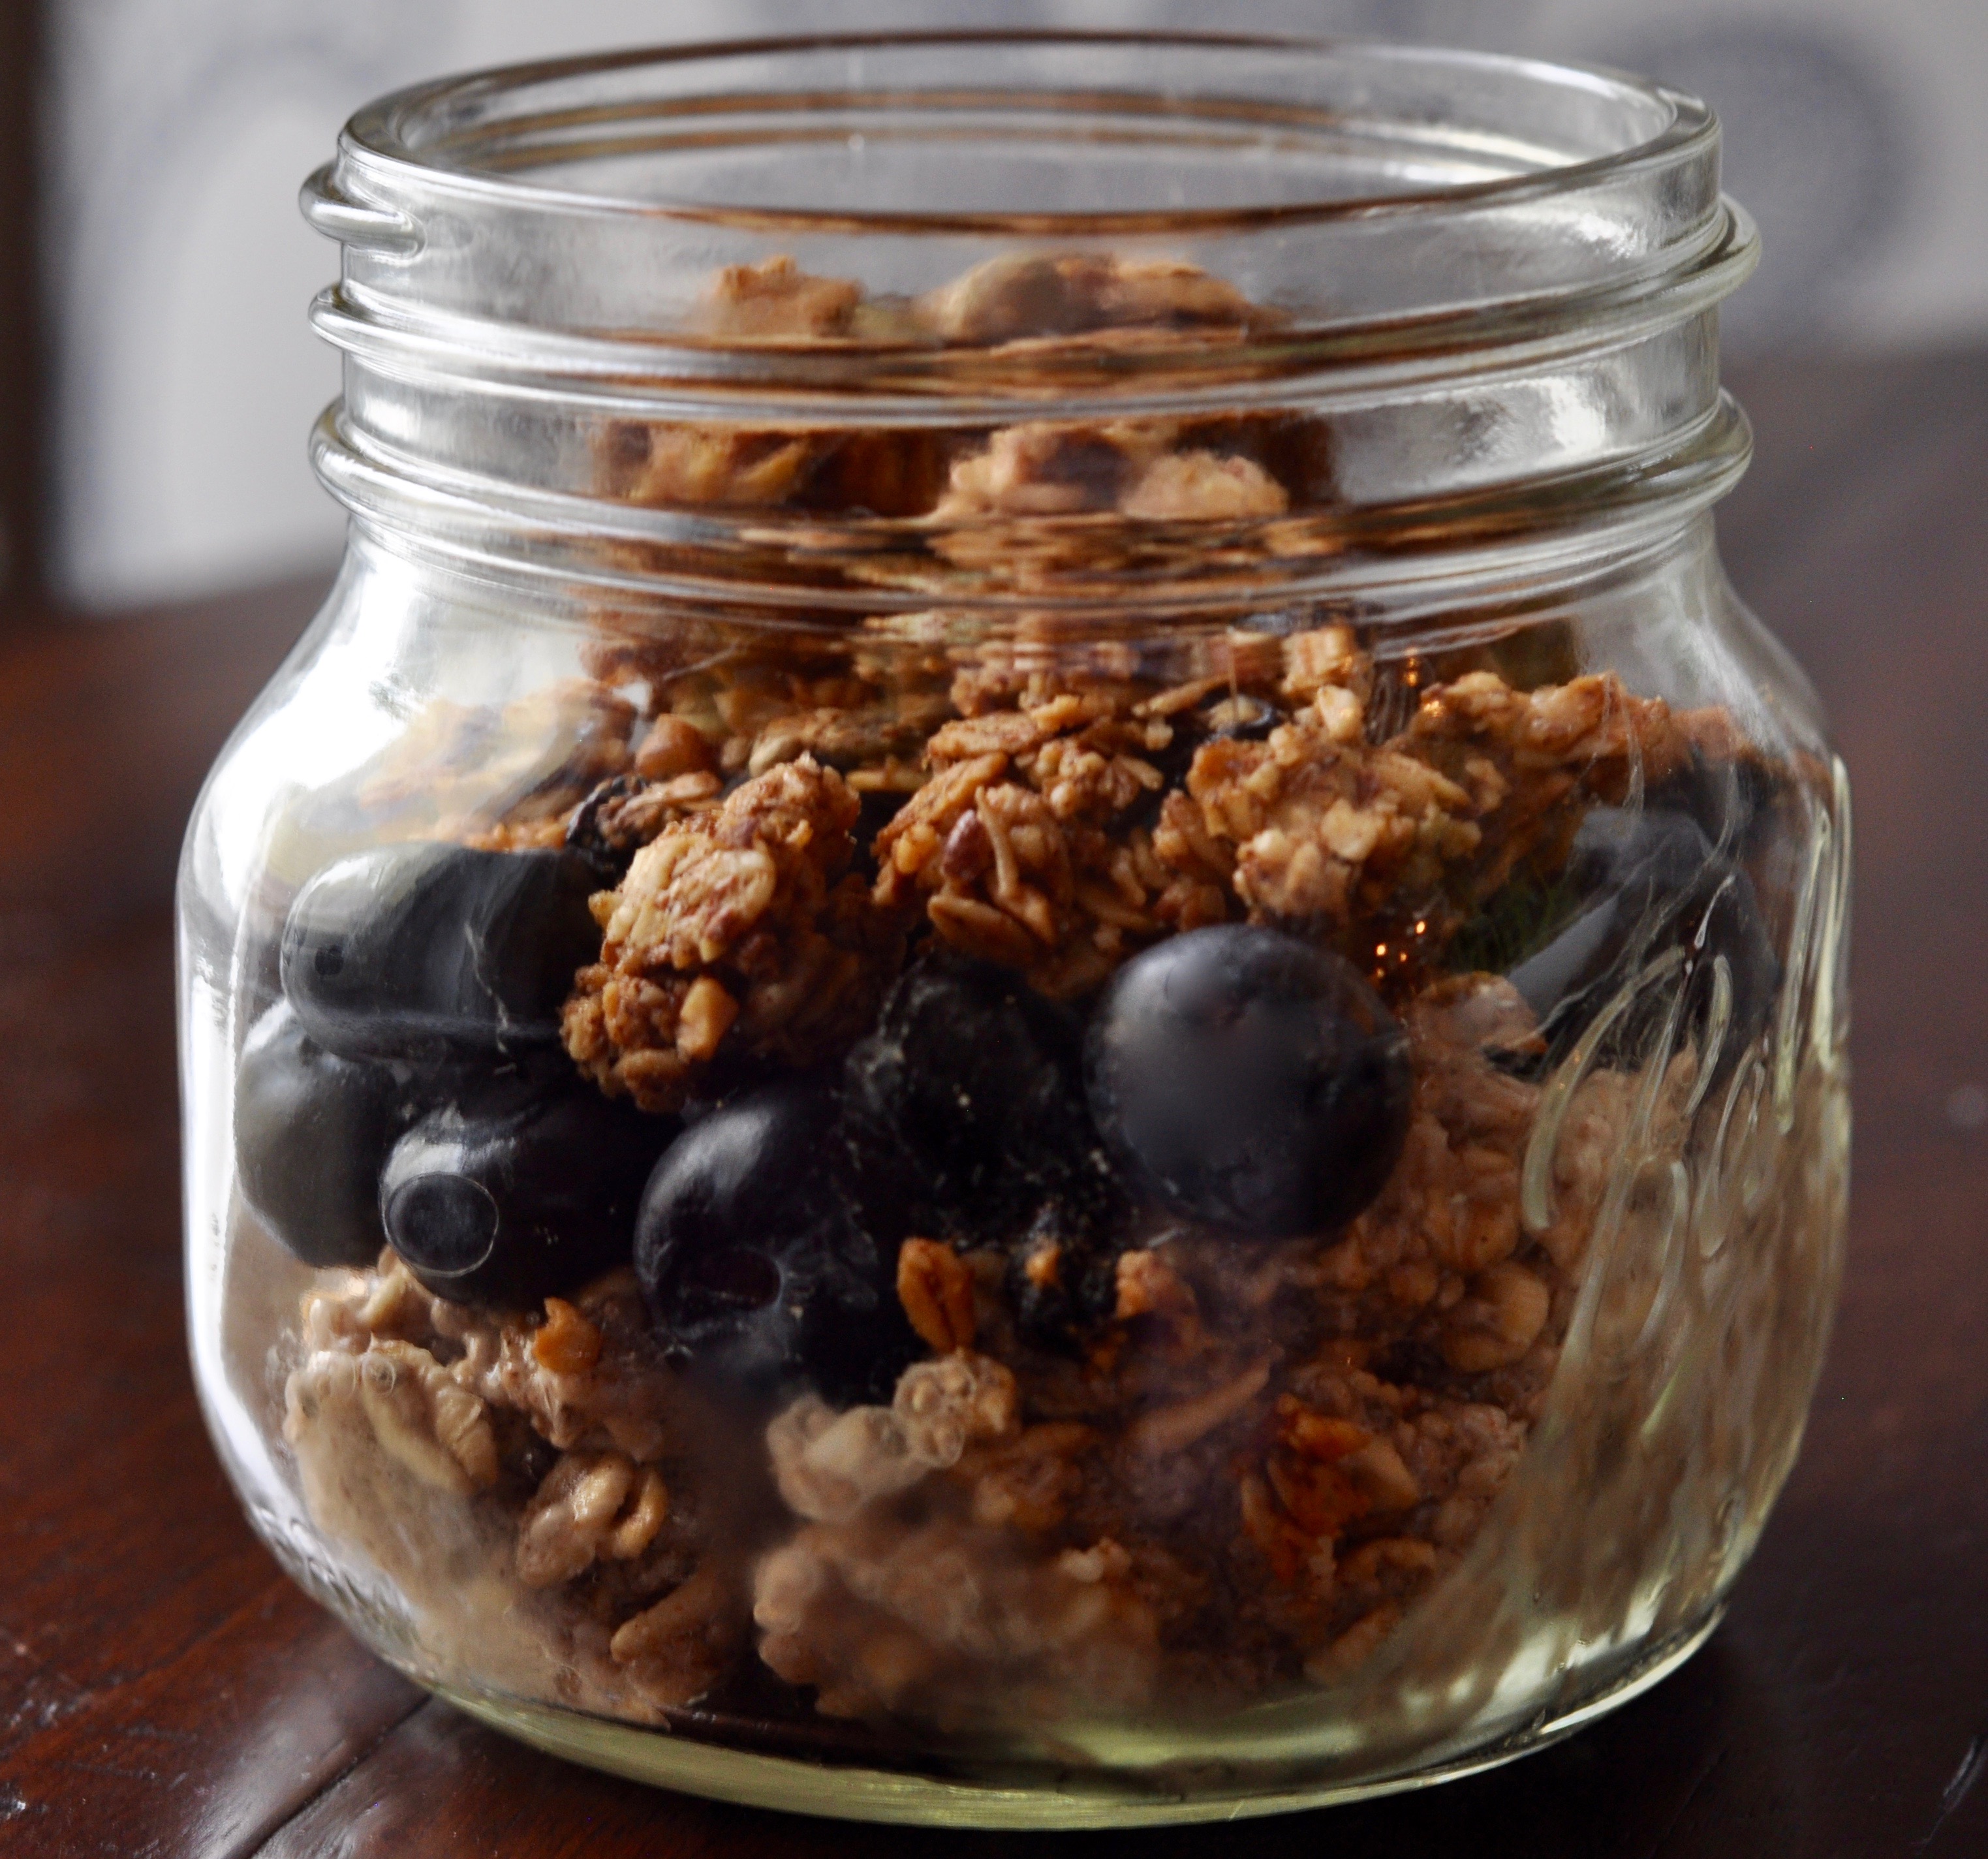
And just like that, another one for the collection: The Oh She Glows Cookbook, Over 100 Vegan Recipes to Glow from the Inside Out by Angela Liddon. Not because I’m vegan, but just because I want to be more mindful of what I’m eating. In the interest of more mindful eating, I thought I’d start with breakfast… Because, in my world, coffee is a food group… It’s what’s for breakfast… I’m not a morning person… so, I knew this new mindful eating thing would have to be easy if involving breakfast. And, with that, I present to you: Angela’s Vegan Overnight Oats with Nutty Granola Clusters. They are simply delicious. If you’re skeptical of cold oats… don’t be. Vegan oats… It’s what’s for breakfast.

- 1 cup rolled oats
- 1 1/2 cups almond milk
- 1/4 cup chia seeds (white chia seeds if you can find them)
- 1 large banana, mashed
- 1/2 teaspoon ground cinnamon
- Blueberries or fresh berries of your choice
- Nutty Granola Clusters
- Maple Syrup
- 1 cup whole raw almonds
- 1/2 cup raw pecans
- 1 1/4 cup rolled oats
- 2/3 cup mixed dried fruit (cranberries, cherries and/or blueberries)
- 1/2 cup raw pepita seeds
- 1/4 cup raw sunflower seeds
- 1/3 cup shredded unsweetened coconut
- 2 teaspoons ground cinnamon
- 1/4 teaspoon fine-grain sea salt
- 1/4 cup + 2 tablespoons pure maple syrup (or other liquid sweetener)
- 1/4 cup coconut oil, melted
- 2 teaspoons pure vanilla extract
- In a small bowl, thoroughly mix the oats, almond milk, chia seeds, mashed banana and cinnamon. Cover and refrigerate overnight to thicken. In the morning, if too thick--add a little almond milk.
- Pre-heat the oven to 275 degrees. Line a large baking sheet with parchment paper.
- Place 1/2 cup almonds into a food processor and process for 10-15 seconds, until a fine meal forms. Transfer the ground almonds to a large bowl.
- In the food processor, combine the remaining 1/2 cup almonds and 1/2 cup pecans and process 5-10 seconds, until finely chopped (there will be some fine meal and some larger pieces). Add to the bowl with the almond meal.
- Add the oats, dried fruit, pepita seeds, sunflower seeds, coconut, cinnamon and salt to the large mixing bowl and stir.
- In a small bowl, combine the maple syrup, melted oil and vanilla and then mix into the large bowl with the oats.
- With a spatula, spread the granola into a 1/2 inch layer on the baking sheet and gently press to lightly compact it. Bake for 20 min, then rotate the pan and bake for 18-20 minutes more--until the granola is lightly golden.
- Cool the granola in the pan for at least 1 hour and then break apart and store in a glass jar. The granola stores for 2-3 weeks in the refrigerator or freezer for 4-5 weeks.
- In a jar or parfait dish, layer the oats, fresh berries and granola and drizzle with a little maple syrup, if desired.
Roasted Spaghetti Squash with Lamb Sausage and Almond Salsa Verde
Santa Barbara, California. Have you been there? Then I don’t have to explain… I grew up in California, but left 20 years ago when I entered the Air Force. I’ve been to some pretty amazing places along the way, but my heart has always been in California. Now, I find that I miss it more and more. Especially in February…
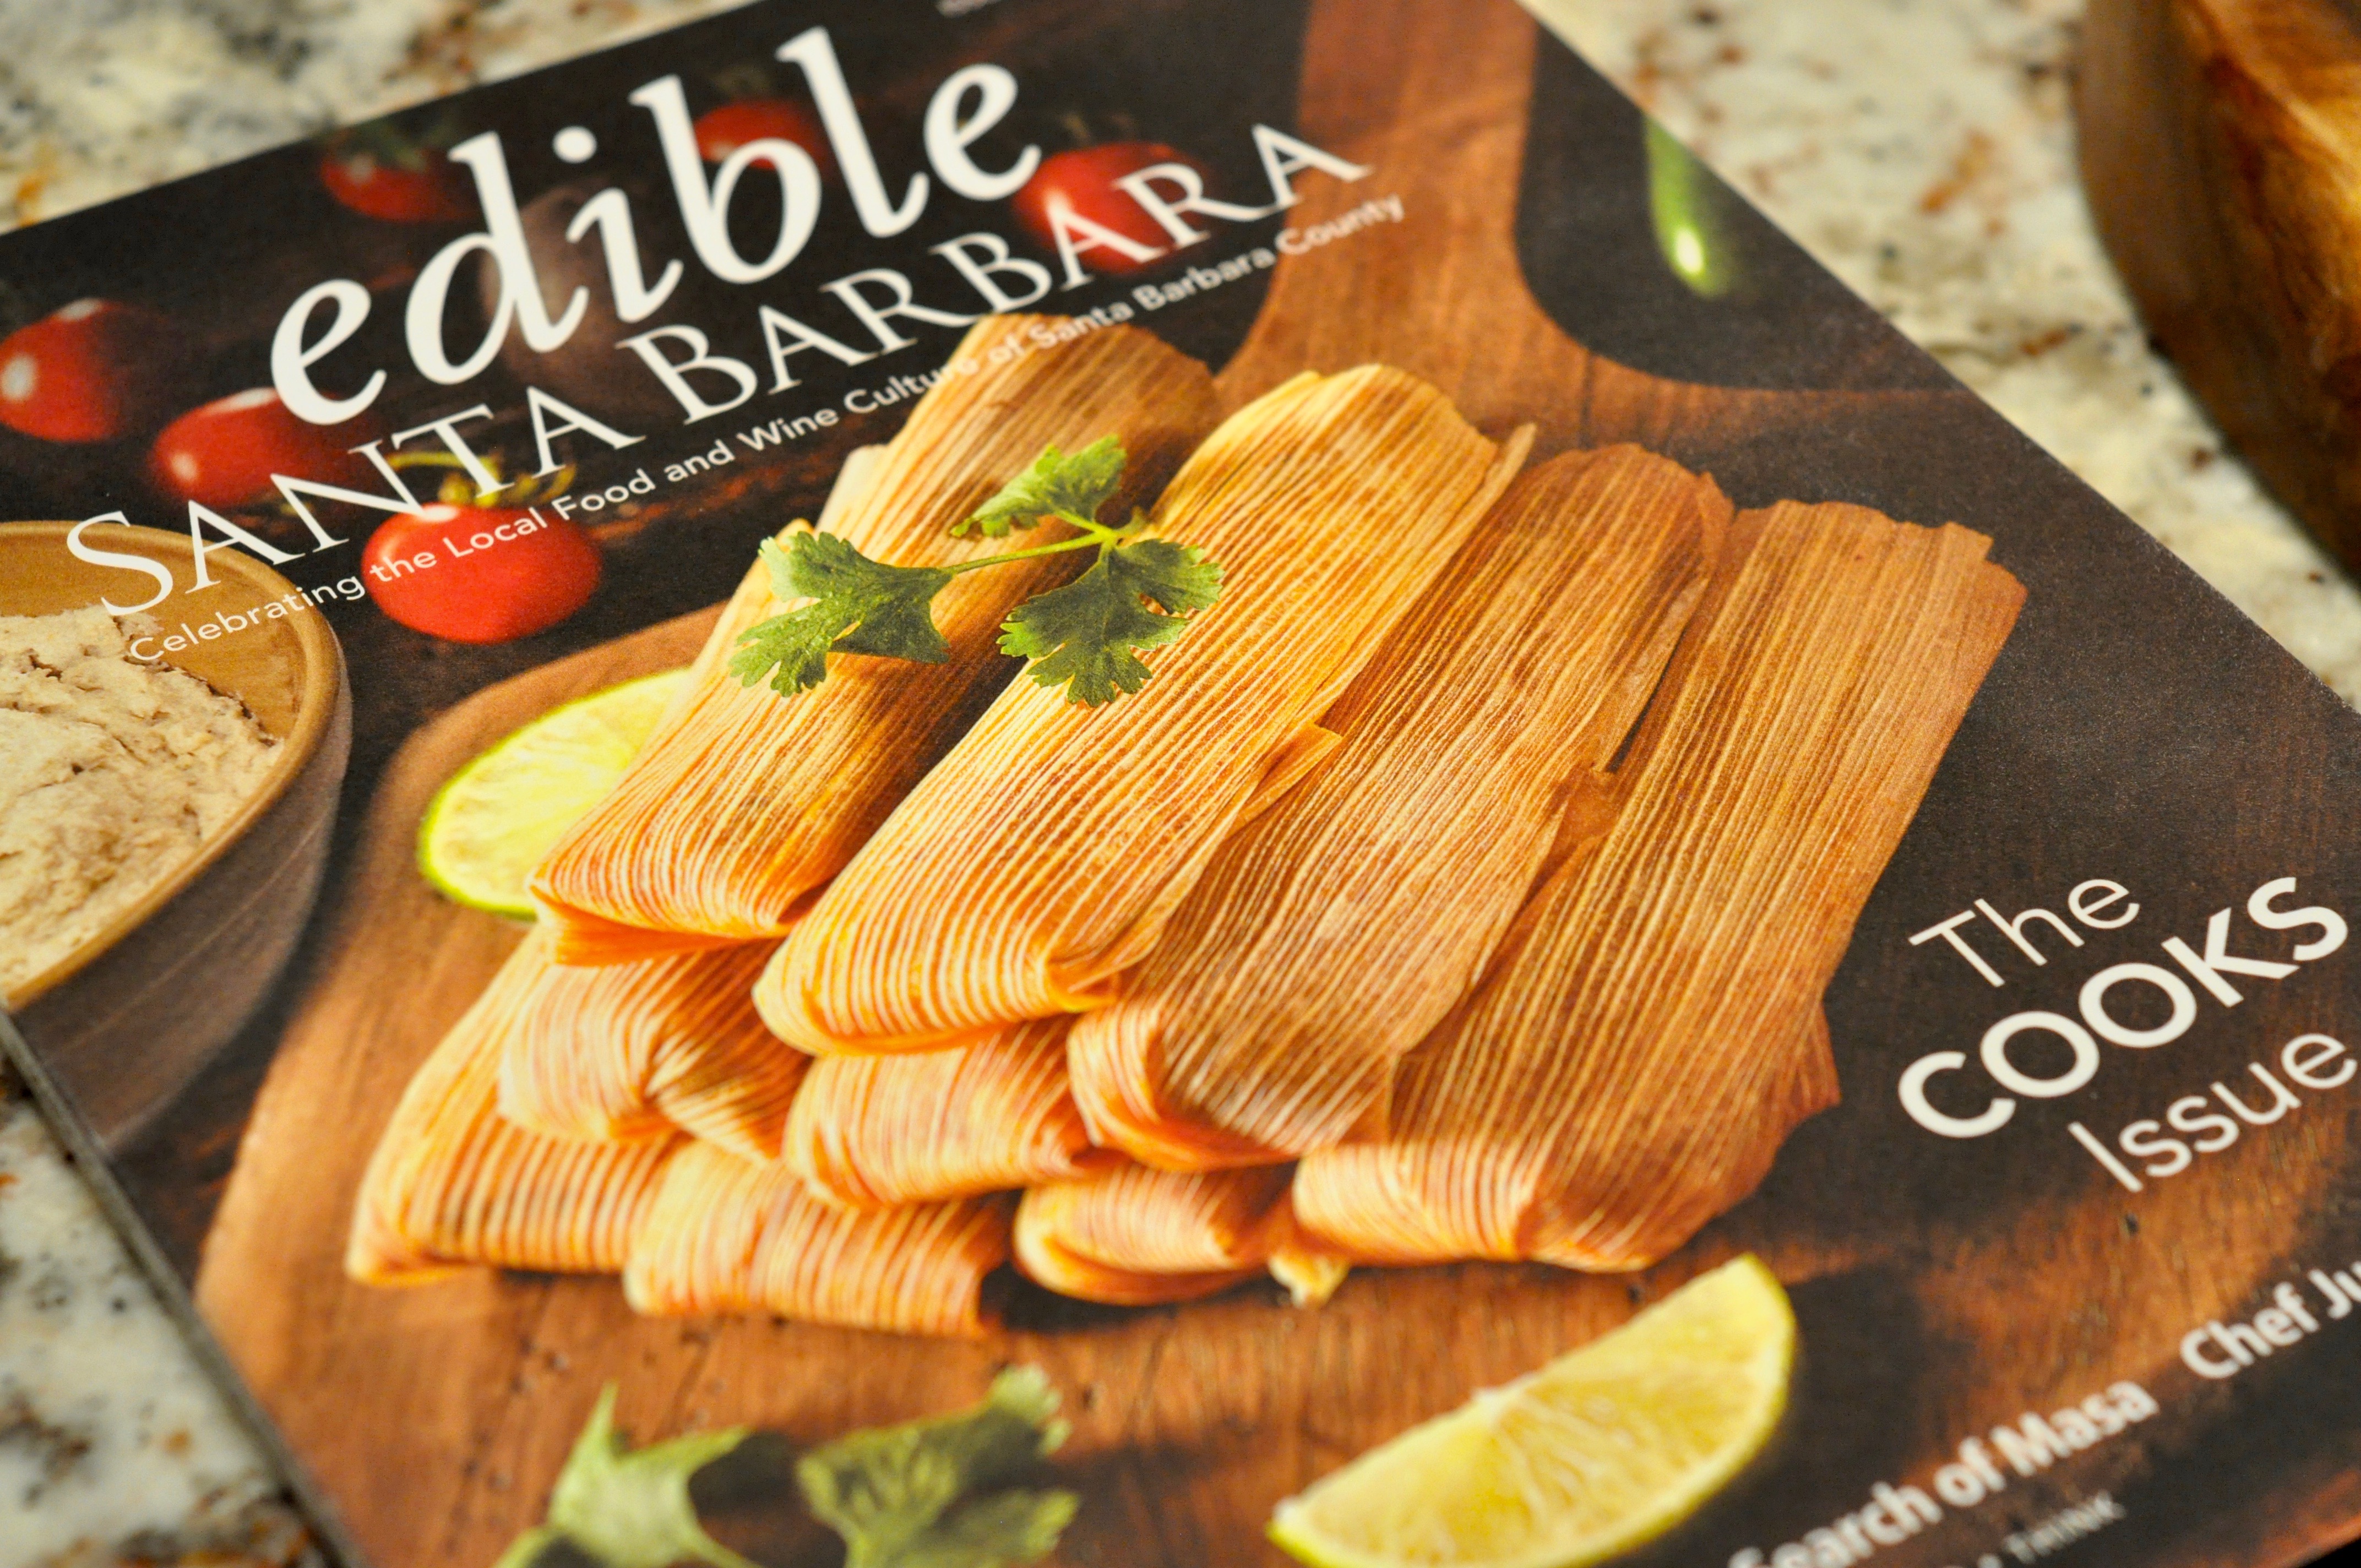
I picked up the winter edition of Edible Santa Barbara while at the Hitching Post II in Buellton, California. I thumbed through Edible in my hotel room in Buellton. It was nice, but it seemed to be missing something: Santa Barbara. I snuck away from my work assignment and made my way to Santa Barbara. I barely remember the drive there– I was so intoxicated by the ocean scene, top down, sea salt air tickling my face. Then, pants rolled up, feet in the Pacific, gazing at that point where the sea meets the horizon. Flip flops, boys on skateboards pulsing through the Funk Zone, late afternoon sun beating down on my DC winter skin. I had come home to my love.
- 2 spaghetti squash
- 2 tablespoons olive oil
- Salt and pepper, season squash to taste for roasting
- 2 large tomatoes
- -------------------------
- Lamb Sausage.
- 1 pound ground lamb
- 2 sprigs fresh rosemary, finely chopped
- 2 sprigs fresh thyme leaves, finely chopped
- 1/2 teaspoon pink or black peppercorns, ground
- 1/2 teaspoon fennel seeds, ground
- 1/2 teaspoon black mustard seeds, ground
- 1/2 teaspoon caraway seeds, ground
- 1/2 teaspoon coriander seeds, ground
- 1 tablespoon kosher salt
- 2 large shallots, chopped
- 3 cloves garlic, chopped
- -------------------------
- Almond Salsa Verde.
- 2 cloves garlic
- 1 jalapeno pepper, roasted
- 1 poblano pepper, roasted
- 1/2 cup raw almonds
- 1 cup fresh cilantro
- 1 tablespoon dried marjoram (or tarragon)
- 1/3 cup olive oil
- 1 lime, juiced
- 1/2 teaspoon rice wine vinegar (or sherry vinegar)
- 1 teaspoon kosher salt
- Pinch of pepper
- Preheat oven to 350 degrees.
- Roast the squash and peppers.
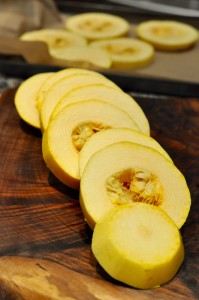
- Cut the spaghetti squash into 1-inch rounds (leave the skin on). Brush the rounds with olive oil and season with salt and pepper. Place the the rounds on an oiled or parchment-lined baking sheet. Bake for 30-40 minutes until the squash starts to soften and the threads separate when you press the edges. Place the jalapeño and poblano peppers in the oven and roast at the same time (monitor the peppers as they will cook a bit faster). Remove from oven and set aside to cool briefly. When cool enough to handle, press the squash flesh away from the rind and place in a bowl. Set aside.
- Prepare the Almond Salsa Verde.
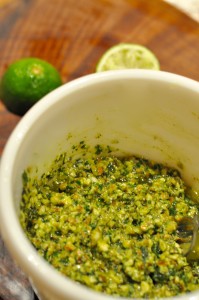
- Combine the garlic, roasted jalapeño and poblano pepper in a food processor and pulse until finely chopped. Add the almonds, cilantro and marjoram, and continue to pulse until the almonds are finely chopped (but not pureed). Place this mixture in a bowl and work in the oil, lime juice and vinegar. Season with salt and pepper and place the mixture in the refrigerator.
- Prepare the lamb sausage.
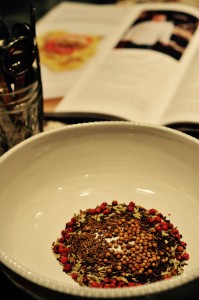
- Grind the peppercorns and seeds. You can grind them with a mortar and pestle or throw them in your coffee bean grinder (my choice!). Combine the lamb, minced herbs and ground spices (and salt) in a bowl and mix thoroughly. Sauté the lamb mixture in a large frying pan and chop up slightly with a wooden spoon while cooking. Add the shallots and garlic when the lamb starts to brown. When the lamb sausage is almost cooked, mix in the roasted squash and heat until the squash is warm.
- Grill tomato slices.
- To serve.
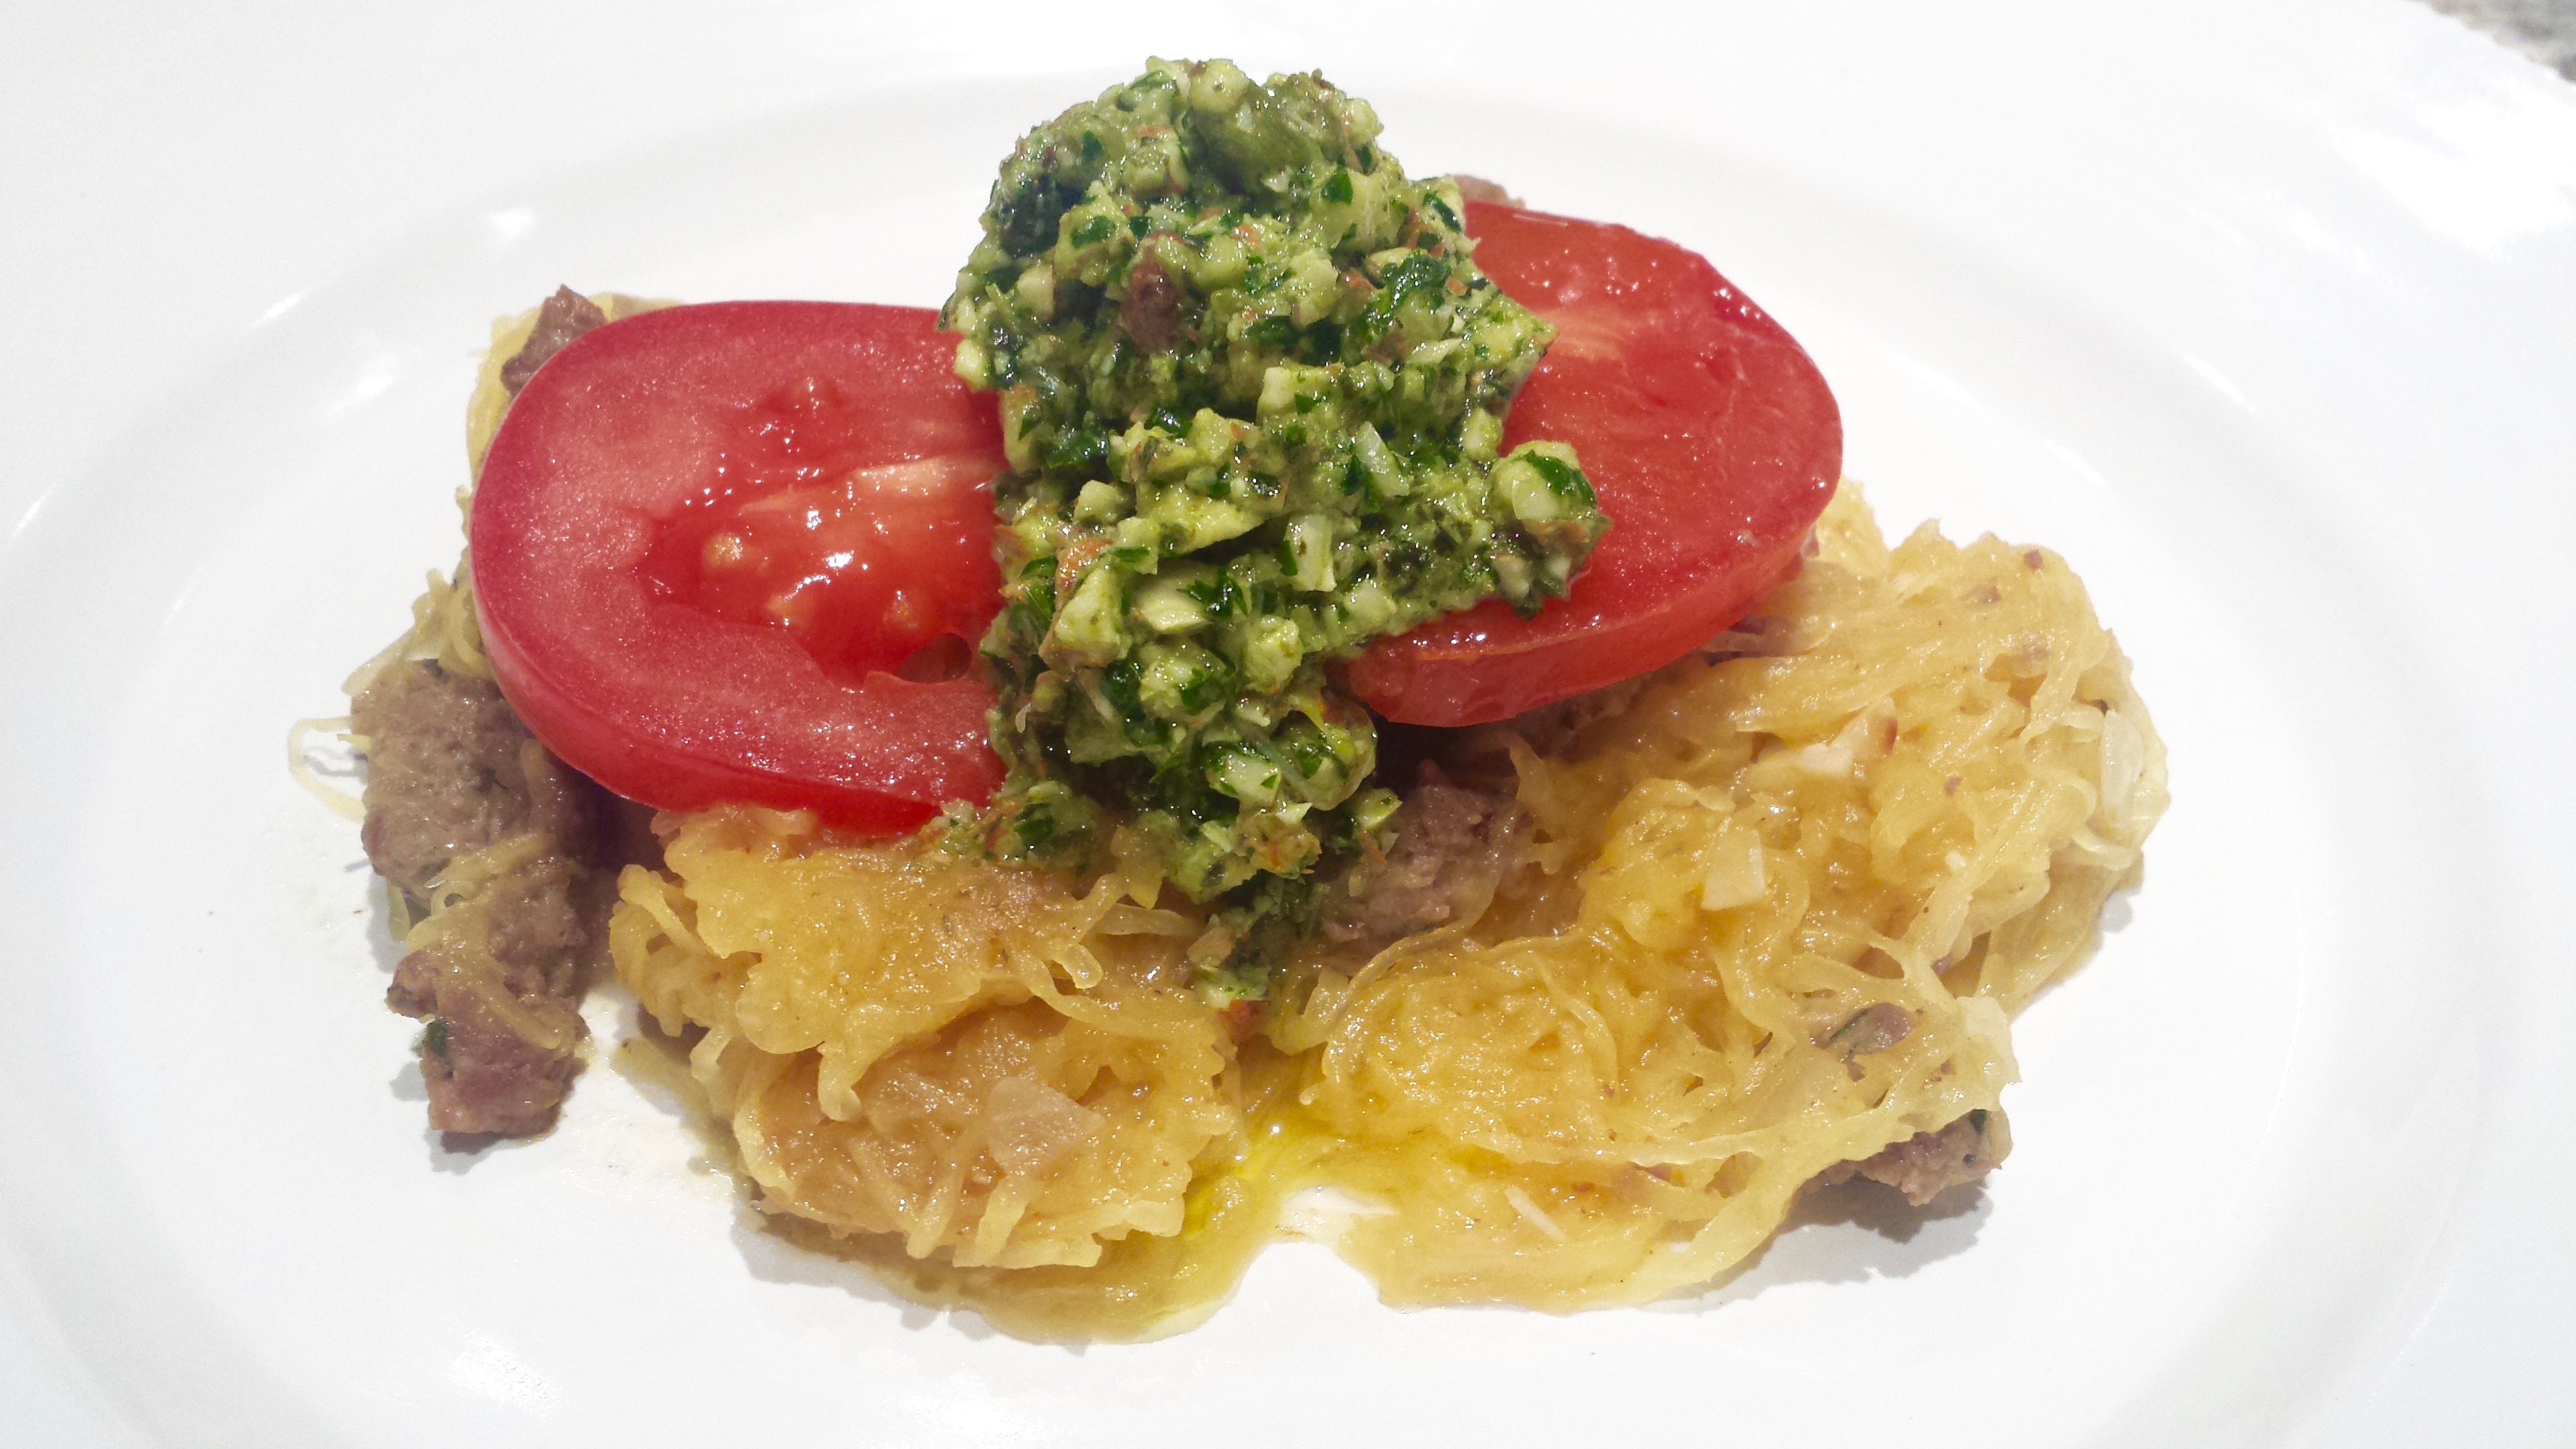
- Place a serving of spaghetti squash with lamb on each plate, top with a grilled tomato slice and garnish with the Almond Salsa Verde. Enjoy!
Spicy Harissa Chili with Merguez Sausage
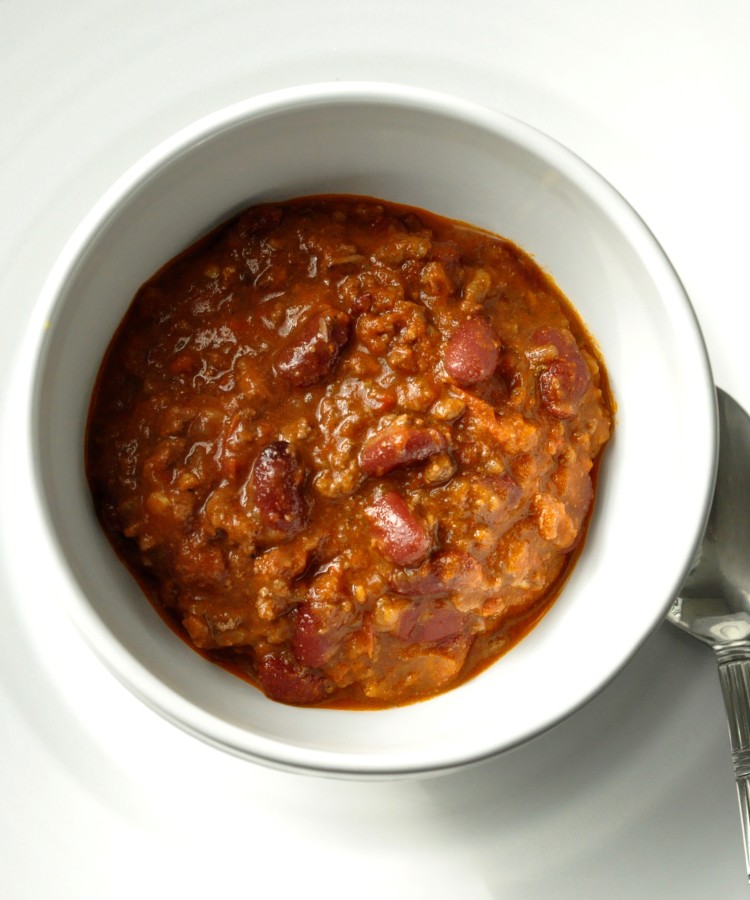
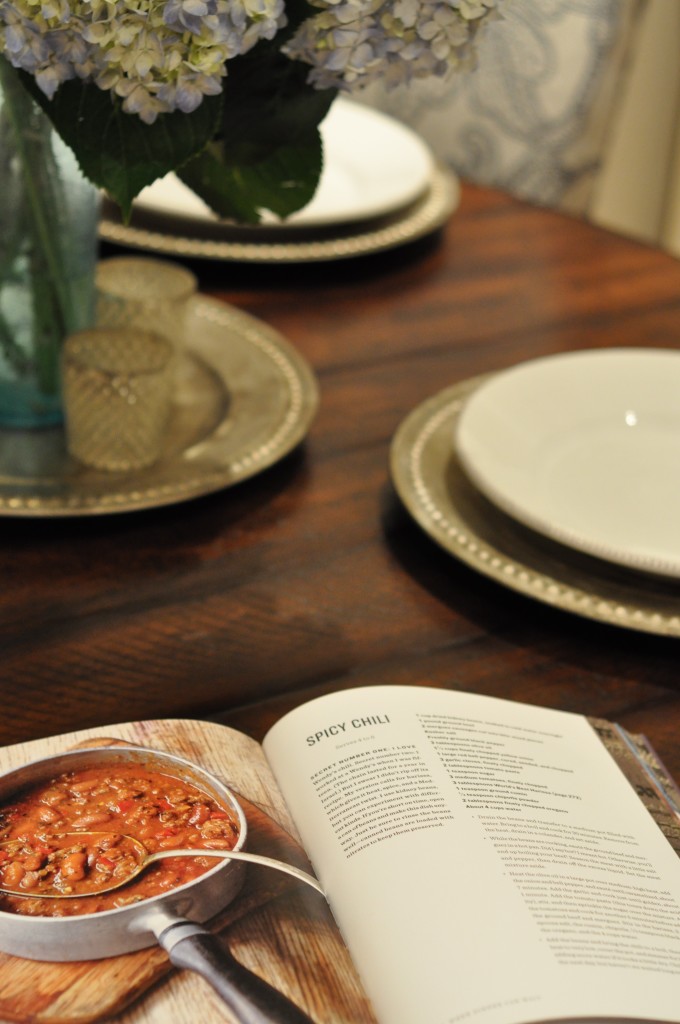
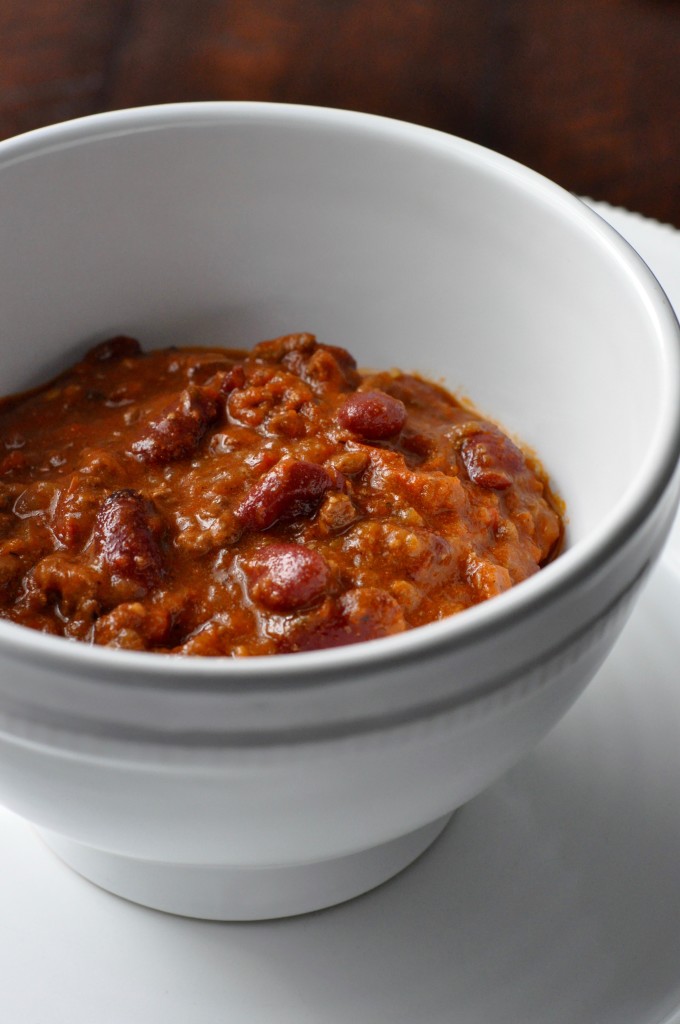
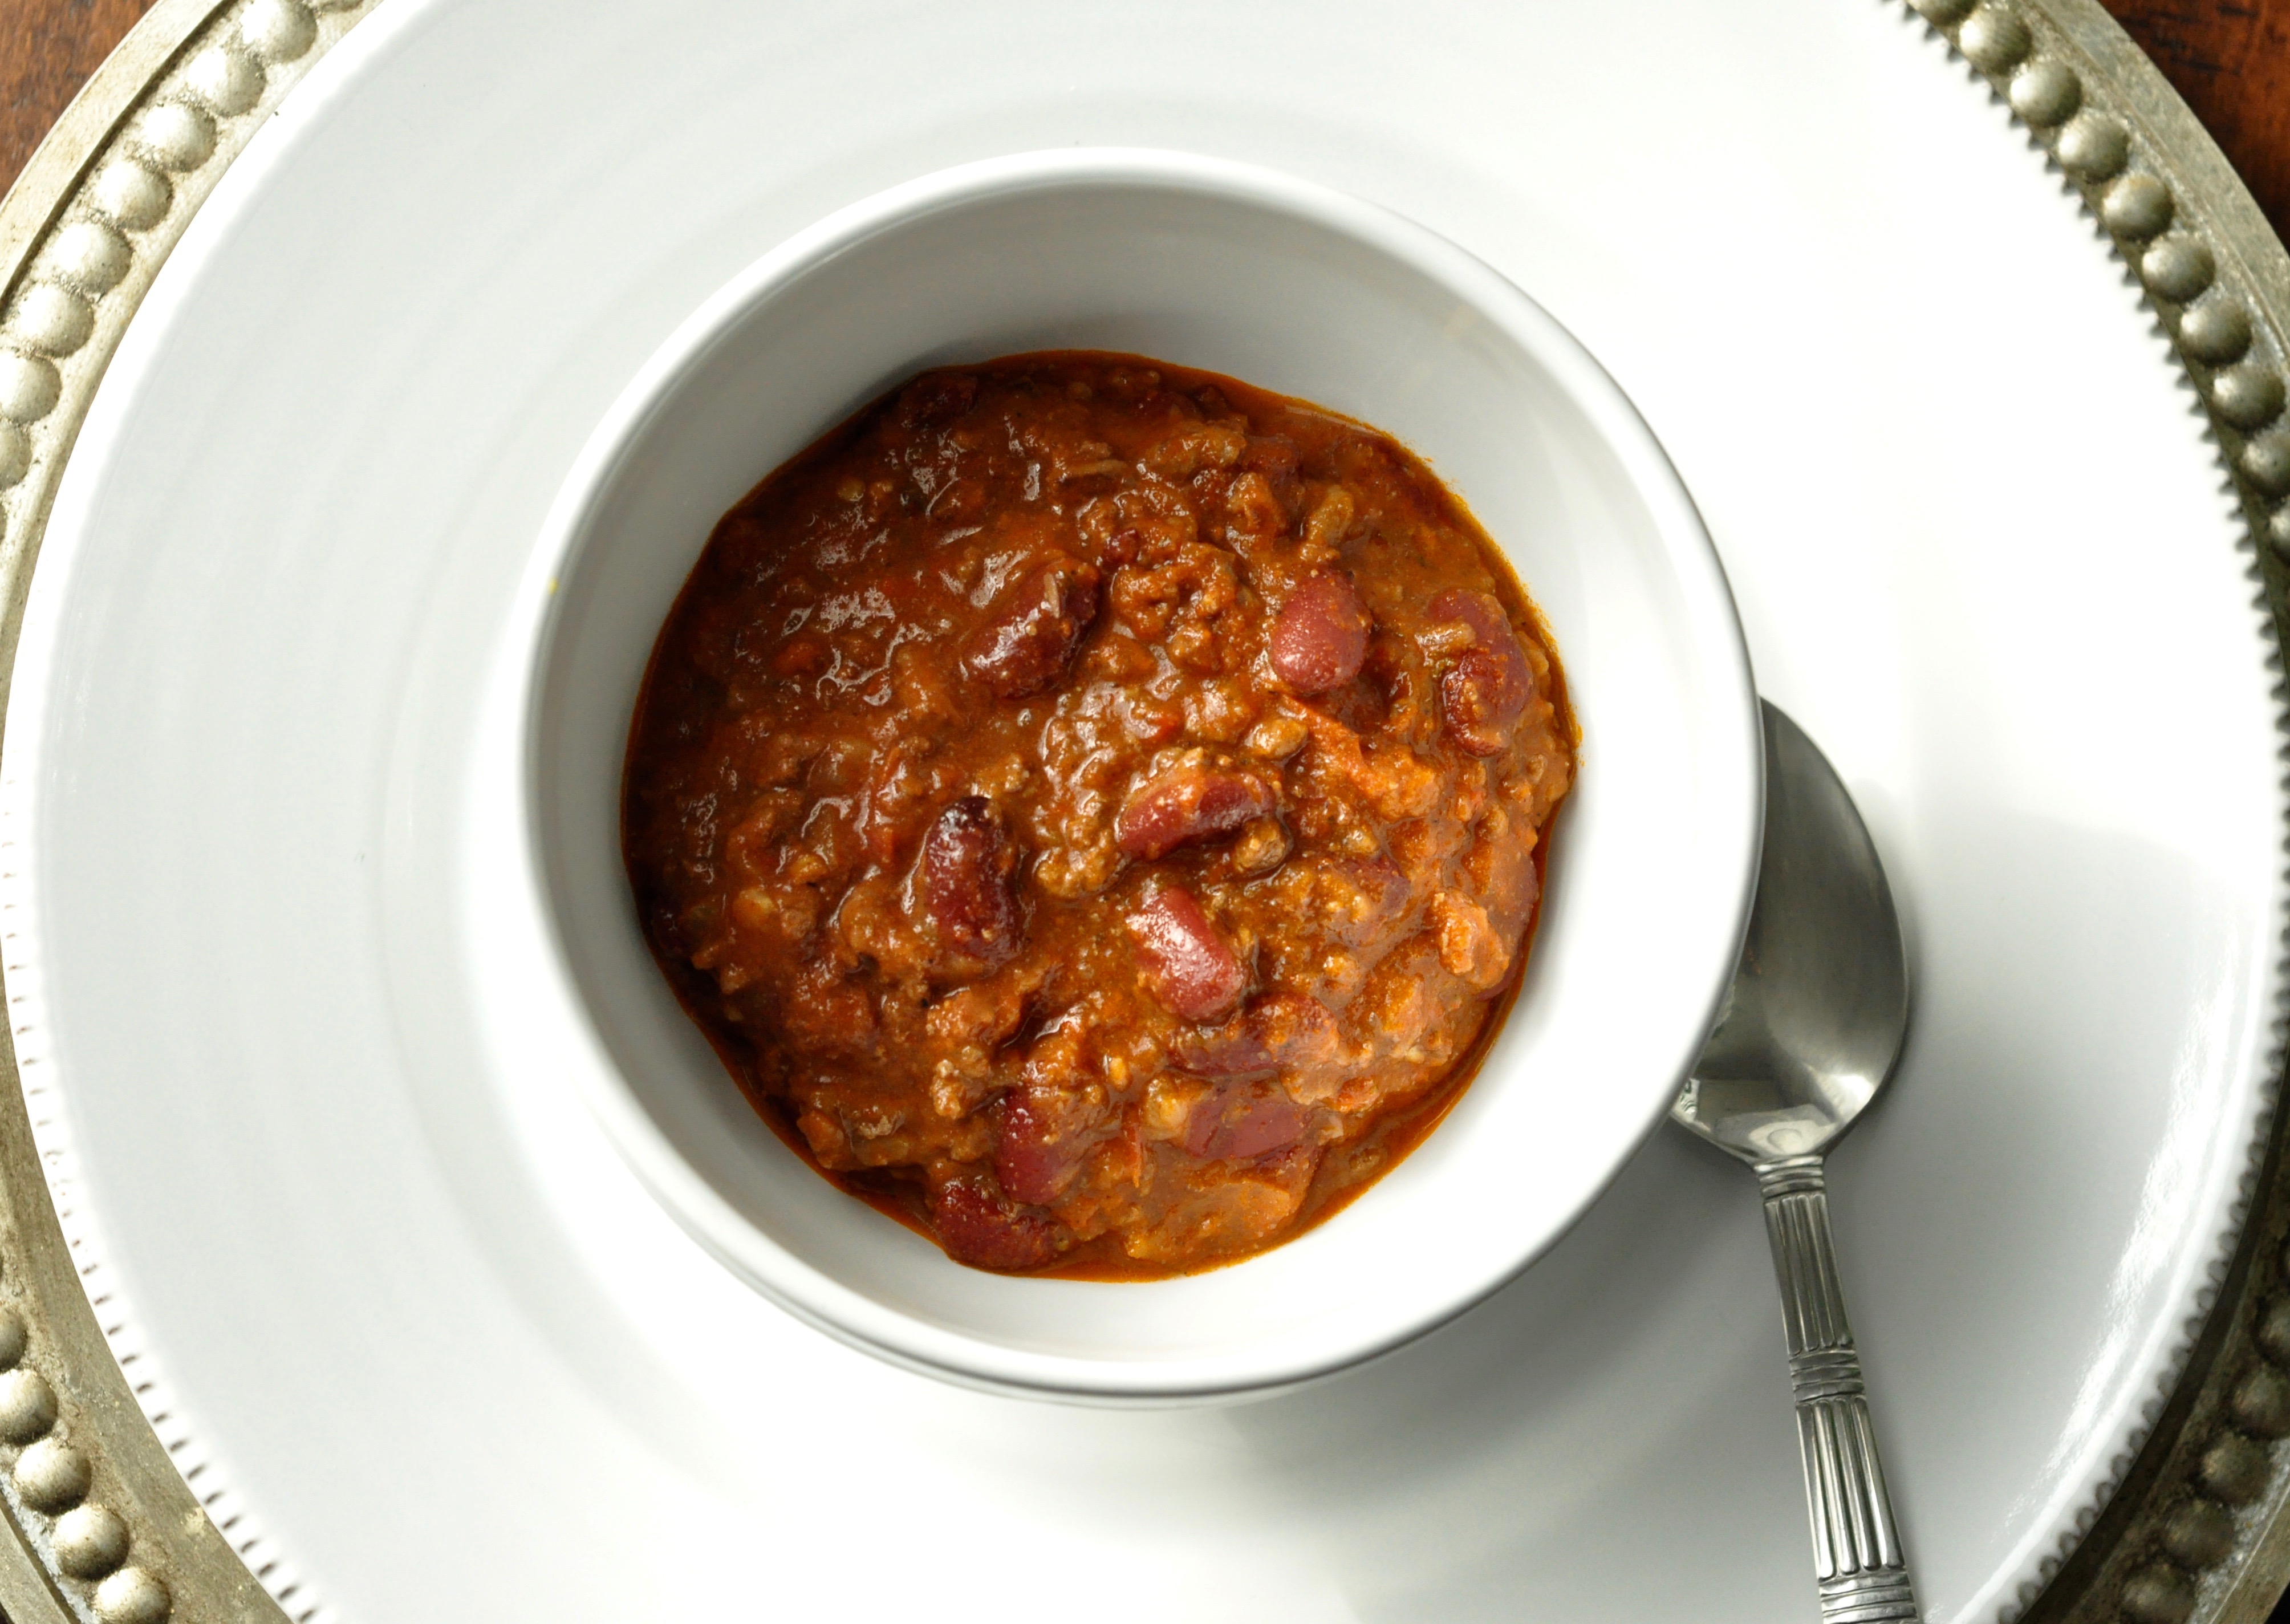
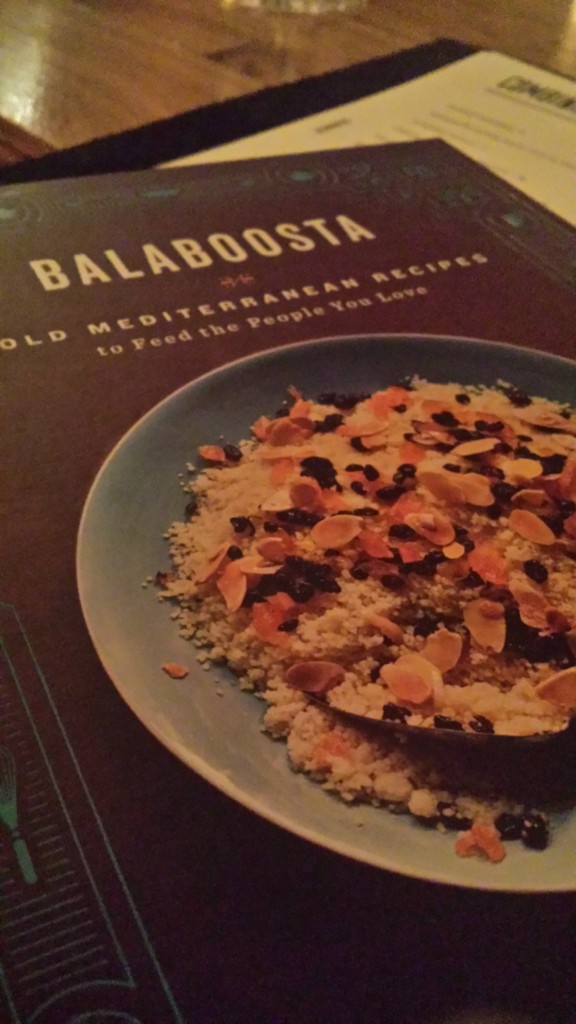
Day 5 of Blizzard2016. When I went to Whole Foods well into Day 1 of Winter Storm Jonas, I wasn’t the only one who had chili on the storm survival menu. In fact, I wasn’t sure if we were headed into the worst storm in 50 years or a city-wide chili cook-off. Turns out it was the former… While, the spice section was completely clear of cumin, cayenne and paprika (really!), I had something different in mind: Spicy Harissa Chili with Merguez Sausage. Chili with a Mediterranean kick…and I mean KICK! Another inspiration from a new cookbook, “Balaboosta, Bold Mediterranean Recipes.”
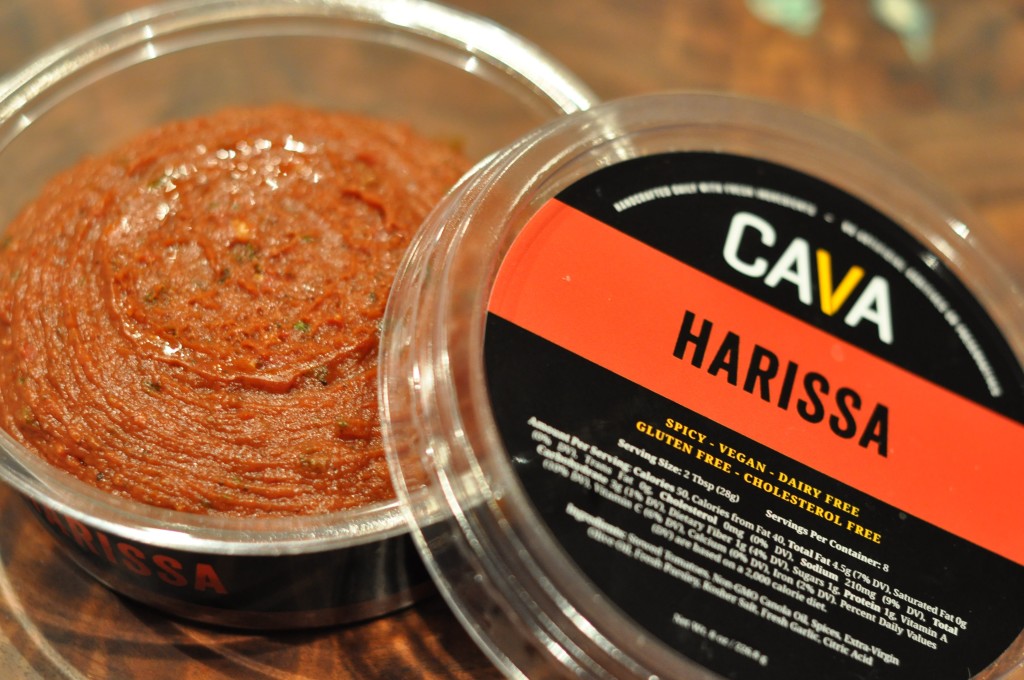
Harissa is a hot chili pepper paste that originates from North Africa. Merguez, popular in North Africa and the Middle East, is a lamb or lamb/beef sausage that is spiced (often with cumin and harissa). Whole Foods carries harissa (both dry spice and a paste) and merguez sausage. I opted for the harissa paste, which I found tucked in between the hummus and baba ganoush in the refrigerated section. If you can’t find it locally, you can always order it online (you Amazon Prime junkie you…).
This chili has an interesting twist with the harissa and merguez sausage, and it’s really quite easy to make. I had it prepped in no time, grabbed my mug of hot cocoa, snuggled up in my oversized chair, and stared out the window watching my neighbors dig through 3 feet of snow as my chili simmered away…
- 2 cans 15.5 ounce dark red kidney beans, thoroughly rinsed
- 1 pound lean ground beef
- 1 pound merguez sausage, casing removed and cut into bite-sized pieces
- 3 tablespoons olive oil
- 1 medium yellow onion, finely chopped
- 1 large red bell pepper, finely chopped
- 3 garlic cloves, finely chopped
- 2 tablespoons tomato paste
- 1 teaspoon sugar
- 3 medium tomatoes, finely chopped
- 3 tablespoons harissa paste
- 1 tablespoon salt
- 1 teaspoon ground cumin
- 1/4 teaspoon chipotle powder
- 1/4 teaspoon black pepper
- 2 tablespoons oregano, finely chopped
- 4 cups water
- Meat.
- Saute the ground beef and merguez sausage over high heat until browned. Season the meat with a little salt and pepper. Drain excess liquid/fat and set the browned meat aside.
- Veggies and spice.
- Heat the olive oil in a large pot over medium-high heat. Add the onion and bell pepper and saute until soft and slightly caramelized (about 7 minutes). Add the garlic and saute one minute. Add the tomato paste, stir into the veggies, and then sprinkle the sugar over the mixture. Add the chopped tomatoes and cook for another 5 minutes. Add the meat mixture to the large pot. Stir in the harissa paste, salt, cumin, chipotle powder, pepper, and oregano. Add 4 cups of water. Finally, add the kidney beans.
- Boil, then simmer.
- Bring the chili to a boil, then reduce the heat to very low, cover the pot, and simmer the chili for 2 1/2 - 3 hours. Stir occasionally and add water if it starts to get dry.
Marinated Eggplant Salad with Tahini Sauce
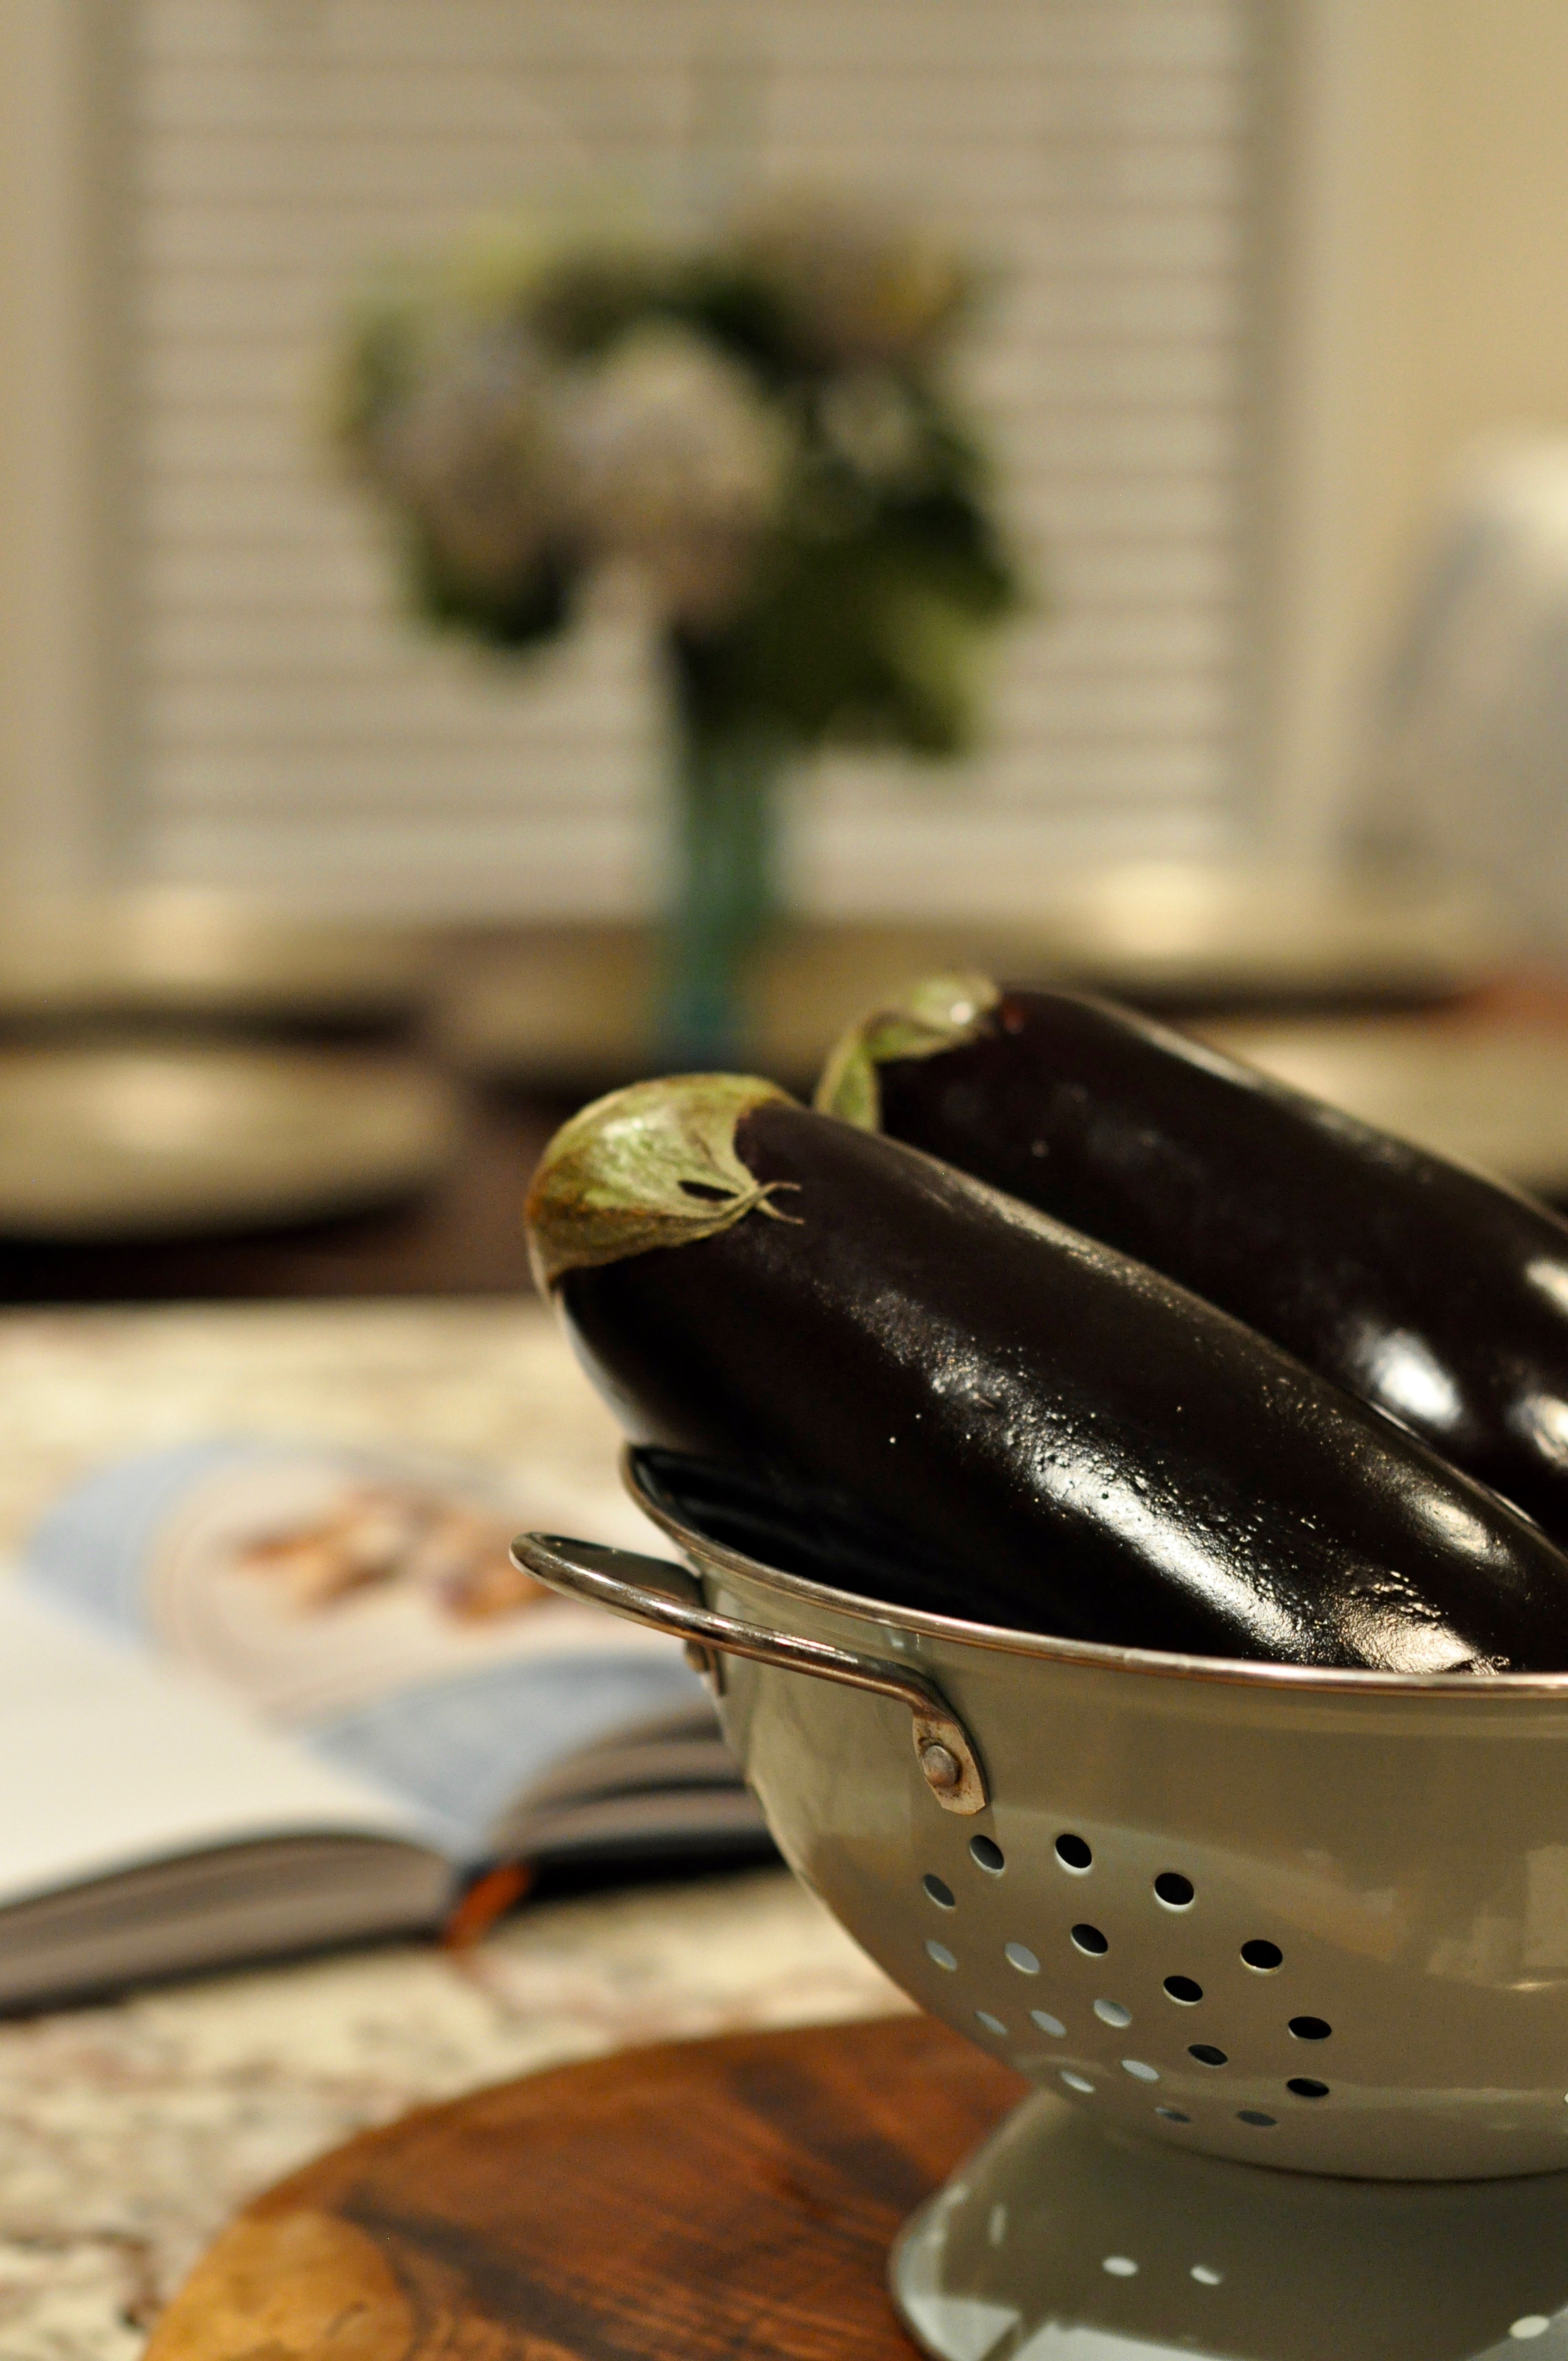
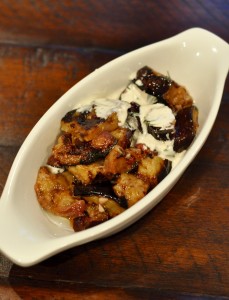
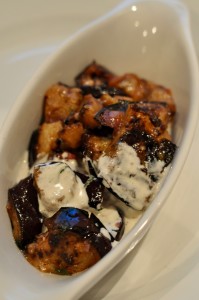
What’s a gal to do during Snowzilla? Blizzard2016…? Snowmageddon2…? Well, play around with a new cookbook, “Balaboosta, Bold Mediterranean Recipes” by Einat Admony. Just back from New York City, an absolute eating adventure. The choices. The pressure! But in the abounding intensity of Manhattan eating options, I found a gem in SoHo: Combina. Small plates…Spanish Israeli fusion…pure delight. Merguez slider, fried halloumi, harissa honey drumsticks, clams in heavensauce (quite honestly, I can’t remember what these little clams were swimming in….but it tasted like heaven). It was the marinated eggplant dish that stood out though. Tangy. Garlicy. Unassuming in presentation; bold in execution. Perfect. You can imagine my delight when our waitress, Emmy, handed me a cookbook when I sweetly asked, “The chef wouldn’t mind sharing this recipe, right? RIGHT!??” The tahini sauce– a perfect finishing on this salad.
Dare I tell you the story of the 4-wheel adventure, well into Winter Storm Jonas, to TWO different grocery stores to find the last three eggplants? Nah, I’ll leave that for another time…
- 3 large eggplants
- Kosher salt
- Canola oil for frying
- 1 cup distilled white vinegar
- 5 garlic cloves, finely minced
- 1/4 cup fresh dill, coarsely chopped
- 1 1/2 tablespoons sugar
- 1/4 teaspoon red pepper flakes
- 1/2 cup tahini
- 1/2 cup water
- 1/3 cup fresh lemon juice (approximately 1 large lemon)
- 1 garlic clove
- 1 teaspoon kosher salt
- Prepare.
- Trim the end off the eggplants and slice into 1-inch thick rounds. Sprinkle with salt and place in a colander to drain for one hour. This will drain excess water and take away any bitterness from the eggplant. After one hour, pat the slices dry with a paper towel.
- Fry.
- Heat 1 inch of canola oil in a large skillet (temperature should be around 375 degrees). Fry the eggplant until golden brown (about 6-7 minutes). Drain the eggplant on paper towels.
- Marinate.
- Whisk the vinegar, garlic, dill, sugar and pepper flakes in a large glass bowl. Slice the fried eggplant into 1-inch cubes. Add the eggplant to the vinegar mixture and coat evenly. Place the salad in an airtight container and place in the refrigerator for at least 6 hours or (preferably) overnight.
- Tahini sauce.
- Combine the tahini, water, lemon juice, garlic and salt in a food processor. Puree the ingredients until smooth. Refrigerate until ready to use.
- The flavors continue to marry. Enjoy this salad for up to a week!
Grilled Mexican Corn on the Cob
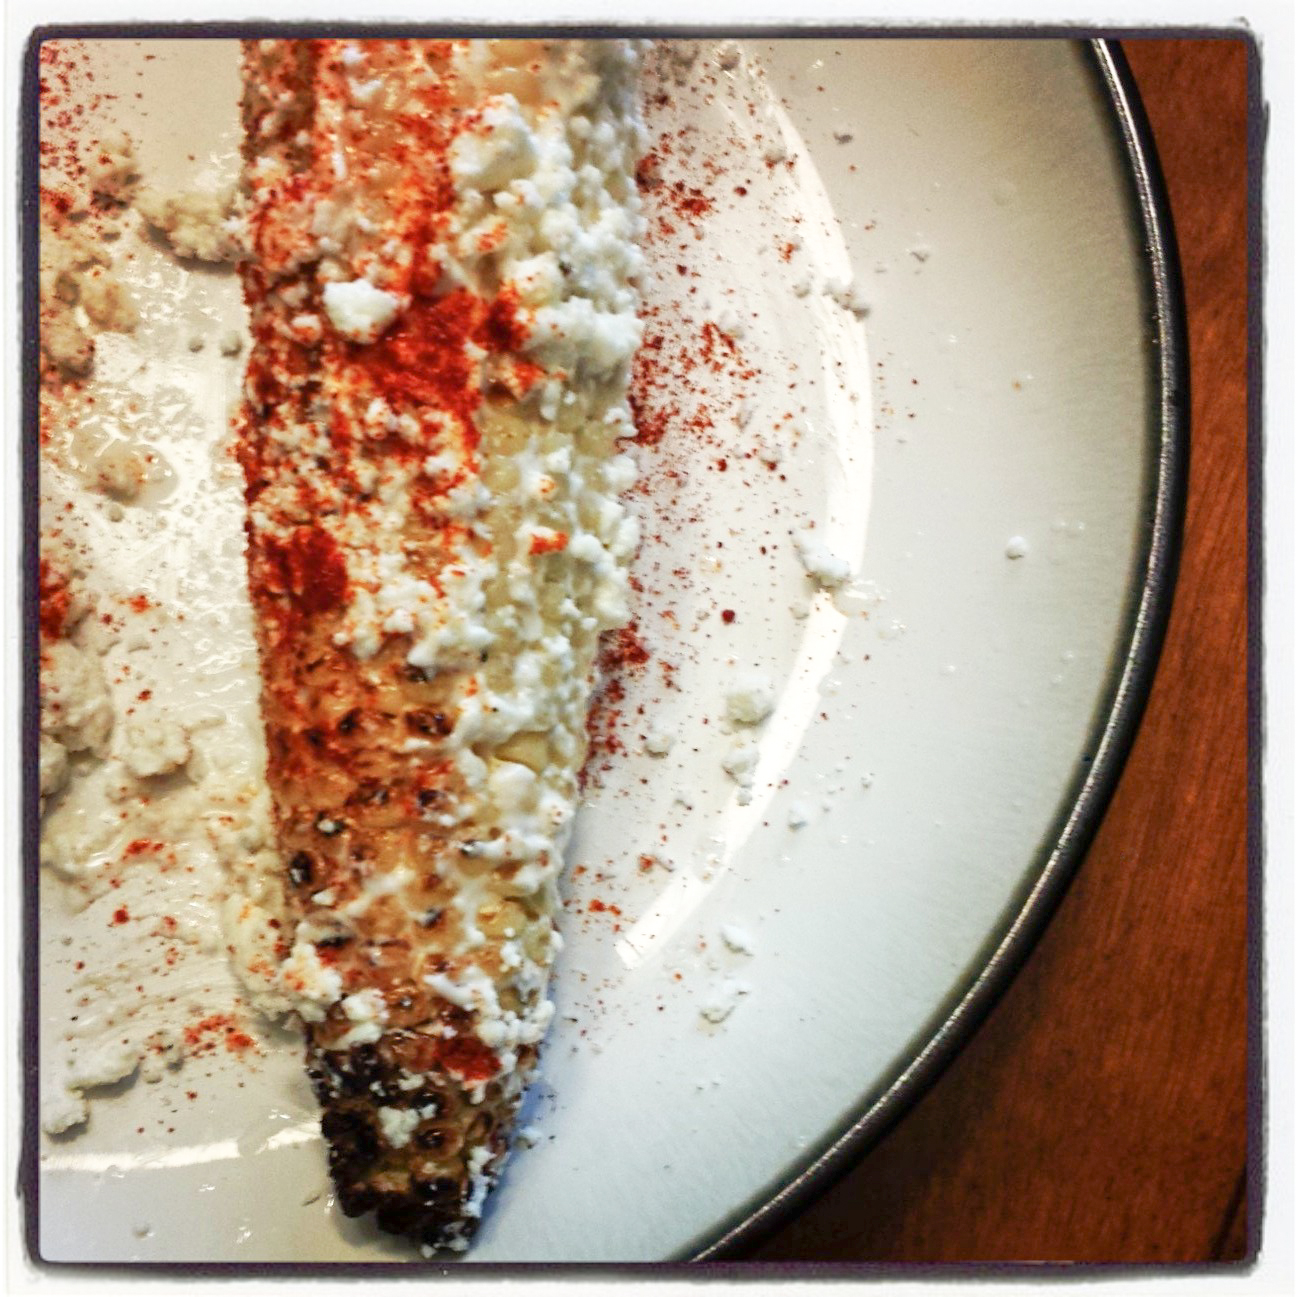
It happens. The mad rush to get over to your friend’s barbecue. Corn…check. Mayo, cheese, limes, chili powder…check. Fancy serving dish…check. Chihuahua…check. Show up to friend’s house one hour fashionably late. Camera… no dice… Time to play with my new smartphone camera and Instagram… Foodie = yes. Techie = NO.
My friend, Mandy, had recently mentioned that mayo on corn was a must. I was intrigued. I did some ‘mayo on corn’ research and then caught an episode on PBS about Mexican Corn (think it was Rick Bayless). I’m sure the rest of the world is fully aware of Mexican Corn, but I was not. Let me tell you: it is INCREDIBLE.
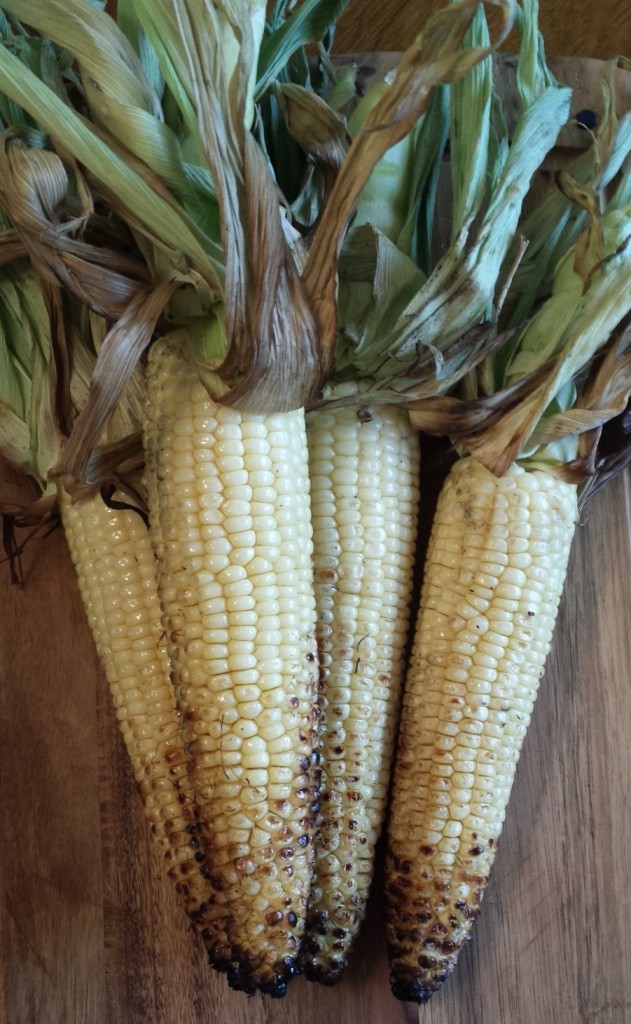
The corn is grilled directly on your barbeque/grill. Husks pulled back. Exposed. Totally naked.
The corn is then slathered with mayo, crumbled cotija cheese, chili powder and lime juice. This is IN YOUR FACE, messy, get me a bib, wipe-your-mouth-with-the-back-of-your-hand corn on the cob. And it’s worth every messy, tangy bite.
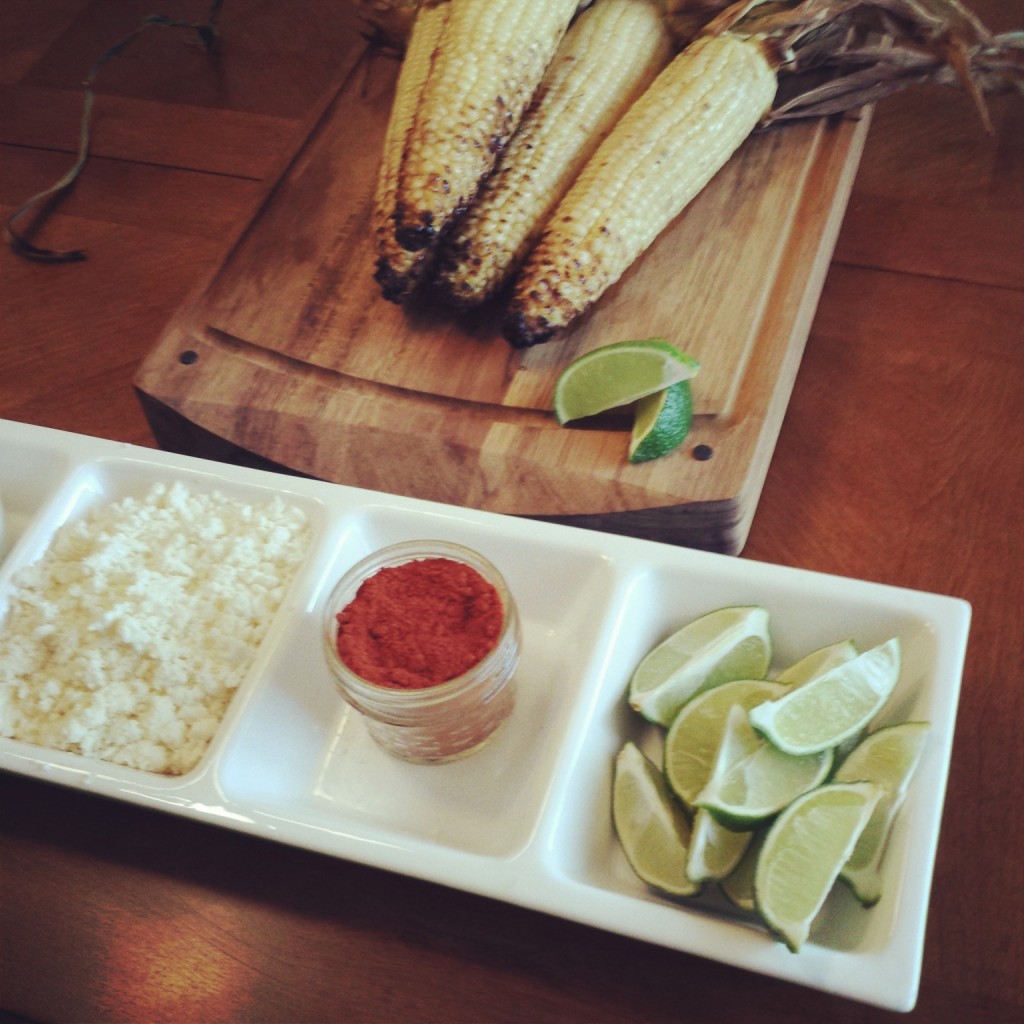
- Four fresh ears of corn (one per person)
- 1/4 cup mayonnaise
- 1/2 cup cotija cheese, crumbled (or queso fresco if you prefer a less salty cheese)
- 2 Tbs chili powder
- 1 lime, quartered
- Heat the grill to medium high heat
- Peel back the husks and remove the silk from corn
- Cover the corn with the husks and soak in cool water for 10 minutes (this will prevent the husks from burning on the grill)
- Pull the husks away from the corn and grill the corn on the cob directly on the grill until browned evenly--this takes approximately 15 minutes
- Spread the mayonnaise evenly over the entire grilled ear of corn
- Sprinkle the crumbled cotija to cover the ear of corn
- Lightly sprinkle chili powder over the ear of corn
- Squeeze lime over the corn
- Prepare to be...well, you know...amazed
The Local … A Foodie’s Food Truck (Colorado Springs, CO)
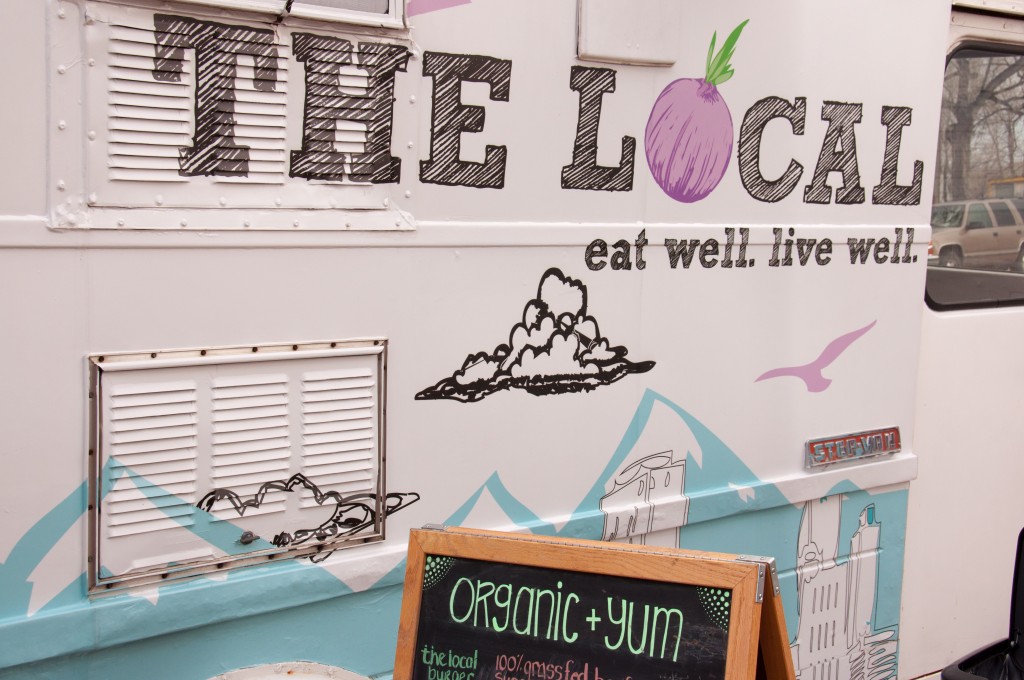 I first saw “The Local” at the Colorado Farm & Art Market, but I caught the tail end of the market and The Local had sold out. I kept checking The Local’s Facebook page to figure out where I could catch them. Out in front of the Cottonwood Center for the Arts on a Friday night…perfect.
Mandy and I (we have been known to put down some food) headed for the Cottonwood and The Local. I had, unfortunately, eaten a huge lunch (rib cook-off at work…who can resist…it was a total meat fest) and Mandy had had a snack before meeting up. So, we wandered around the Cottonwood center…pretending not to both be thinking about The Local’s menu that we had browsed before heading inside.
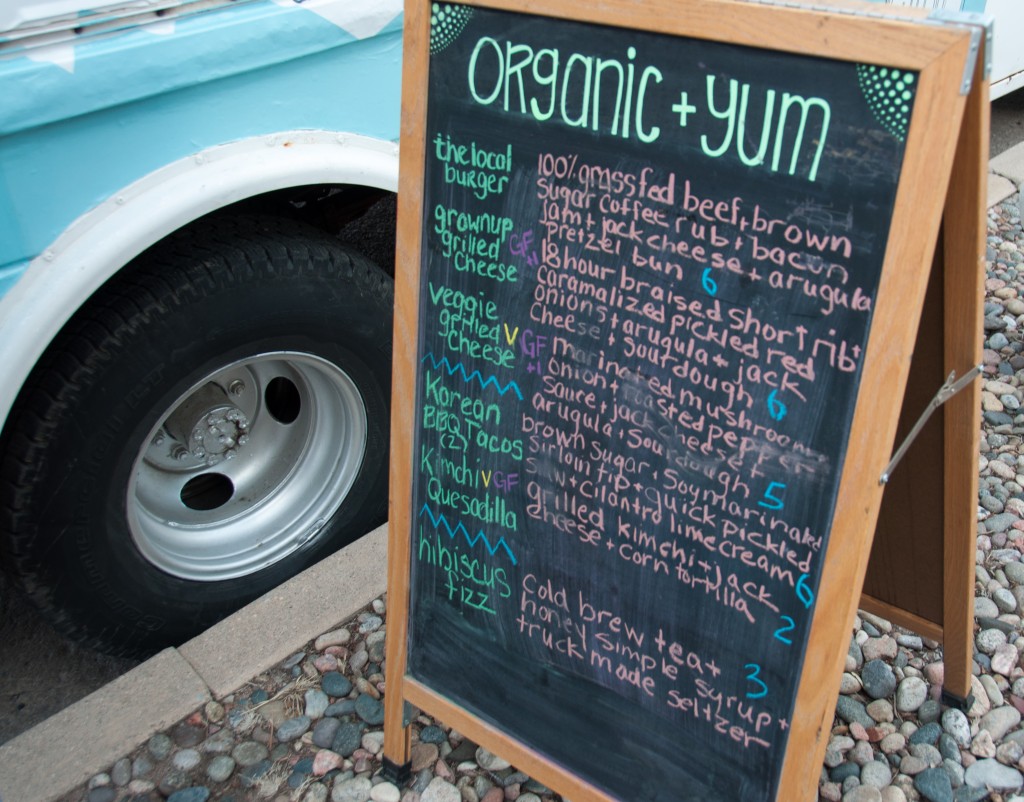
A burger with a brown sugar and coffee rub; grilled cheese with braised short ribs, caramelized red onions and jack cheese; Korean BBQ tacos with brown sugar and soy marinated sirloin, pickled cabbage and cilantro sauce; kimchi quesadillas…. it was a foodie’s dream.
As we were looking at Jane Beeder’s fascinating collection, I blurted out “You WANNA go TO the FOOD truck!!?!!” No hesitation from Mandy. Love her.
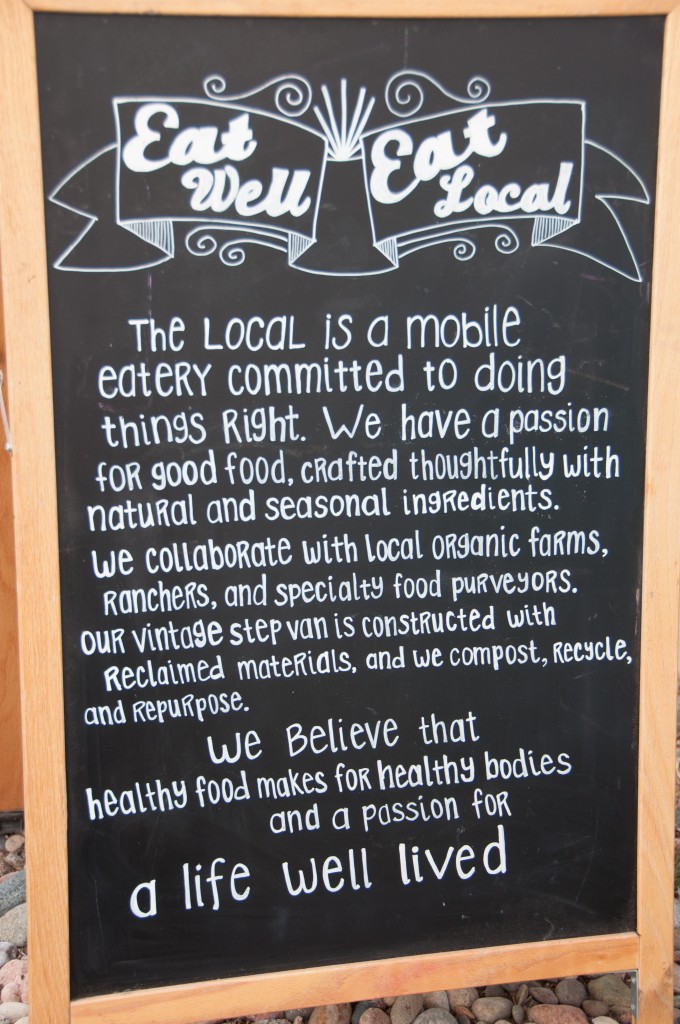
I quickly scanned the chalkboard menu again…
…and it was an obvious choice: the whole menu the Korean BBQ tacos and a Kimchi Quesadilla …and Korean BBQ tacos for dessert.
Mandy and I shared the Kimchi Quesadilla. Sharing? Seriously. What were we thinking….?
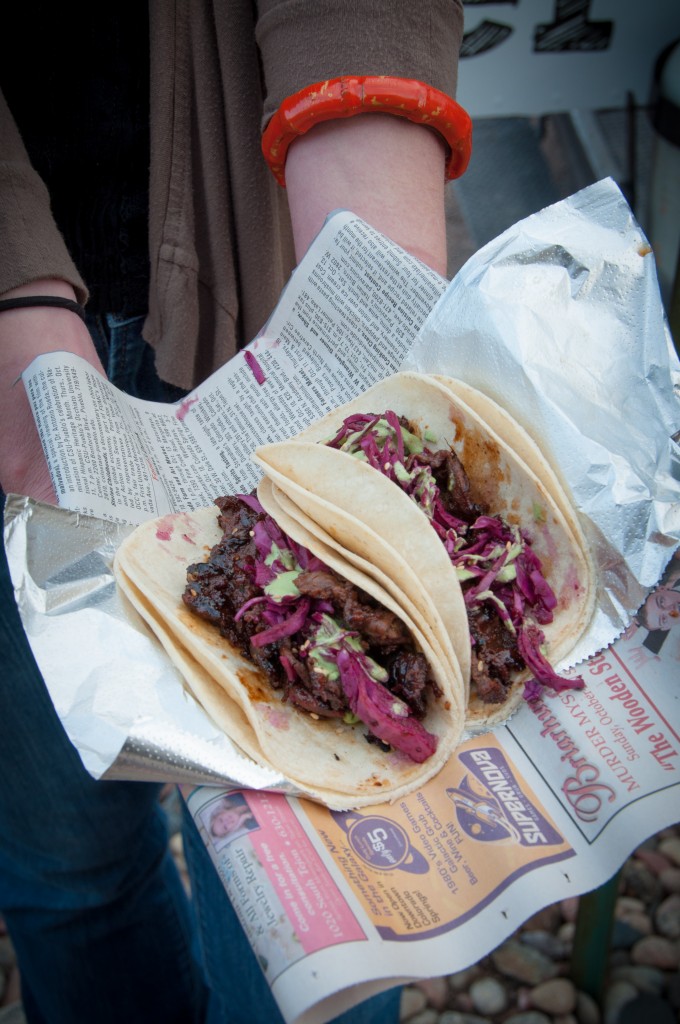
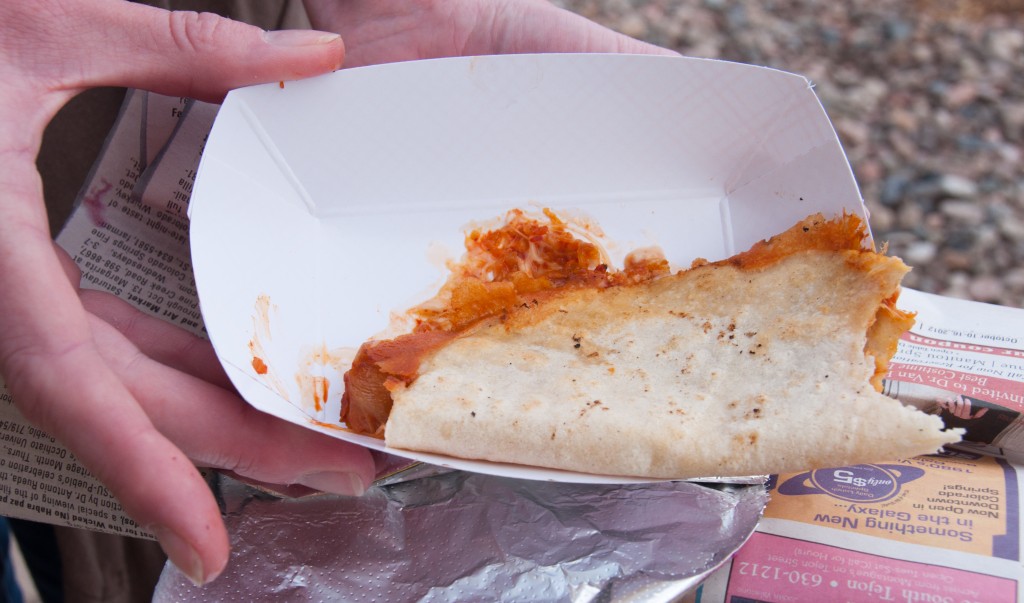
The Korean BBQ tacos were sooo good. The meat was perfectly tender and marinated with just the right mix of tangy and sweet, then topped with pickled cabbage and a cilantro lime cream sauce. The doubled up corn tortillas were lightly grilled. Simple, but still an intriguing mix of flavors. My one (very minor) critique would be the need for a just a bit more cilantro sauce. But…then again…I have a mild obsession with cilantro. $6 for the tacos…..worth every penny.
I also love the mix of cuisines on the menu…Korean meets Mexican…Korexican? Korean BBQ on a taco…I get that. Kimchi in a quesadilla….can’t say that’s a snack I day dream about. But, it is now. Kimchi Quesadilla = Kimchi and jack cheese in a lightly grilled corn tortilla. I thought there was a sauce hiding in there, but I think it was the kimchi and cheeeeeessse swirling together. A $2 snack, and Mandy and I agreed we could have eaten about $20 worth of these crispy, gooey little guys. We managed some serious self-control. And then… Mandy looked at me and asked “Another round of tacos?” with a mischievous look. Self-control? Still working on it…
My time in Colorado is limited and there is a long list of food to be eaten before I leave. But, I will definitely be back to The Local to sample more of their wonderful creations.
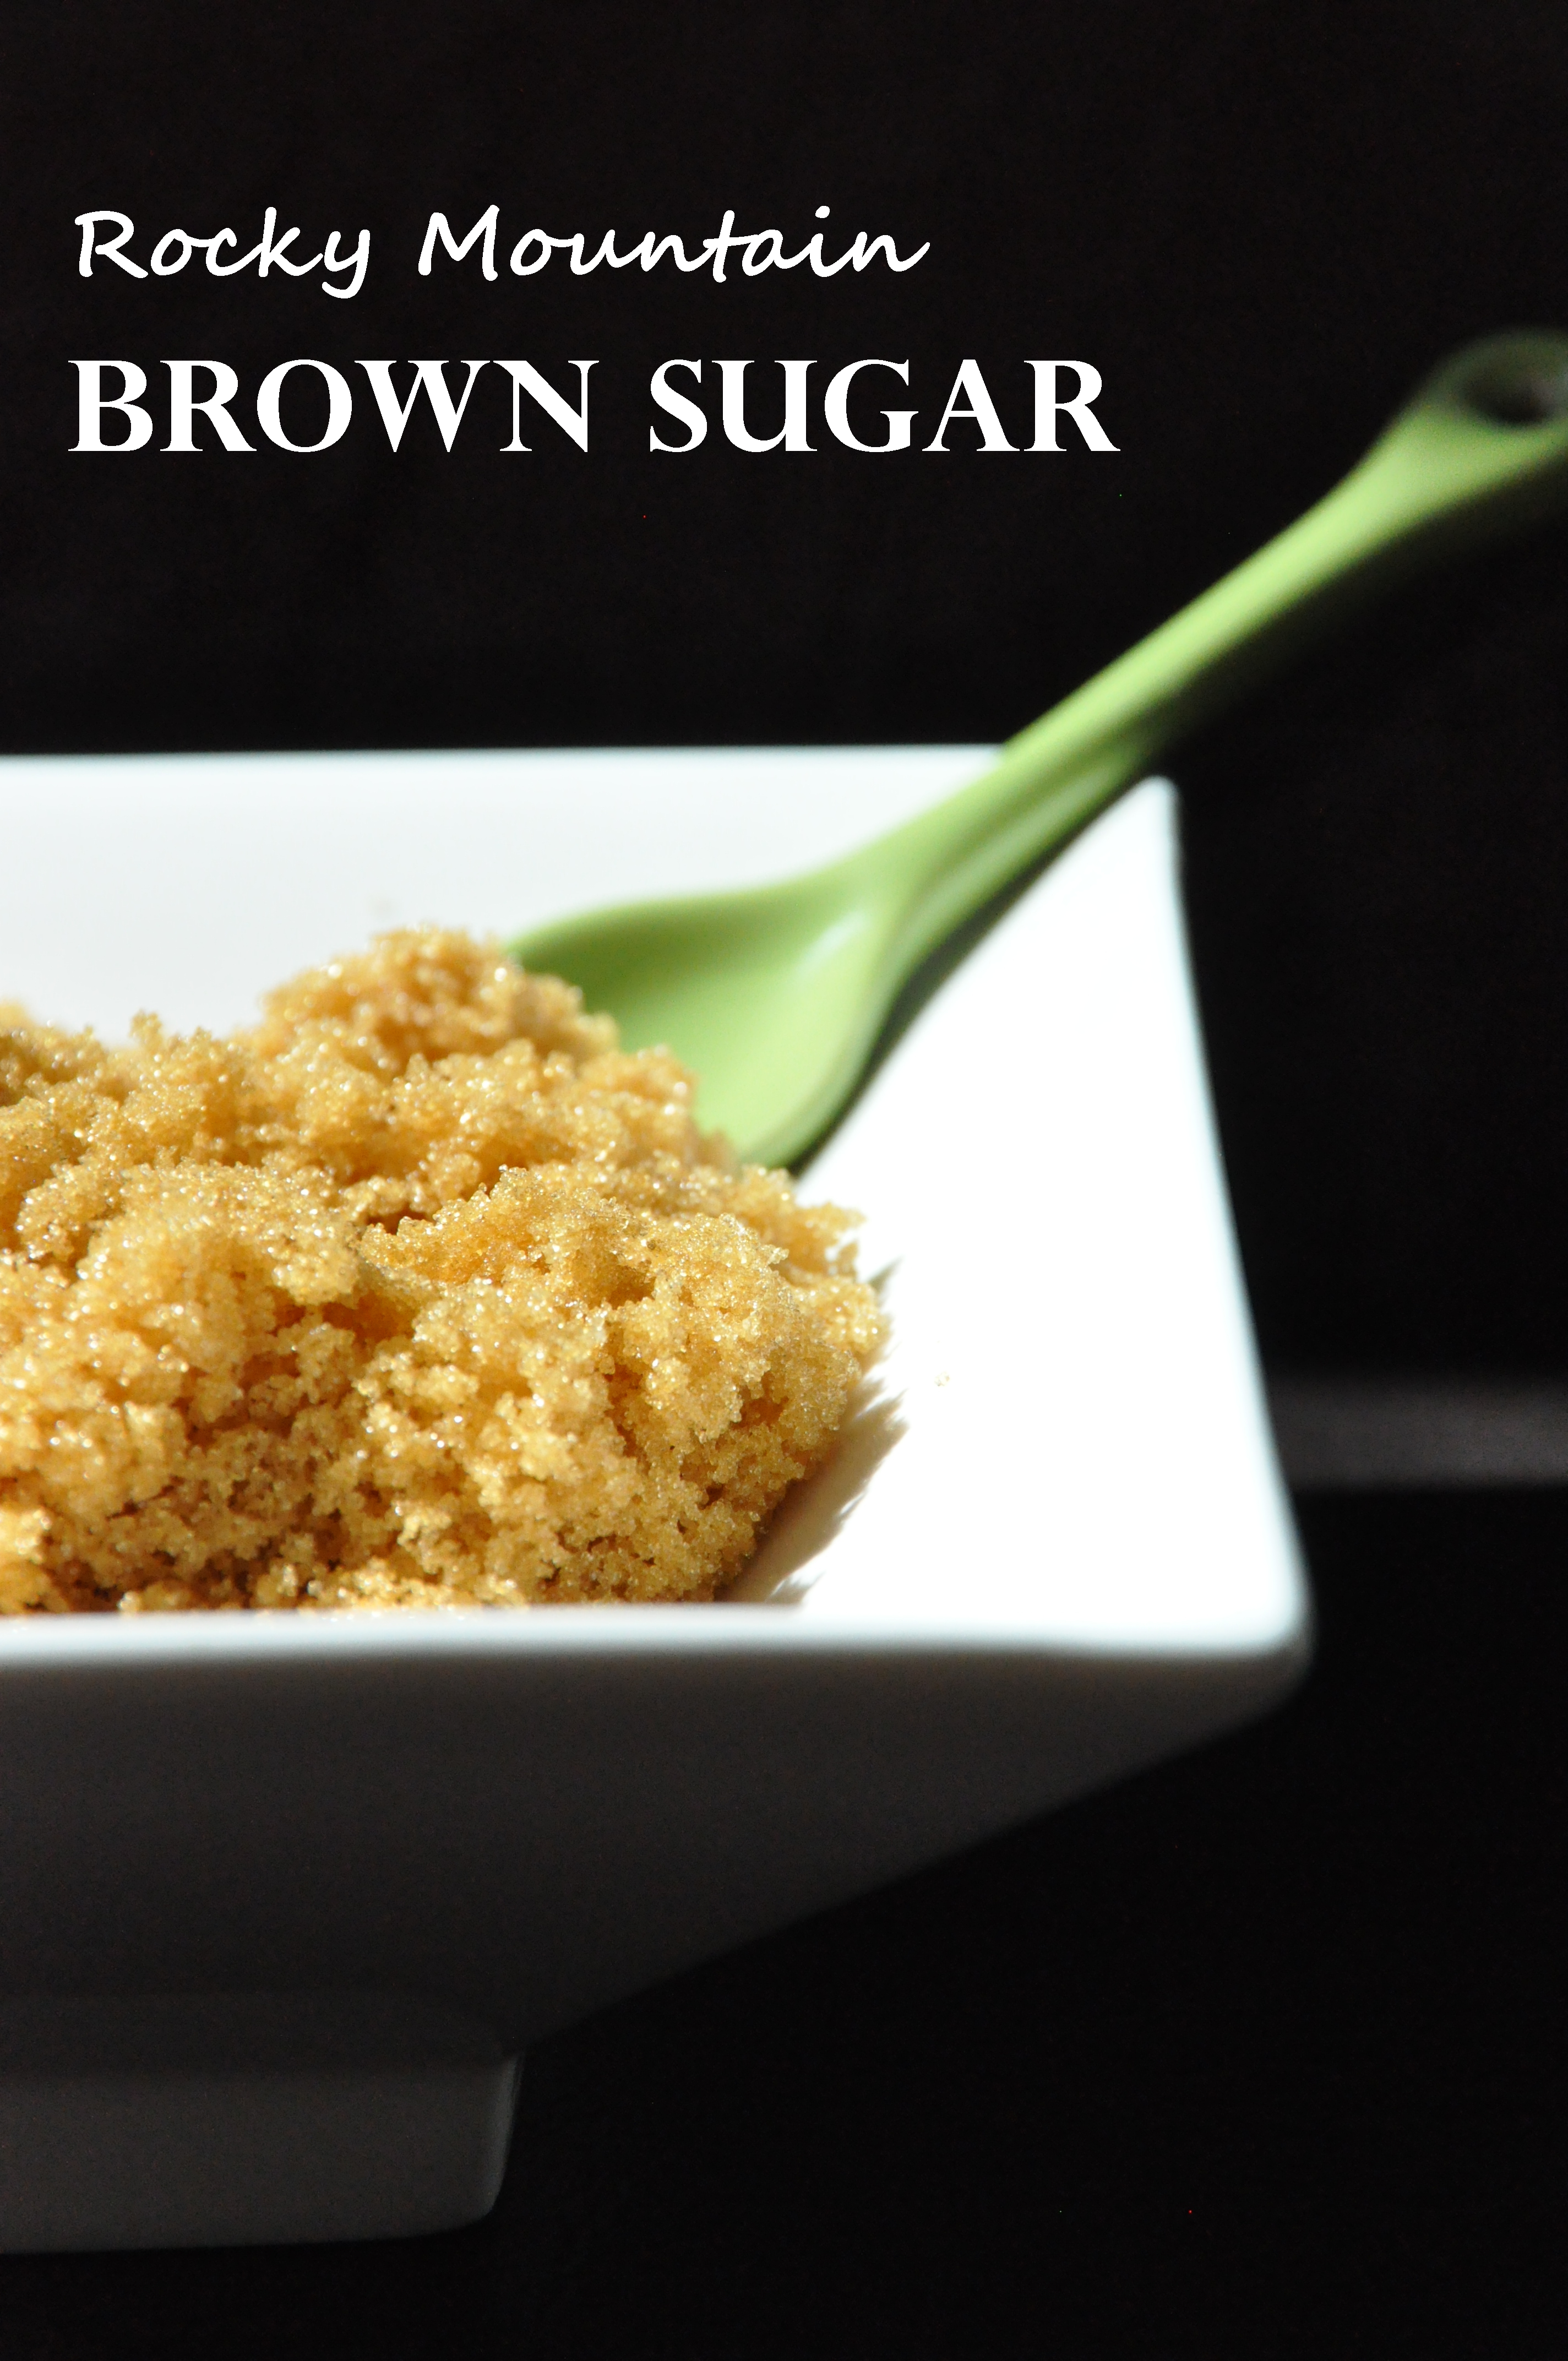
Rocky Mountain Brown Sugar
In keeping with the theme of “recipes for an arid climate”…. I introduce to you “Rocky Mountain Brown Sugar!” Ok, so there’s really ‘no such thing’ as Rocky Mountain Brown Sugar… but, if you’ve lived in a humid-free zone you may know the “I’m big time bummed” feeling of reaching into your pantry to grab the brown sugar (when making your favorite chocolate chip cookie recipe) only to find a brown sugar BRICK. Something had to be done.
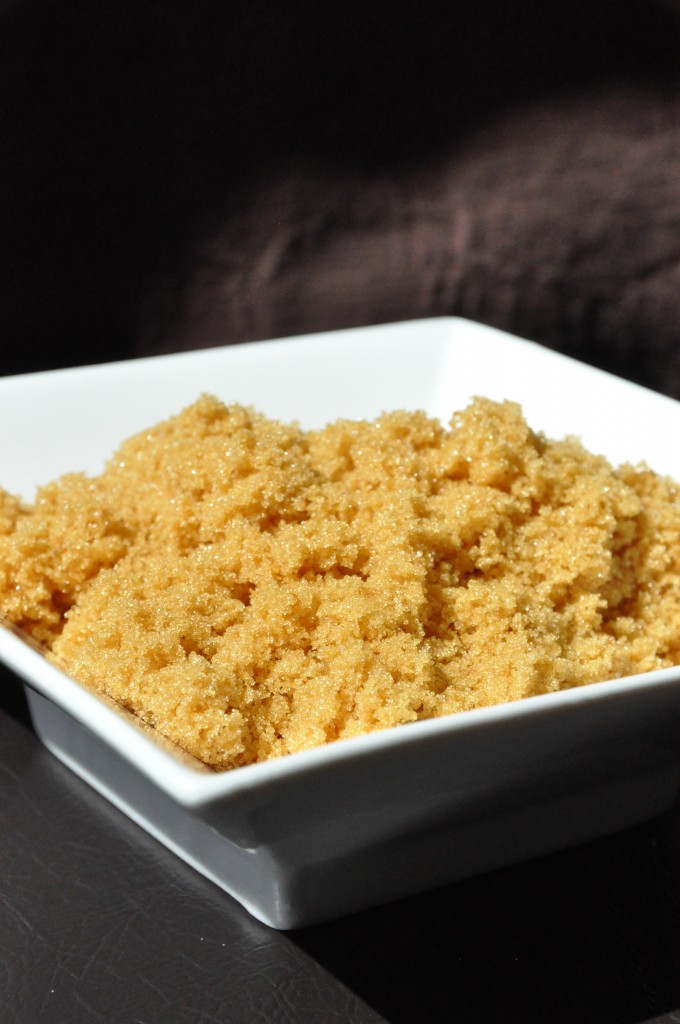
It’s real easy to make your own brown sugar! Sugar + molasses = brown sugar. Ta da! Two tablespoons of molasses will give you a perfect medium brown sugar. If you want dark brown sugar… easy… just add another 1-2 tablespoons of molasses!
I was wondering how I was going to evenly distribute the molasses. Was I supposed to mix it with a fork? a whisk? with my most prized possession….
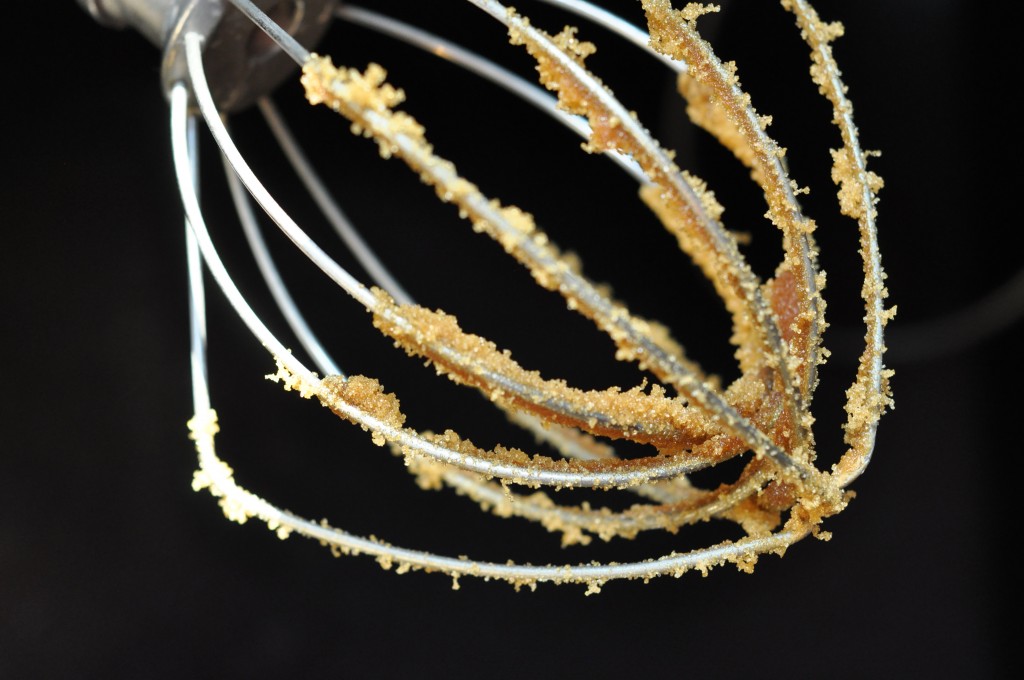
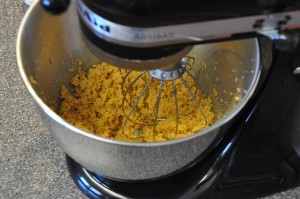
So, the KitchenAid was the perfect tool for whipping the molasses and sugar into this light, fluffy mixture. You do have to give it a good run in the mixer though…
When you first start to mix the sugar and molasses, it will get a little clumpy. No fear!
Your sugar and molasses will continue to blend together, just keeeeep mixing….. persevere
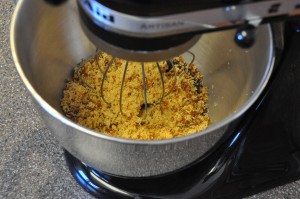
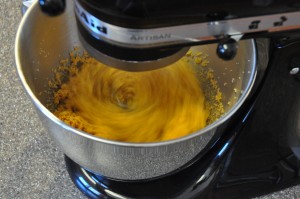
 I always lick the batter from a whisk and this was no exception. I highly recommend turning the KitchenAid off first though.
- 1 cup sugar
- 2 Tbsp molasses
- Combine the sugar and molasses in a mixer
- Mix on medium speed for several minutes
- Store in an airtight container
